
 {{ wordsItem.word }}

 {{ item.rate }}


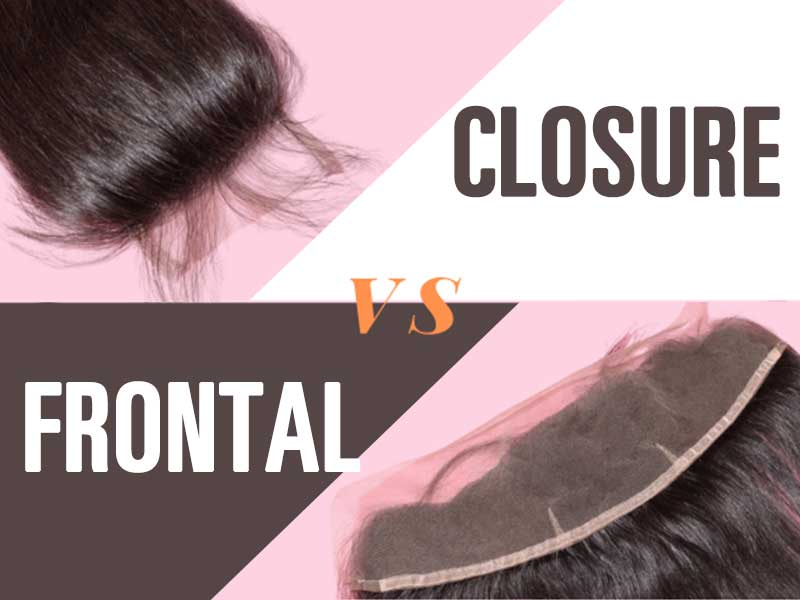
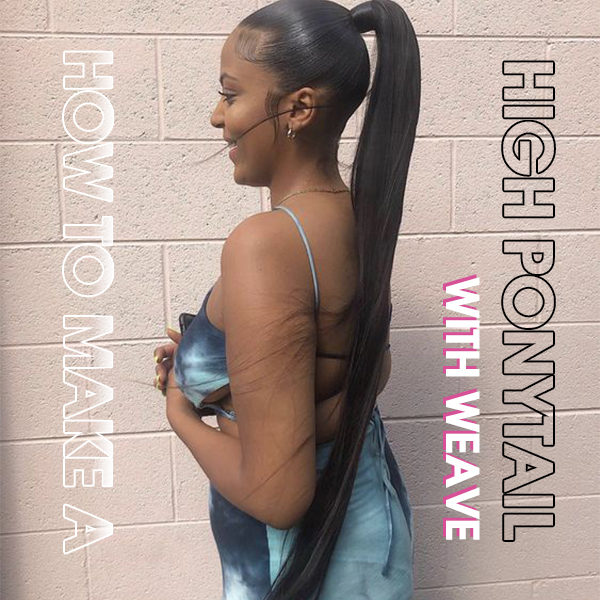
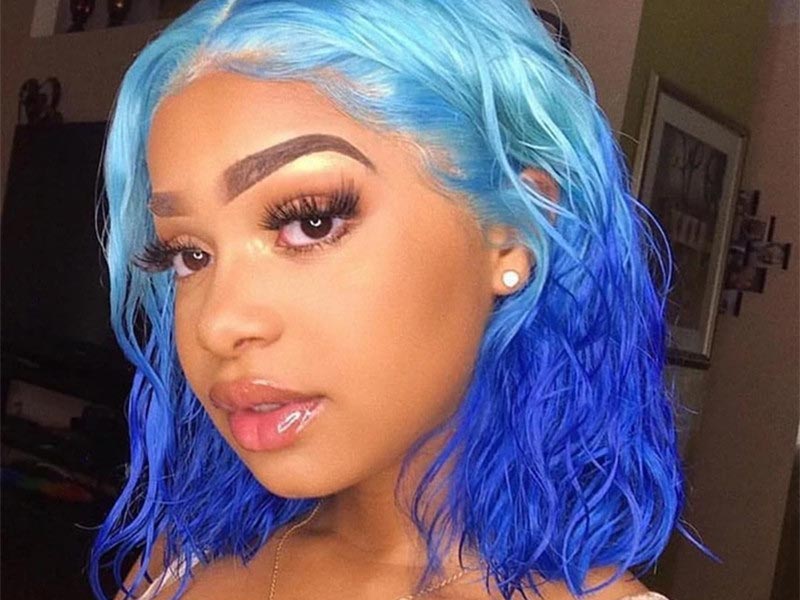
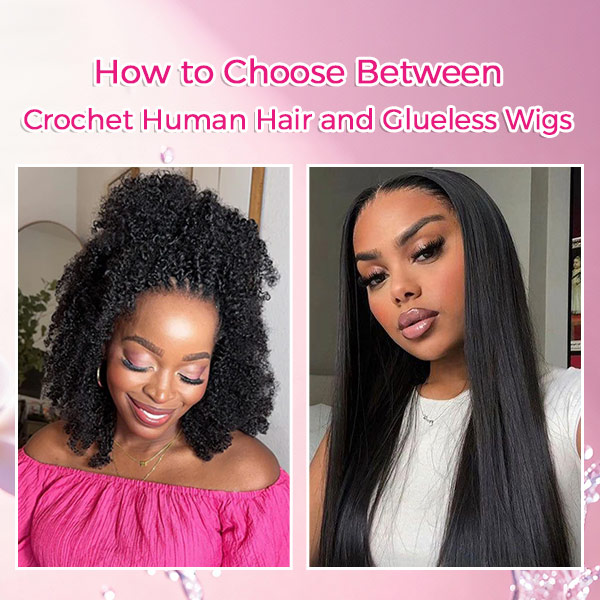
If you want to change your hairstyle, a side-parting hairstyle is a great choice because it gives off more fashion vibes. Today's article is all about teaching you how to do a side-parting hairstyle with wigs.
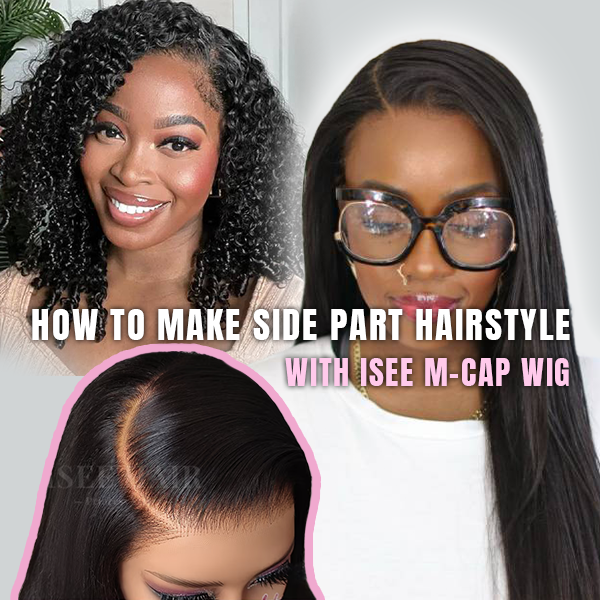
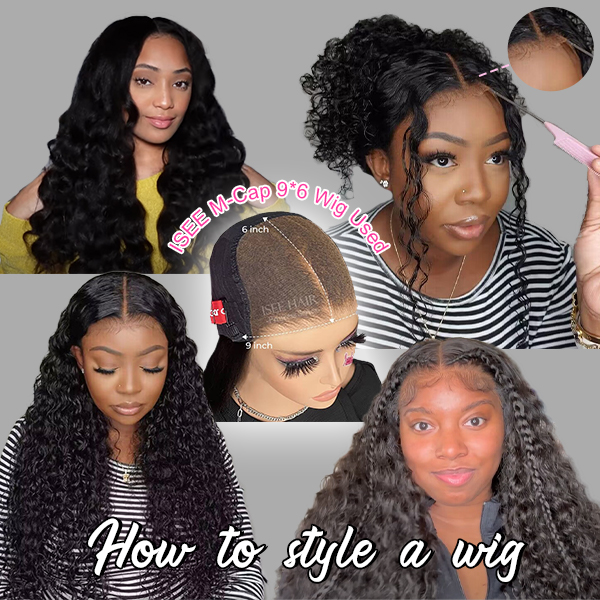
How To Achieve Side Part Hairstyle With ISEE M-Cap Wig-Step By Step Guide
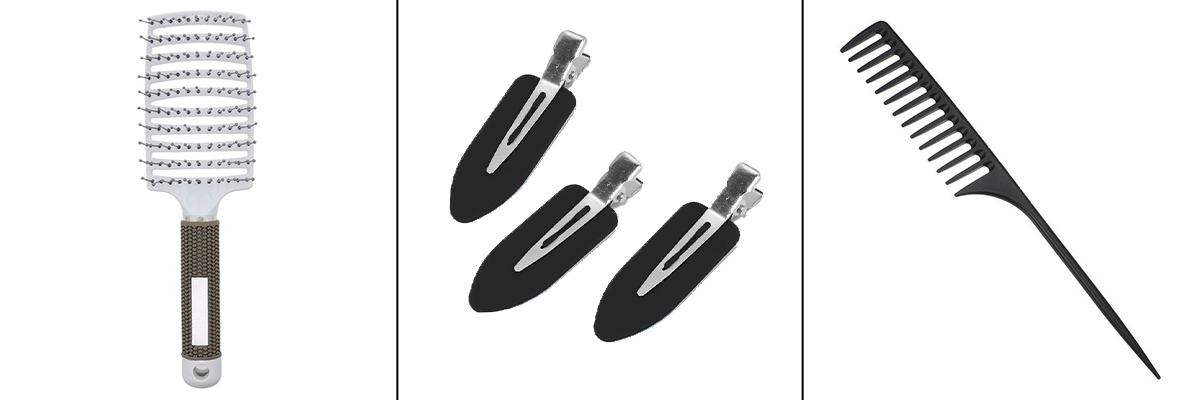
What Tools You May Need
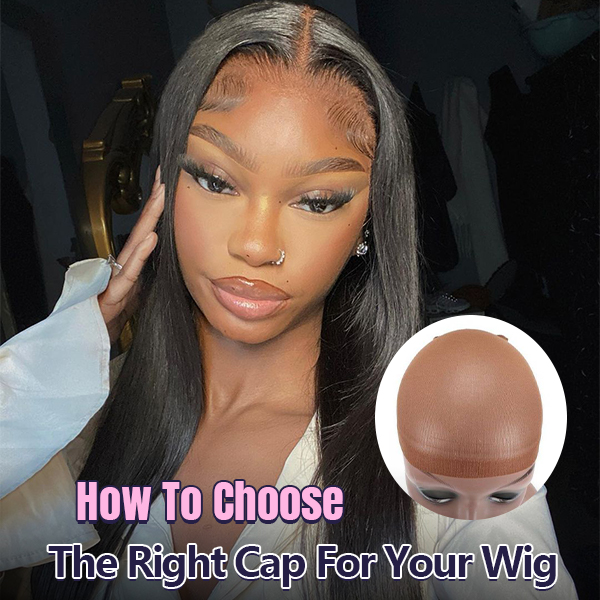
ISEE M cap Wig(optional)
Rat-tail comb
Mirror
wide-tooth comb or a wig brush
Some clips
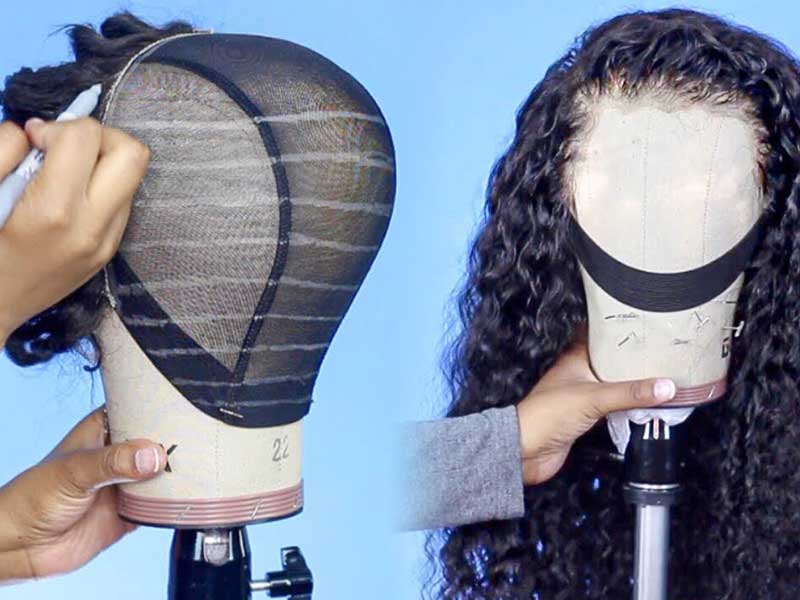
Step One: Install Your Wig
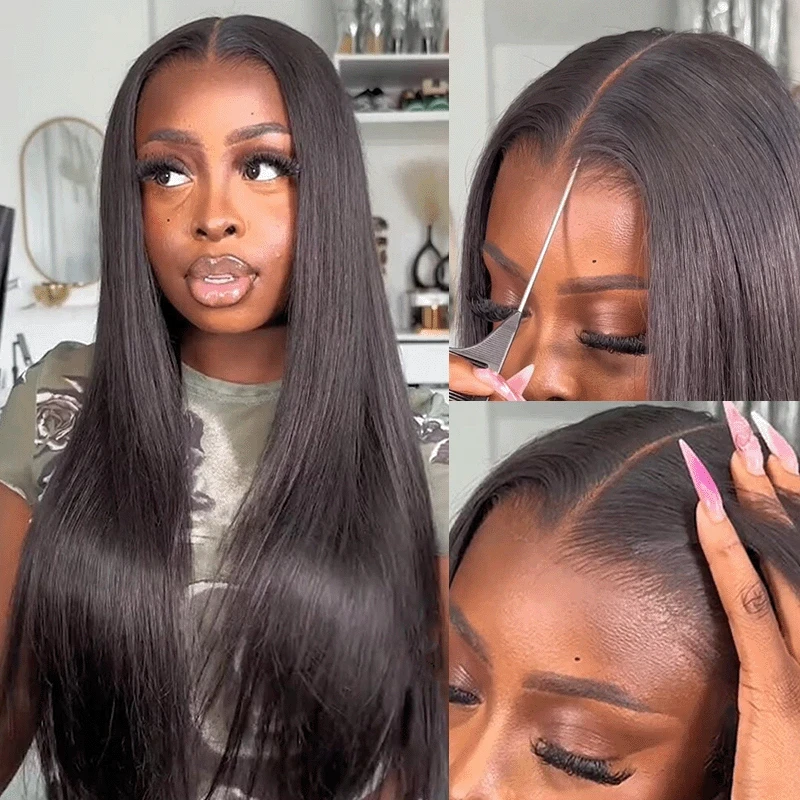
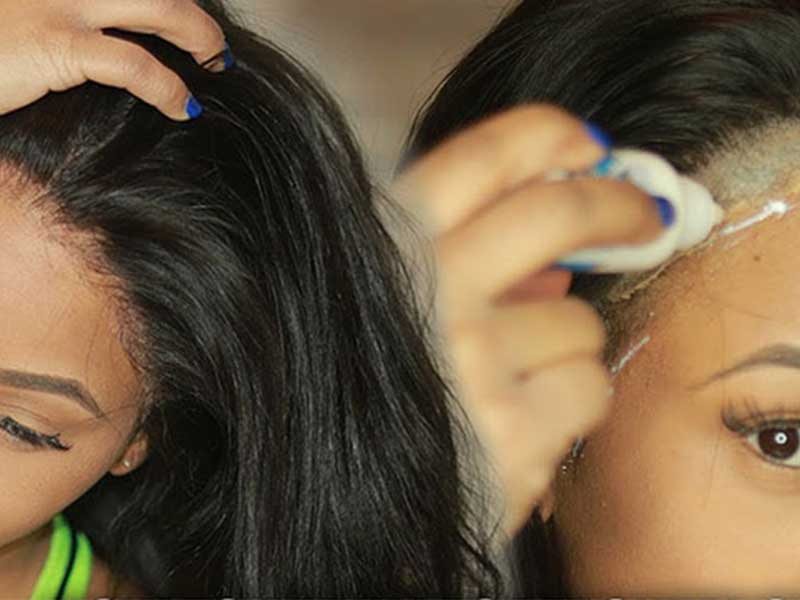
Before you begin to make a side part hairstyle on a wig, firstly you should put on your wig. Get Isee M cap wig and make sure it is securely installed on your head. If you get a lace front wig, referring to our article "How to Put on a Wig".
Step Two: Brush Your Wig
Brushing your wig is a crucial step, this can eliminate any knots or kinks, especially for an old or previously used wig, at the back of head, which is prone to tangled. Gently detangling your wig from ends to top will make the overall hairstyle look neater and smoother, and it will also make the hair easier to part smoothly, no flyaway hair.
Step Three: Decide The Parting
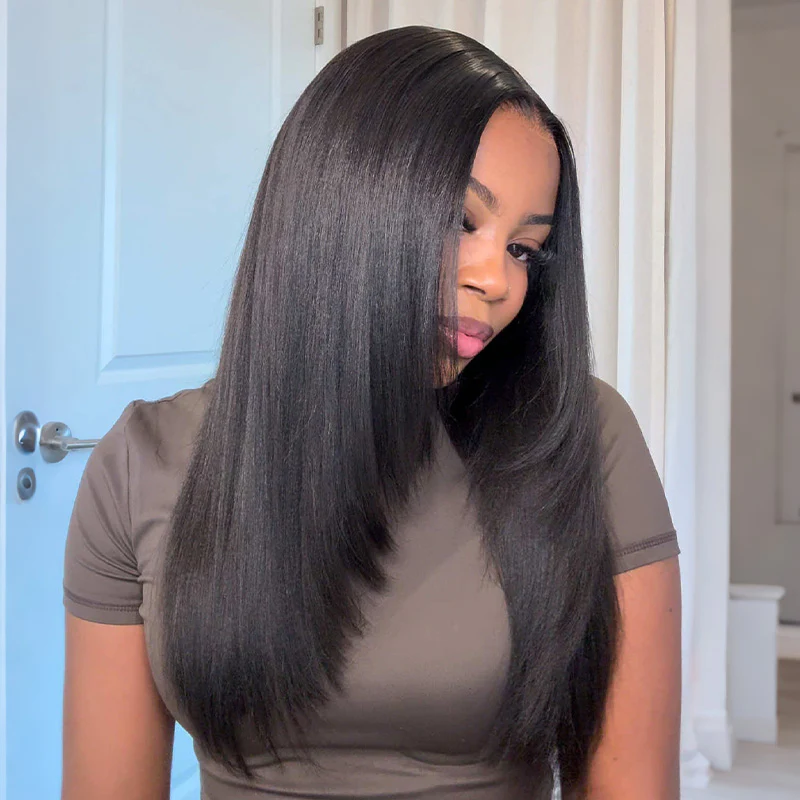
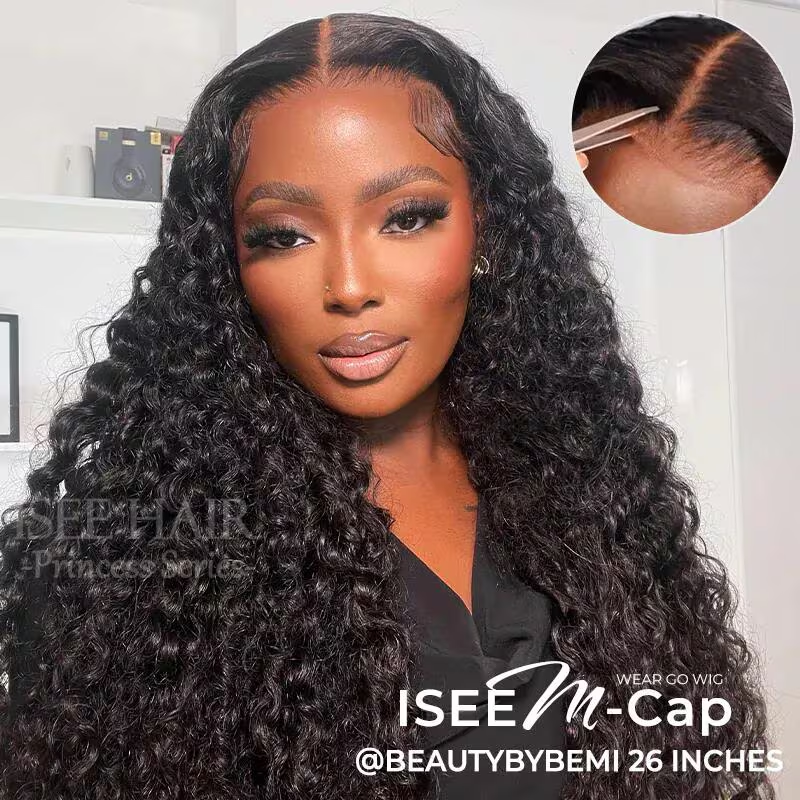
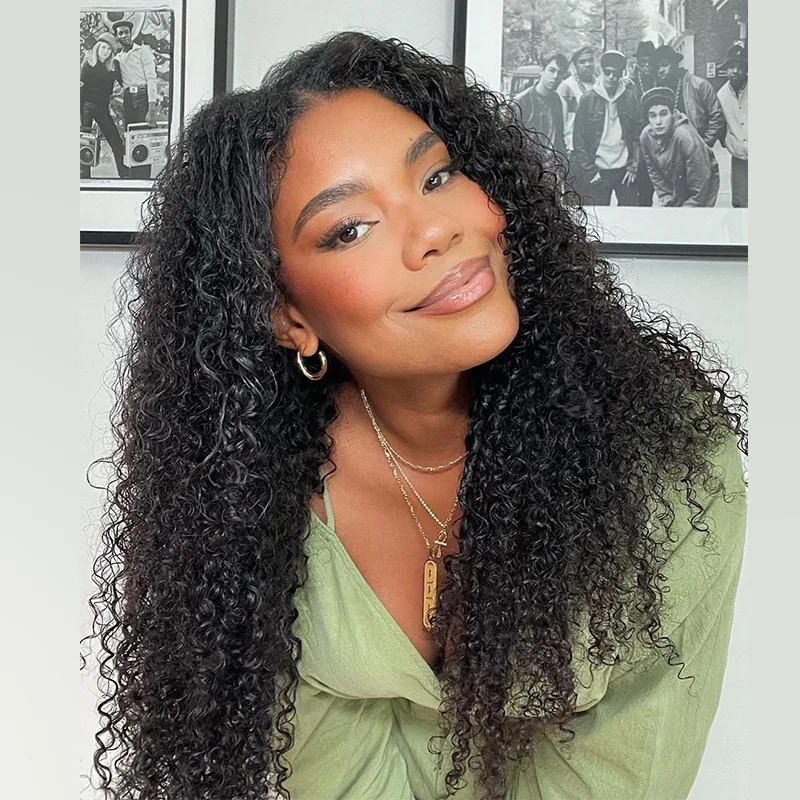
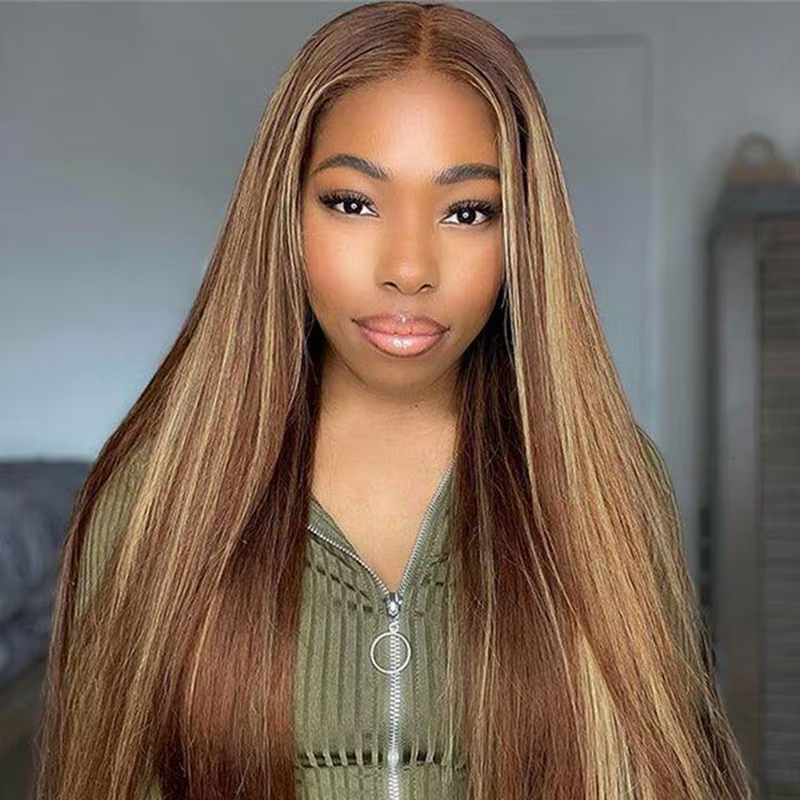
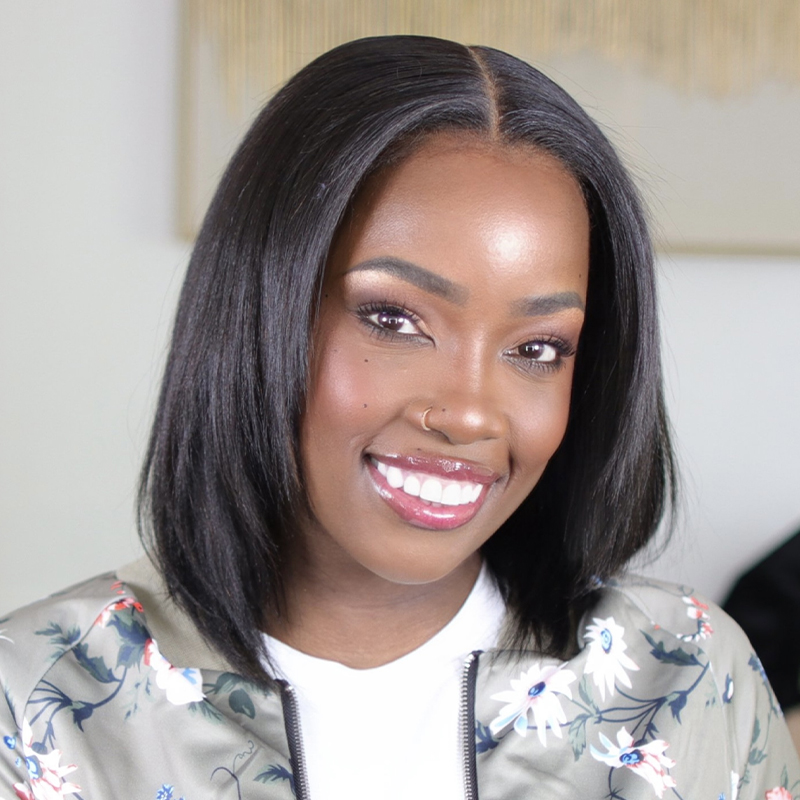
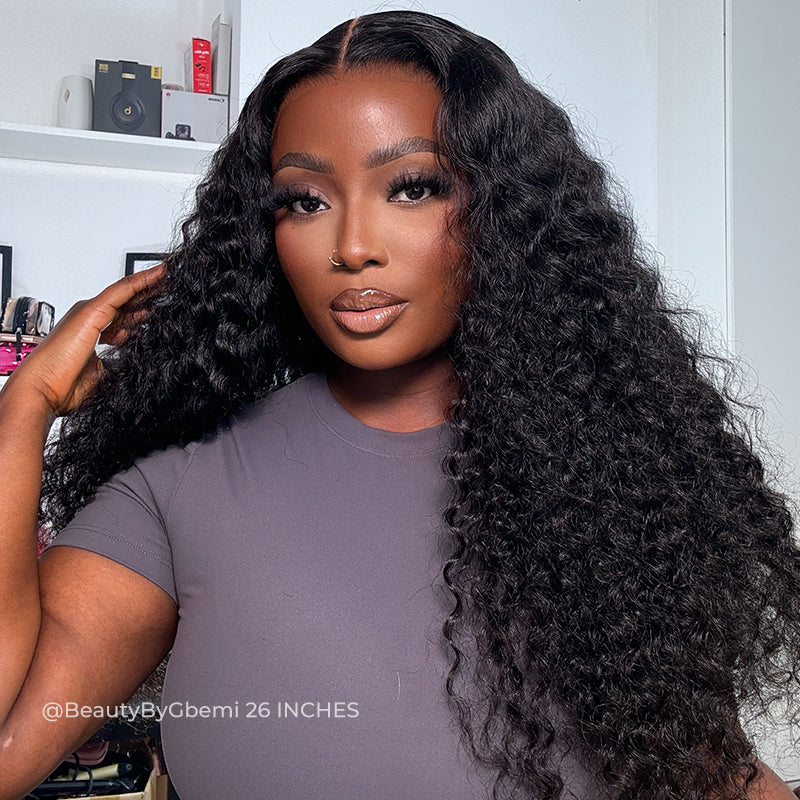
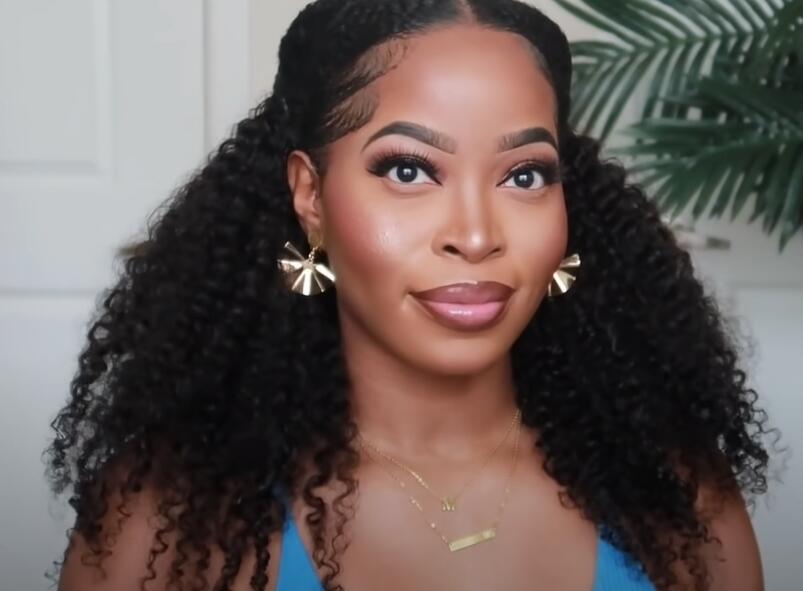
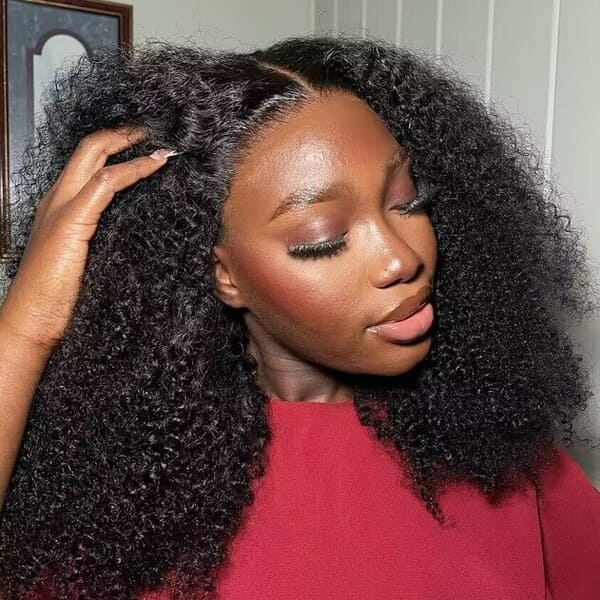
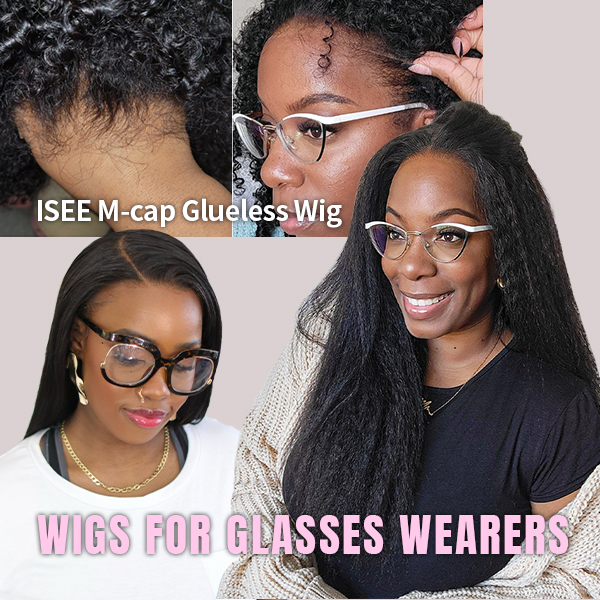
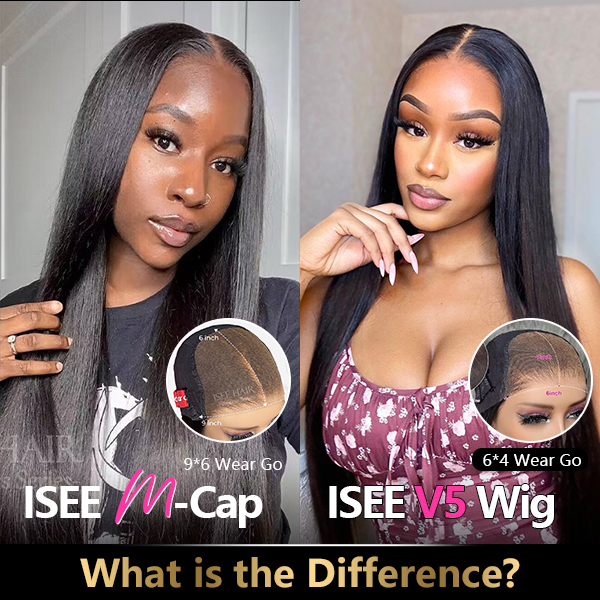
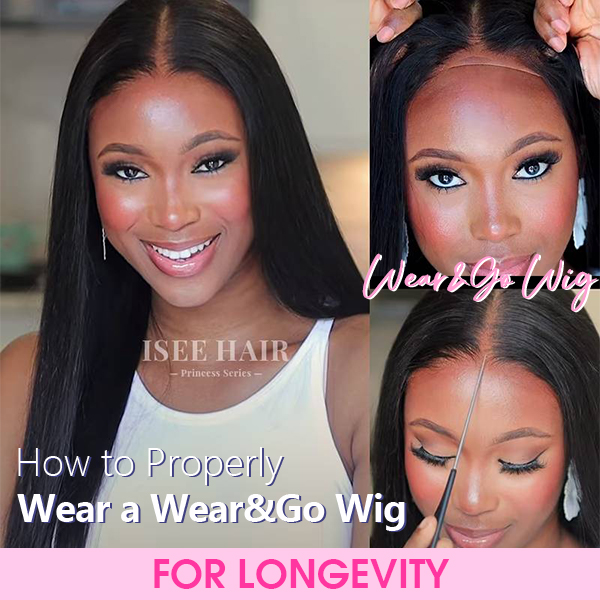
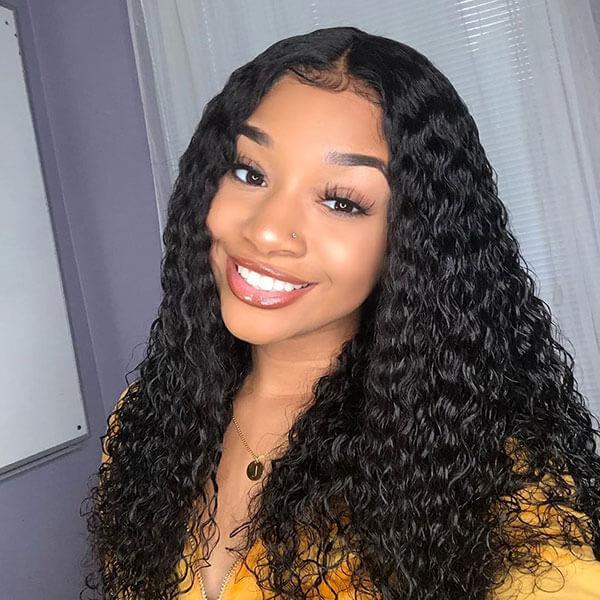
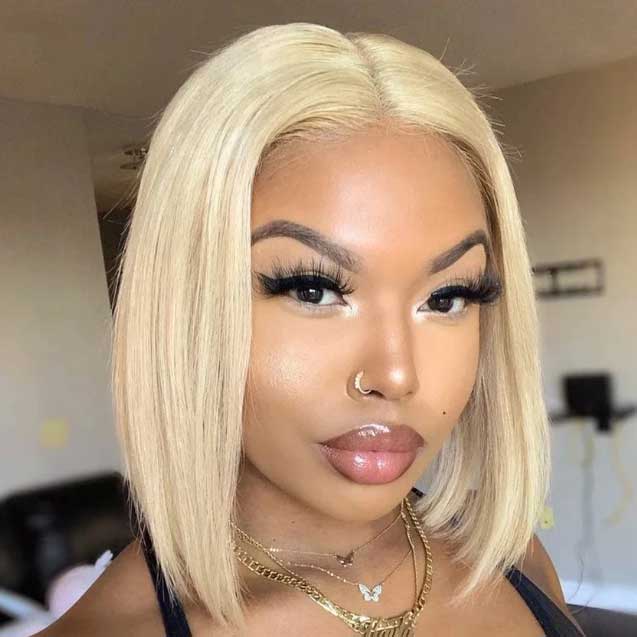
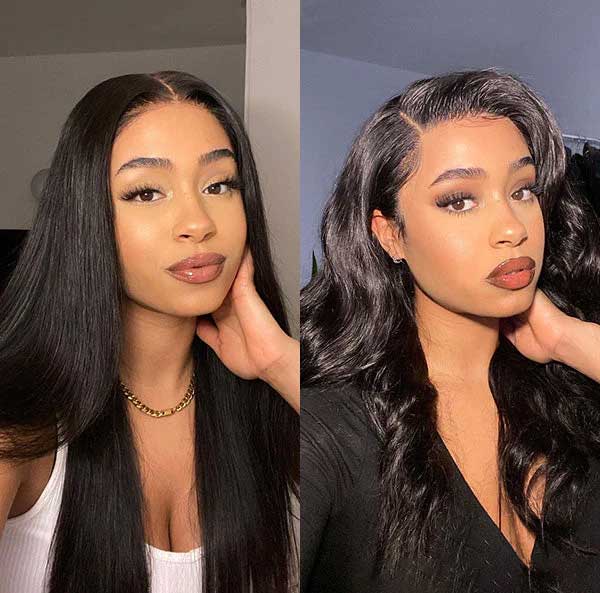
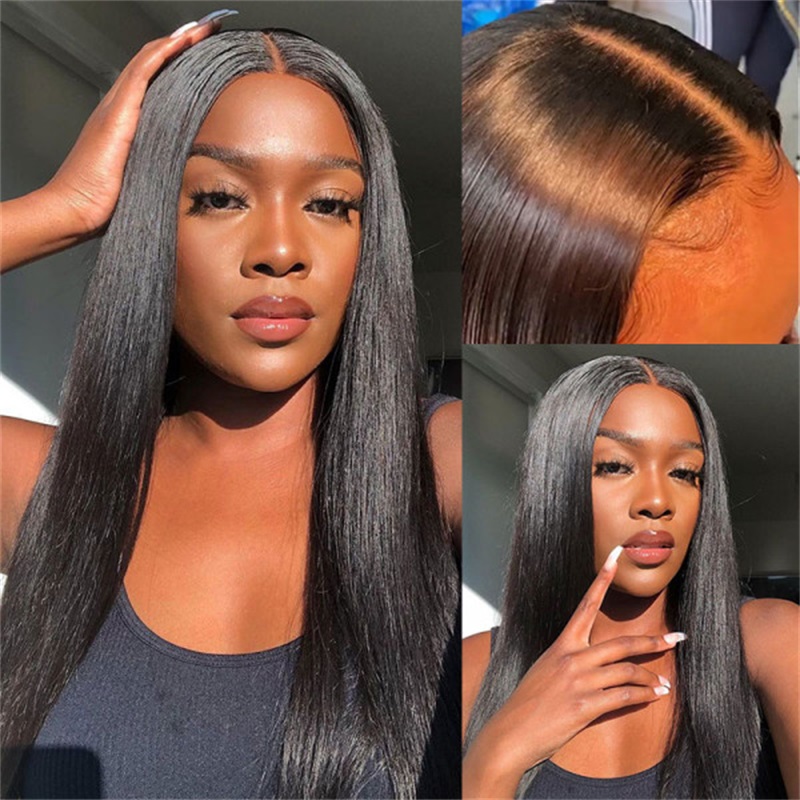
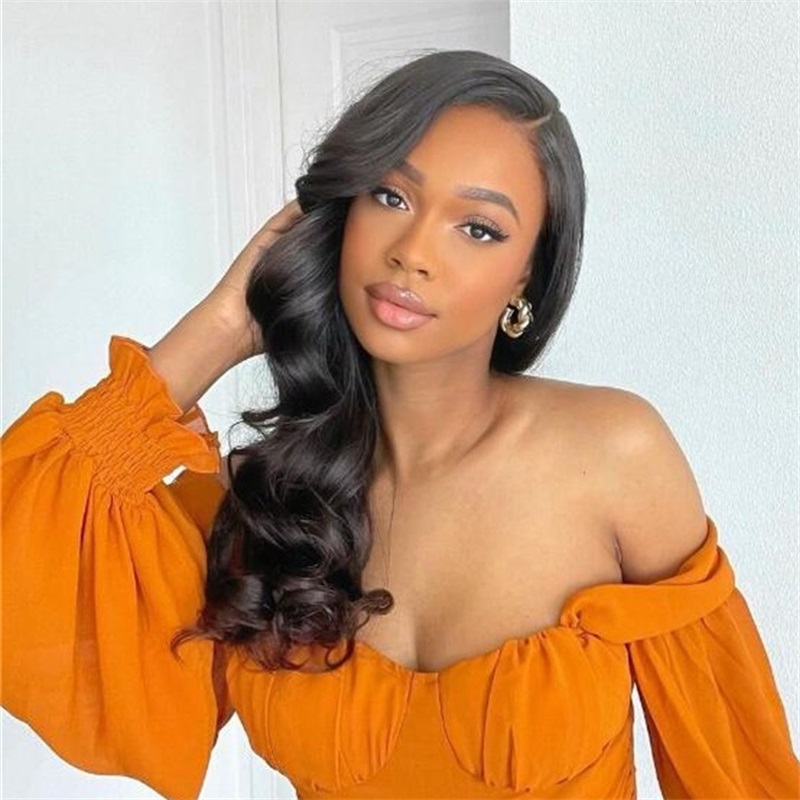
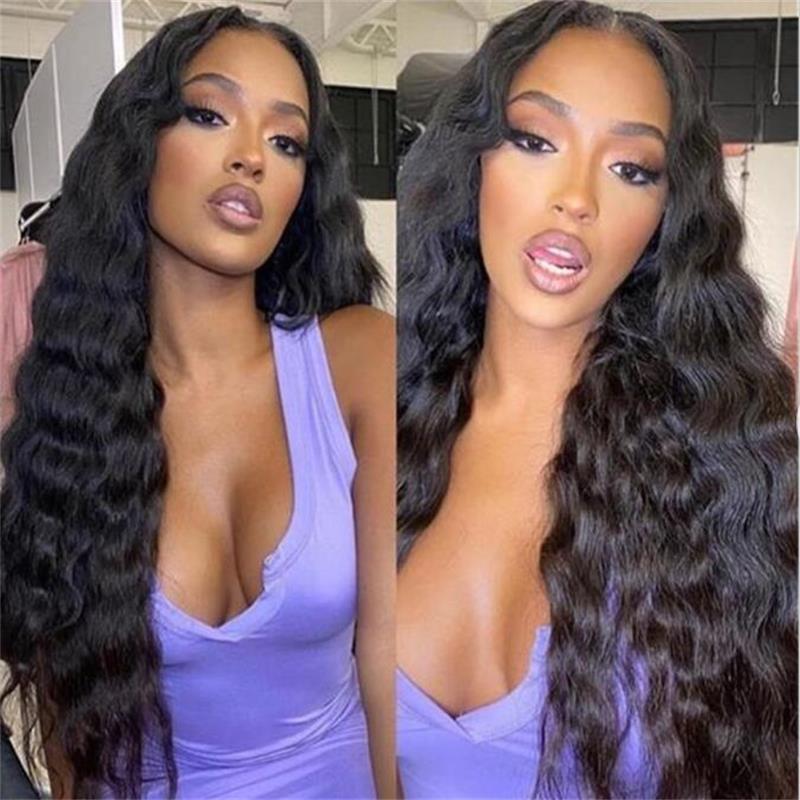
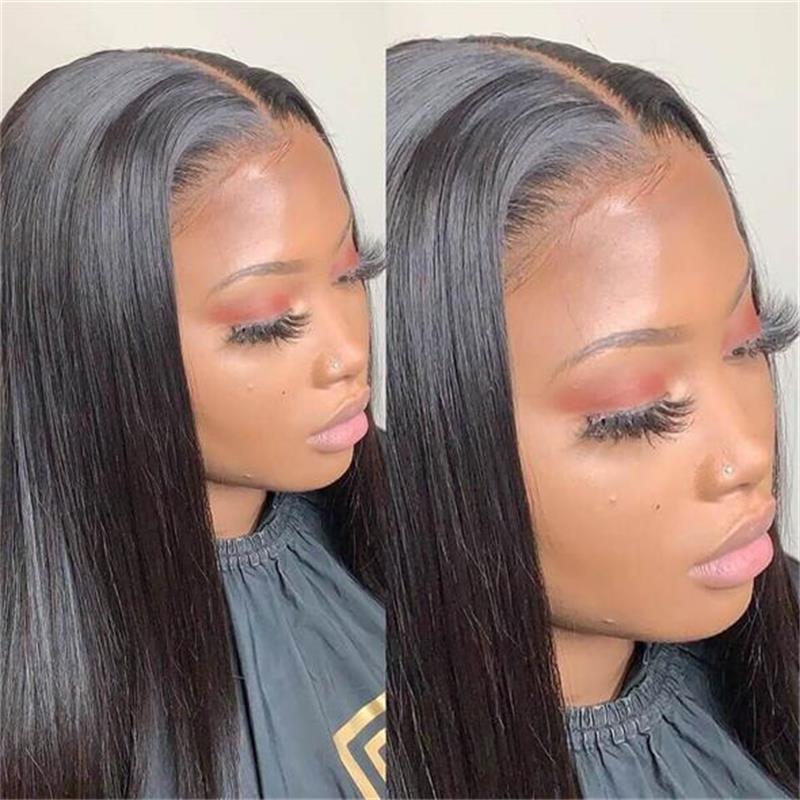
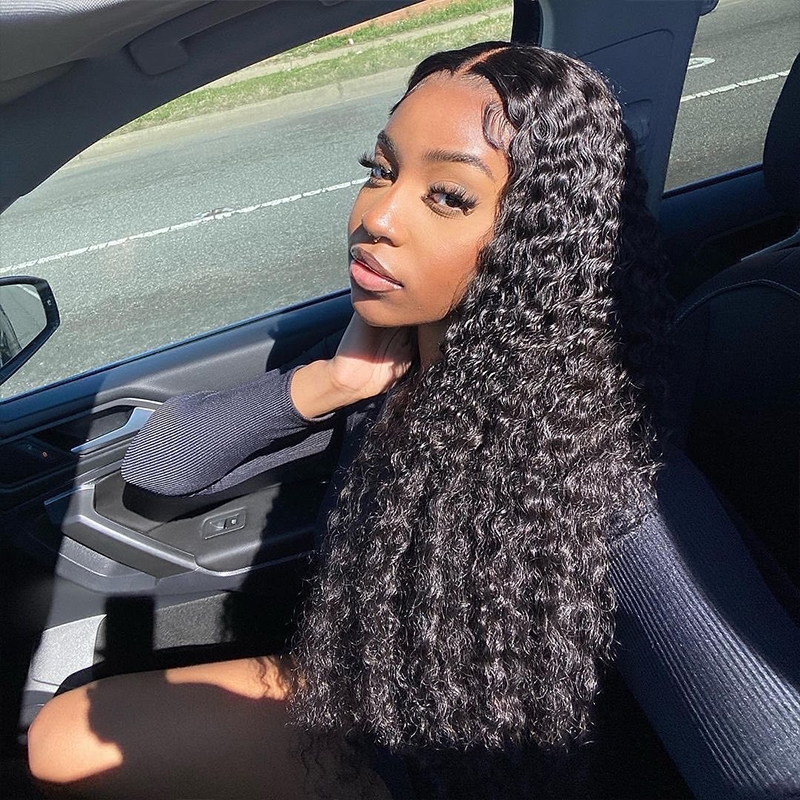
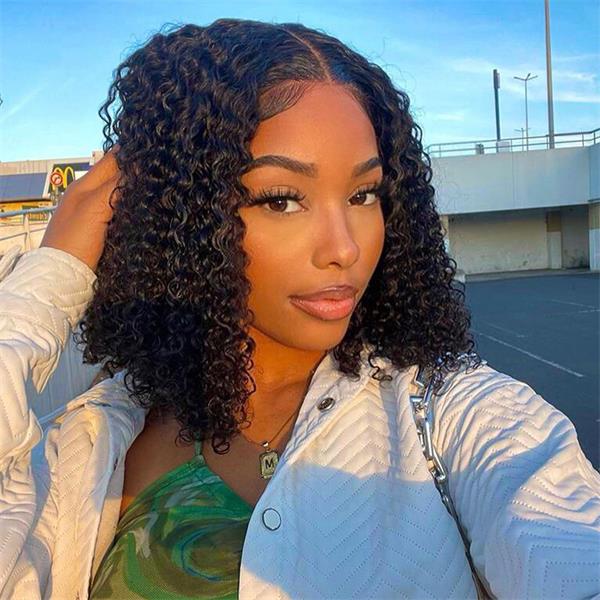
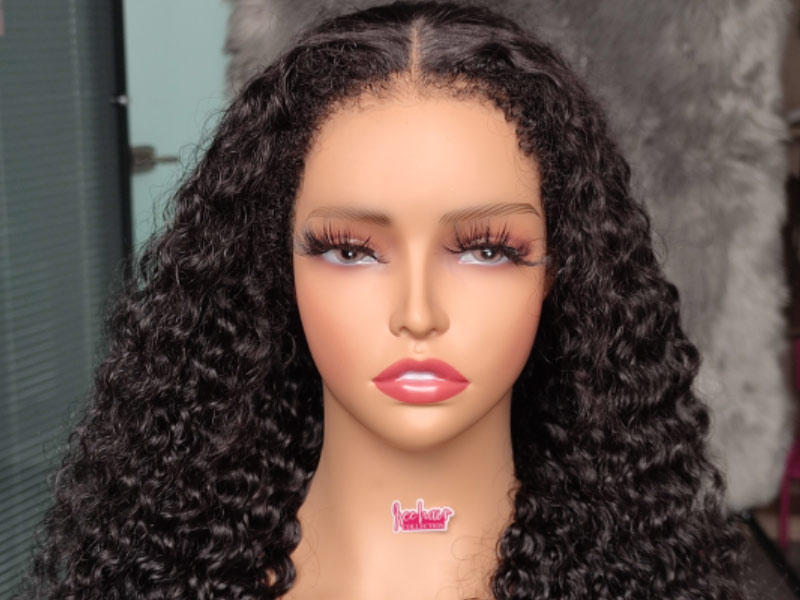
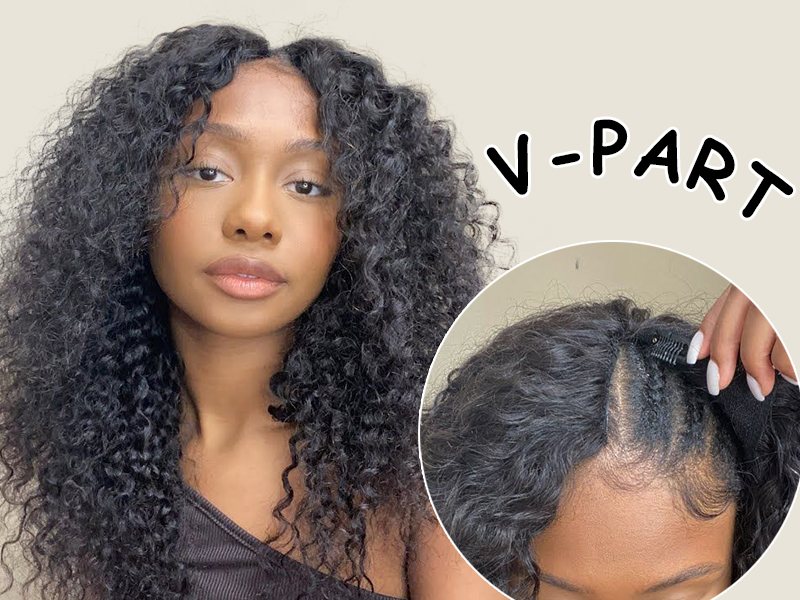
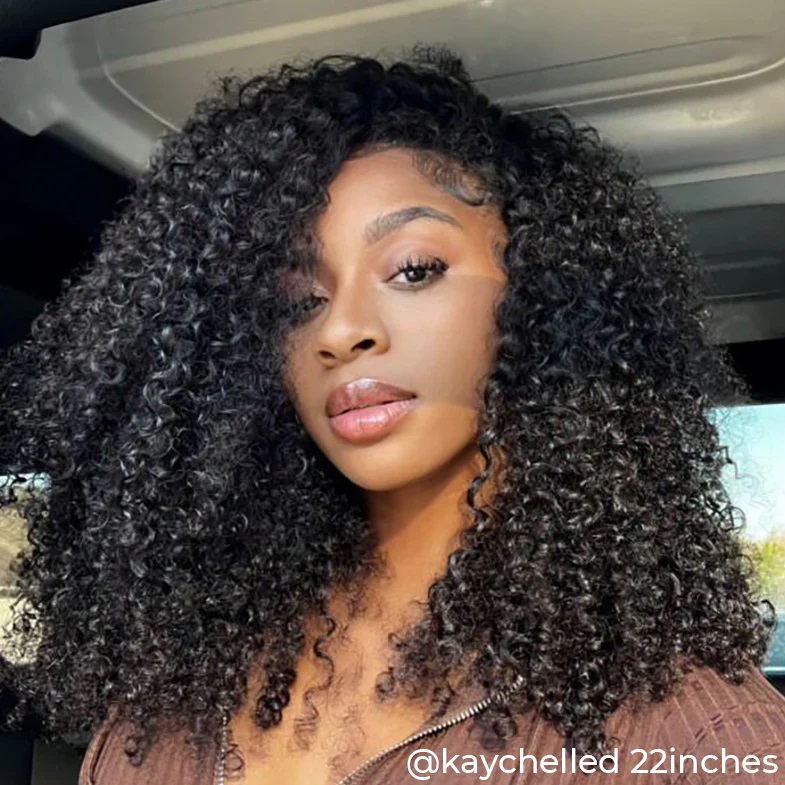
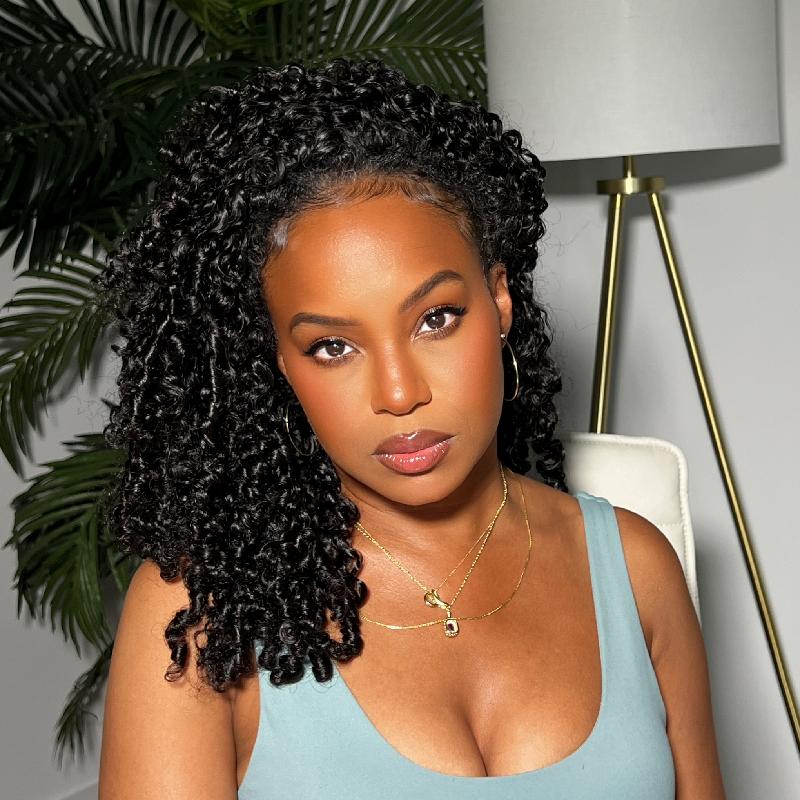
In this step, first, you need to consider a question: on which side do you want to create the parting, the left or the right? The ISEE M-Cap Wear Go Wig has a large lace area of 9*6, so it’s easy to achieve a deep side part, side-swept parting, or a more subtle one. It requires you to make the appropriate choice based on your habit and preference.
You can add the parting on the left or right side based on your facial features. Consider if parting your hair on the left or right side enhances your facial features and highlights your appealing style. You can both have a try, then make a final design.
Step Four: Section Off The Frontal Hair
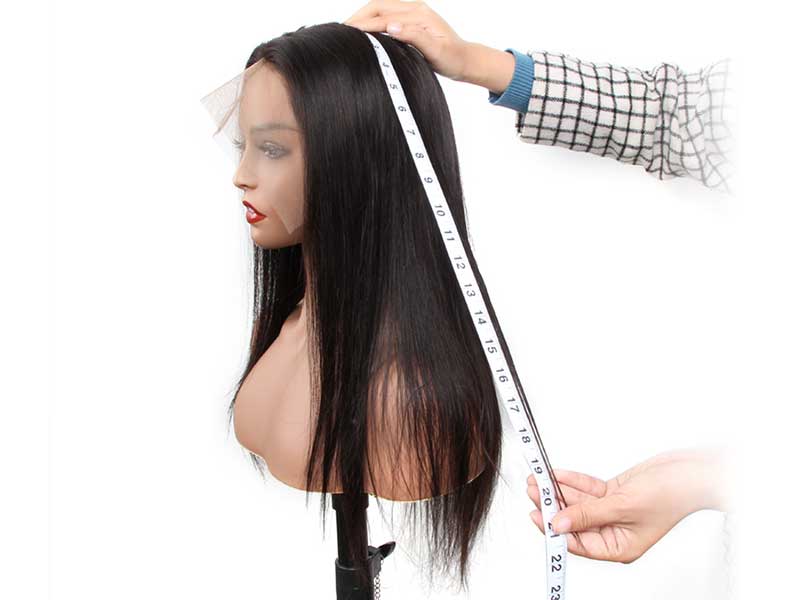
Now, use the pigtail comb to shape the parting. After you decide the parting direction or location, use the pointed tip of the comb to create a clearly parting. With Isee M cap wig, you can create a 6 inch deep side parting hairstyle.
Step Five: Secure The Parting
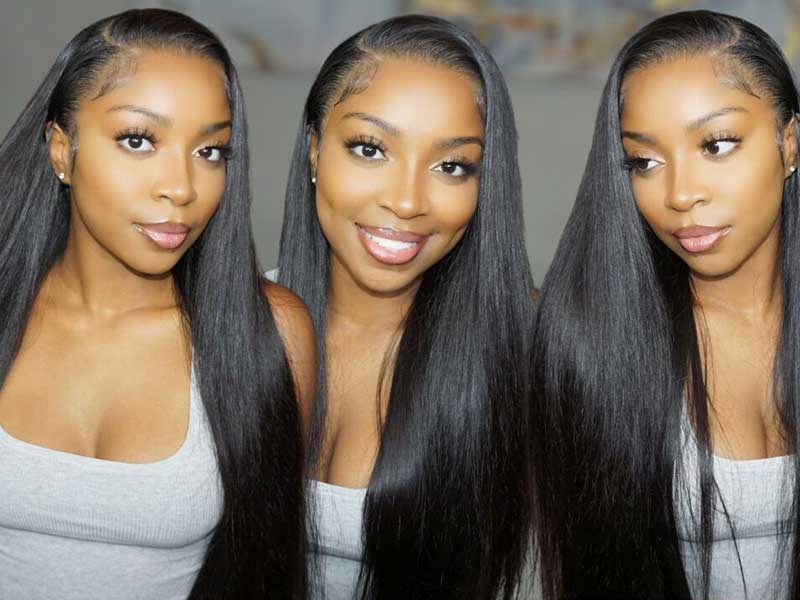
After you created the parting, you will need to flatten the hair on both sides of the parting. To do this, use a hair straightener to flat iron the hair on the sides of the parting. Then use hair clips or bobby pins to secure the hair on both sides of the parting. Leave them in place for a while, about one hour, then remove these clips. Your side parting is defined. You succeed to achieve a side parting hairstyle with ISEE M-cap wig.
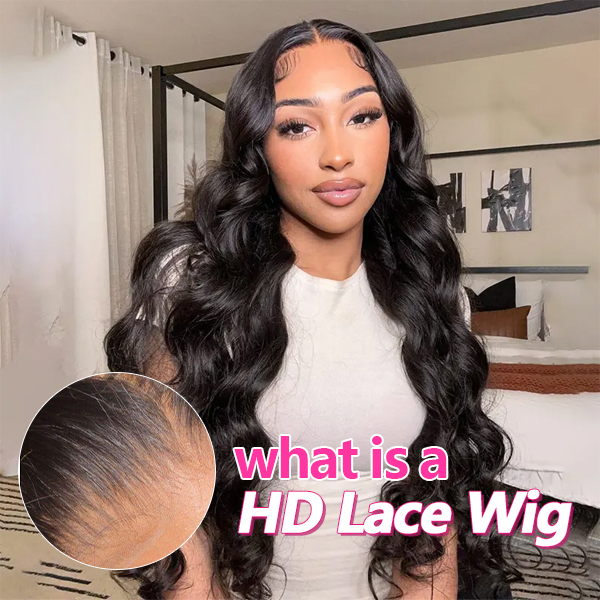
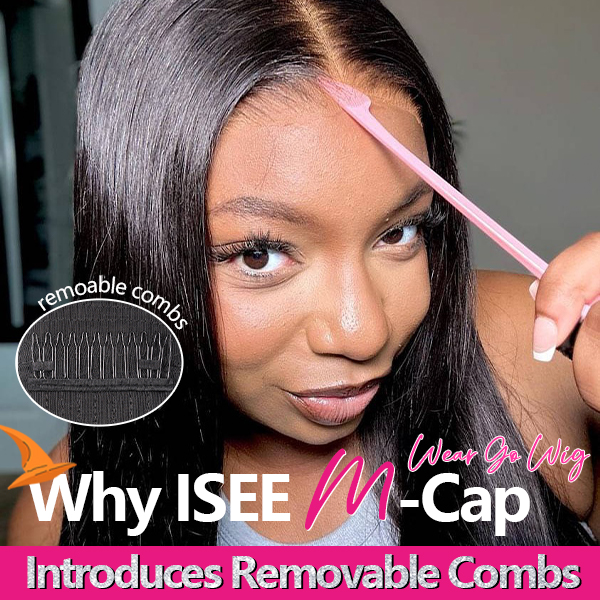
ISEE M-Cap 9*6 Wear Go Wig
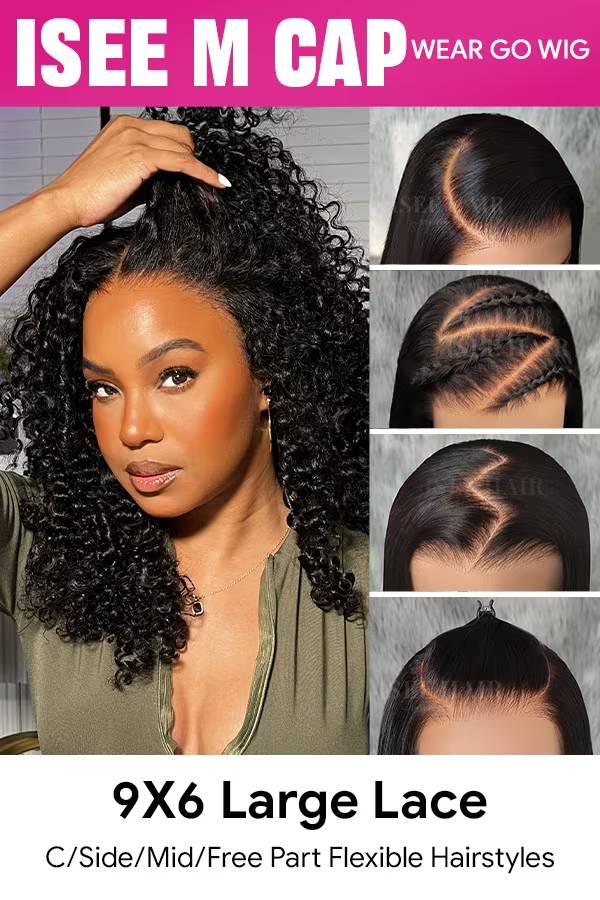
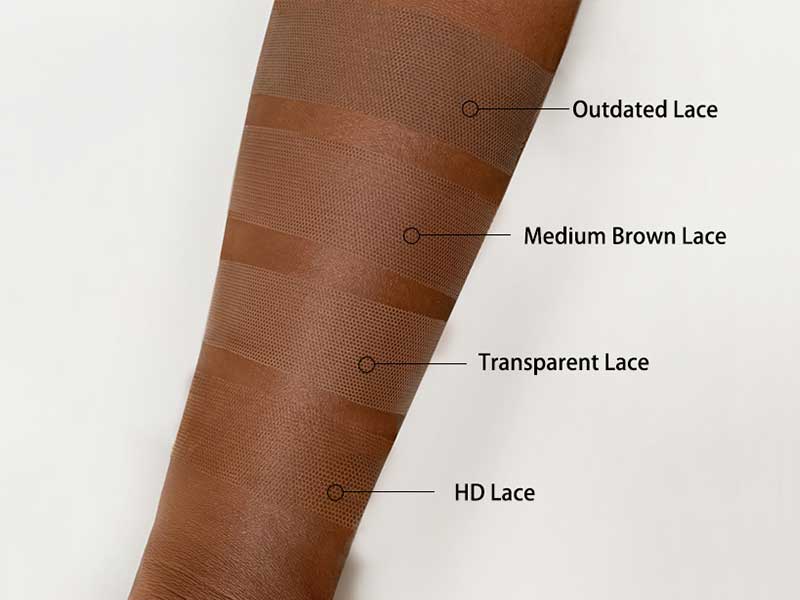
·Maximum Lace Size: Upgraded 9x6 Pre-Cut HD Lace, largest lace size maintains stability while allows versatile hairstyle.
·Match Ear Shape: C-shape ear protection design, glasses approved.
·Movable Combs: Removable combs for daily & special occasion wear.
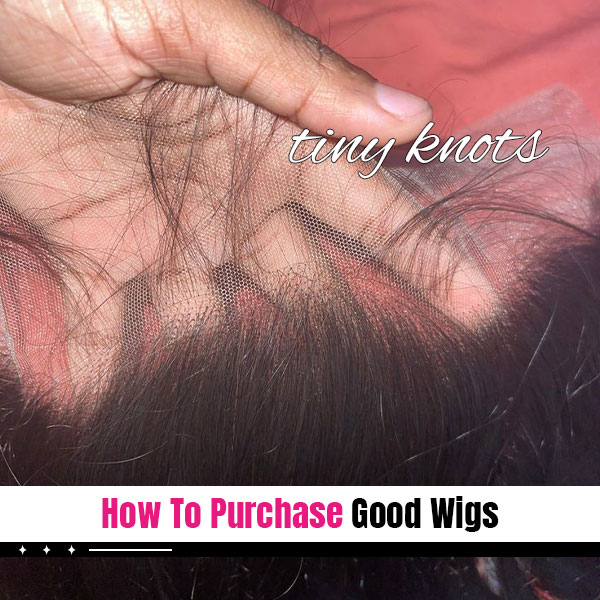
·Mini Knots: Advanced pre-bleached tiny knots technology.
·Mimic Forehead Contour: Fitted cap design, real glueless wig.
·Mark Of Authenticity: Wear go anti-fake label.
Final Words
Using the ISEE M-cap wear go wig can save you a lot of time spent on installing the wig and making it look more natural. You'll have more time to focus on styling the wig. With the ISEE M-cap, you can achieve not only a side parting hairstyle but also many other natural and fashion options beyond your imagination.
You might want to check these posts:
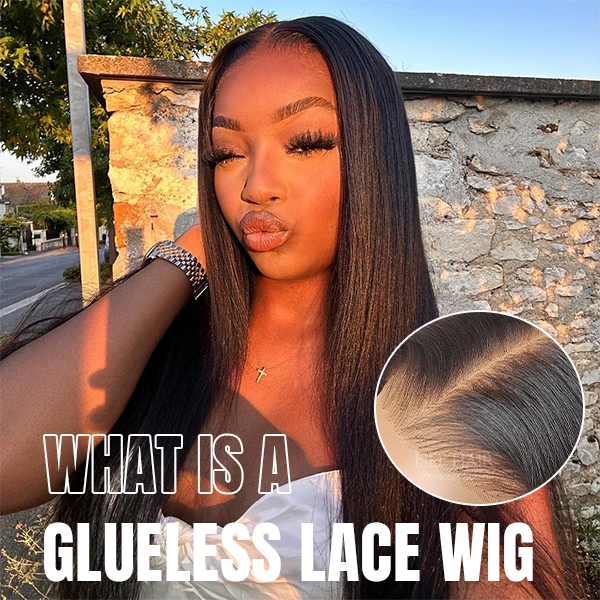
Must-Have for New Wig 2024: M-Cap ISEE Wig
ISEE Hair Tax Season Wig Sale-Get The Best Glueless Wig


