
 {{ wordsItem.word }}

 {{ item.rate }}


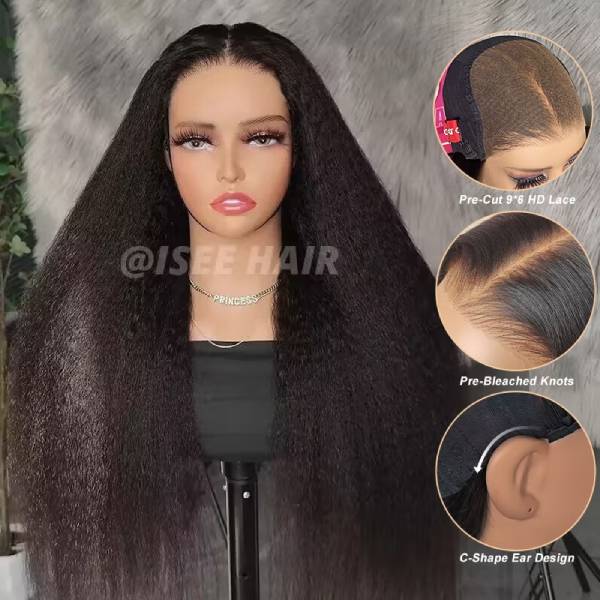
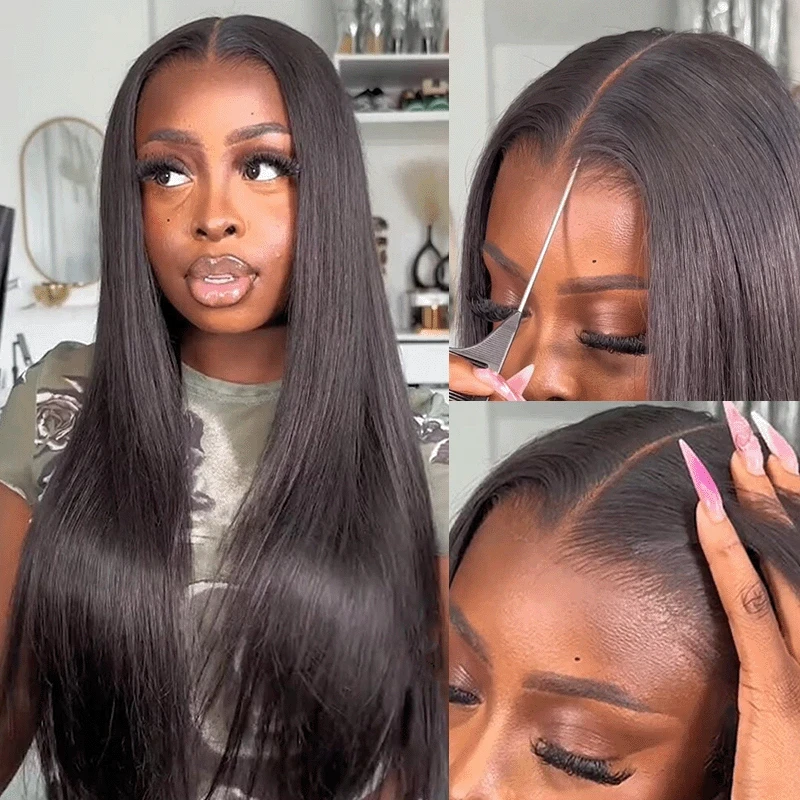
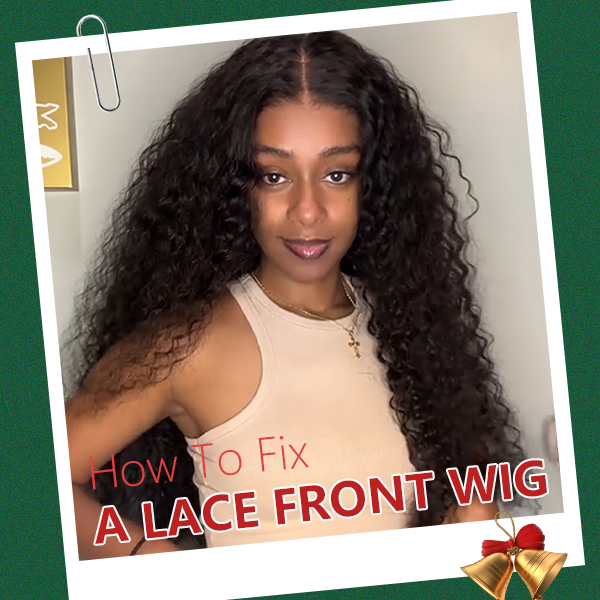
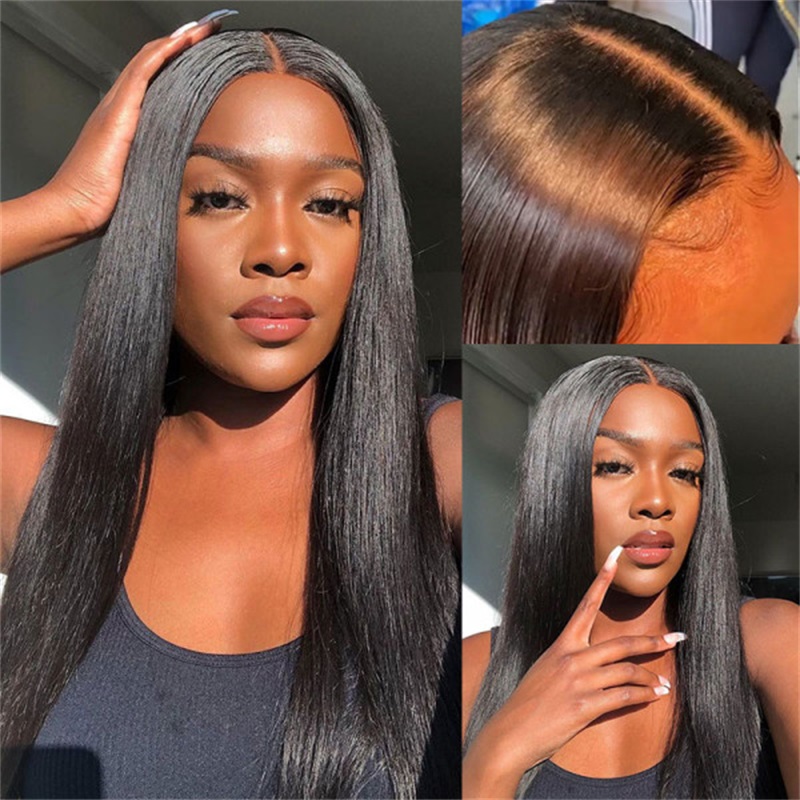
The lace part of wigs is relatively delicate and can be prone to tearing. Does a ripped lace wigs make you feel helpless? Fear not, in this blog, we will provide you the techniques to repair your wigs, ensuring the lace frontal looks as stunning as when you wearing firstly. Now, let’s explore the new territory together!

How To Fix A Ripped Or Damaged Lace Wig---Step By Step Guide
Get Your Supplies:
Your damaged lace wig
Clear adhesive: It is advisable to use a clear strong adhesive to avoid visible marks on the lace.
Scissors: Go trim the loose threads and uneven edges around the tears.
Tweezers: It is used to carefully handle the soft to avoid secondly damage.
Needle and thread: Choose the thread color that matches the lace color to avoid the obvious seams.
STEP1: Clean the damaged lace of wig
Before starting the repair, ensure that the lace is clean and free-adhesive. Using a special mild shampoo and conditioner to gently wash the lace without excessive tugging and rubbing. After cleaning, pat it dry with a soft towel to air dry.
STEP2: Trim the excess lace
Trim excess and uneven lace. Be carefully not to cut too close to the hairline to avoid the secondary damage.
It is not recommended to comb your hair after mending, as you run the risk of tearing the lace again.
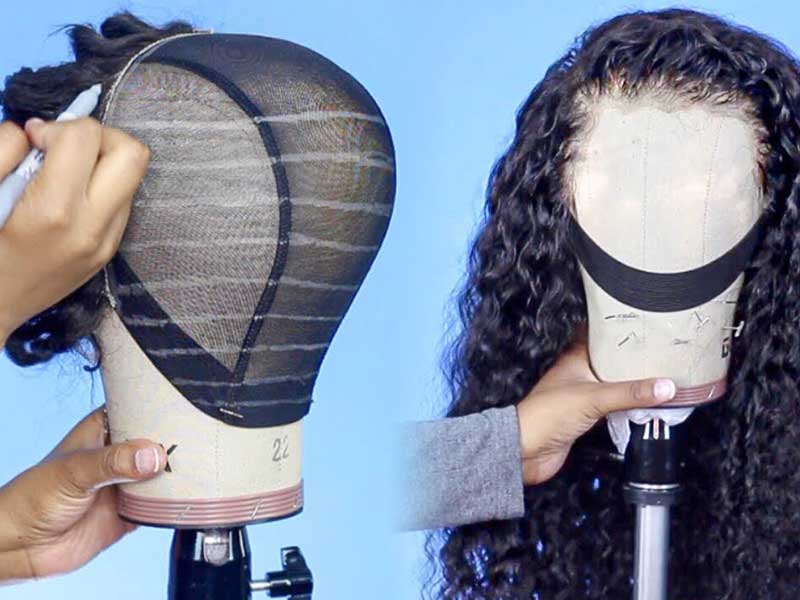
STEP3: Fixed and aligned the lace
To avoid the wig lace from moving during repair, place it on the wig holder or attach it to a foam head. the gently align the edges of the tear to ensure smooth alignment.
STEP4: Repair the hole or tear
To create an imperceptible patch, use a small needle to stich along the edge of tear or hole. Careful handle it and make sure the sutures are smooth and firm enough to hold the lace in place.
STEP5: knot and secure the thread
Sew along the entire tear or hoke, tying a knot at the end of the thread to secure it. Slowly trim away the excess thread, making sure not to cut the lace during the processing.
STEP6: Inspect the sutures
Inspect the repair to make sure it is strong and cannot be sutured with the rest of lace.
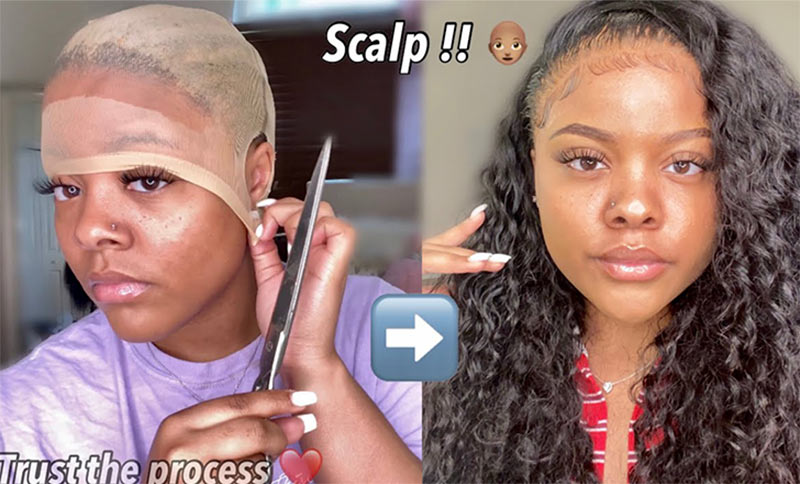
Once wig repairing is complete, you can style your wig.
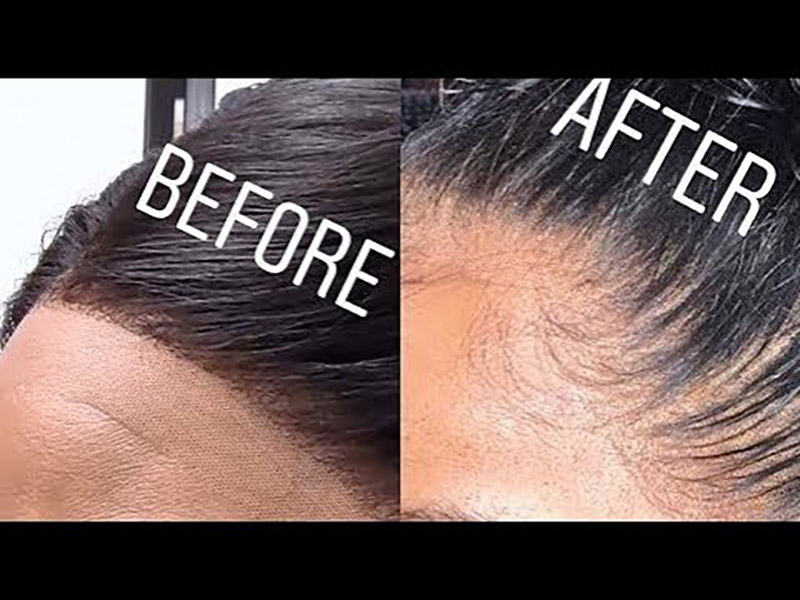
By following these steps, you have completed the entire process of fixing the lace wig. It may not be as challenging as you imagined. You will regain a lace front wig that looks relatively natural. Up close, the repaired lace section may have some imperfections, but at a normal social distance, it won't be too noticeable.
Final Words
It is important to note that while these steps may help with small tears or damages, they may not be sufficient to deal with large tears or more serious damage of wigs. In this case, it is best to seek profession help.
In short, repairing a ripped lace front wig is not a difficult task, but requires detailed steps, patience and the tools. By following these steps, you can effectively repair these tears or holes on your lace front wig, ensuring that it is looks natural and seamless when you wear. Remember to take your time and careful handle to achieve the best result.
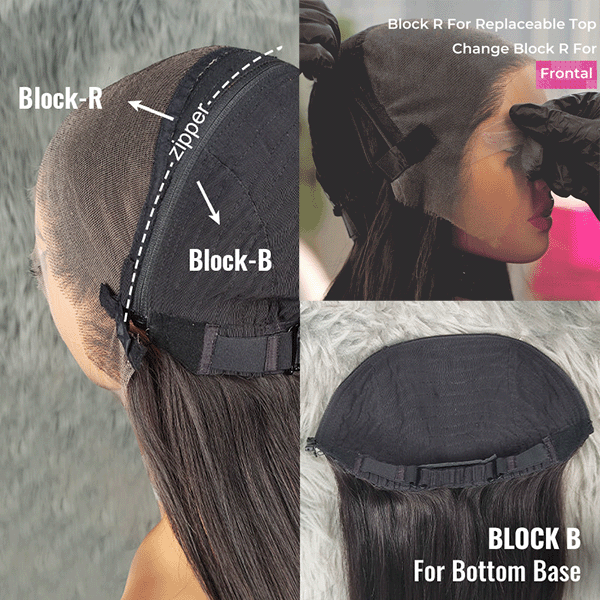
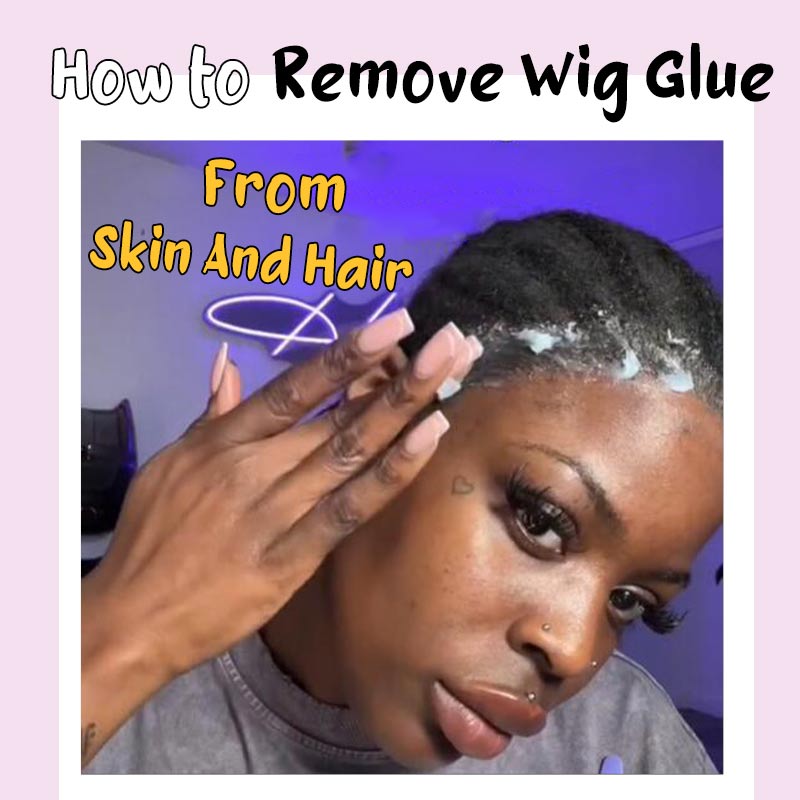
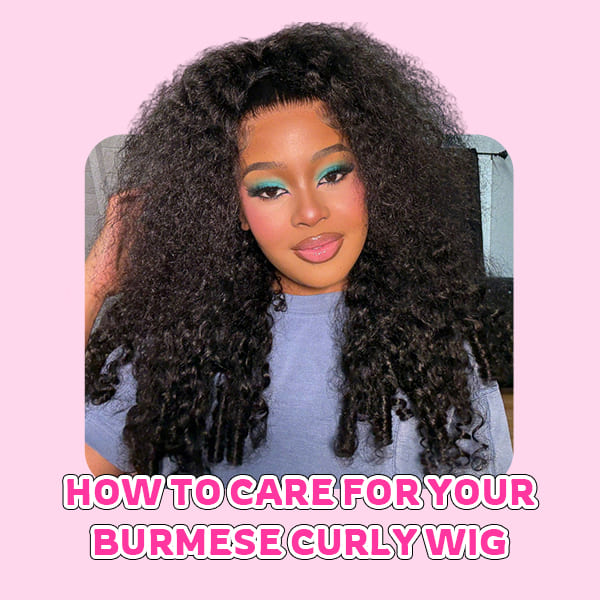
You might want to check these posts:
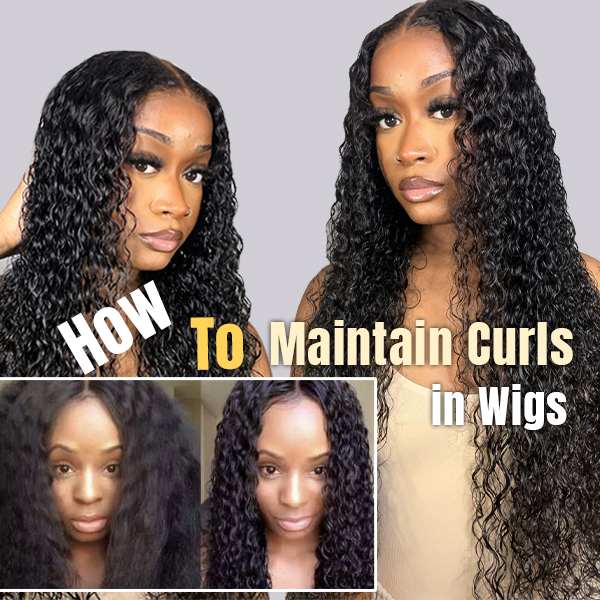
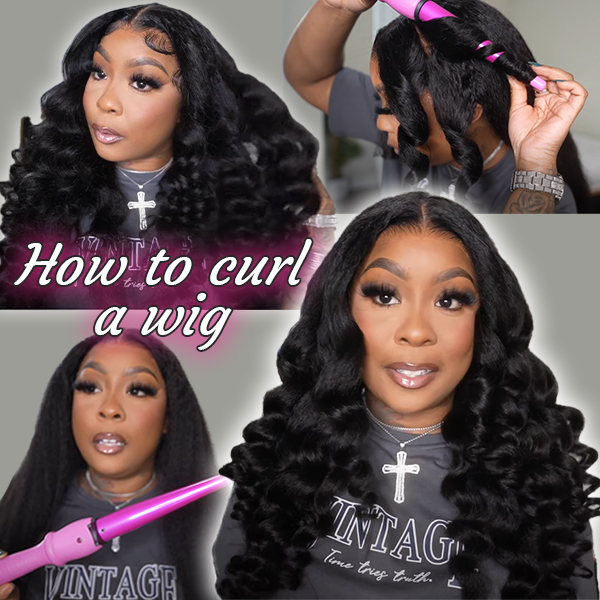
How To Style A Curly Wig?
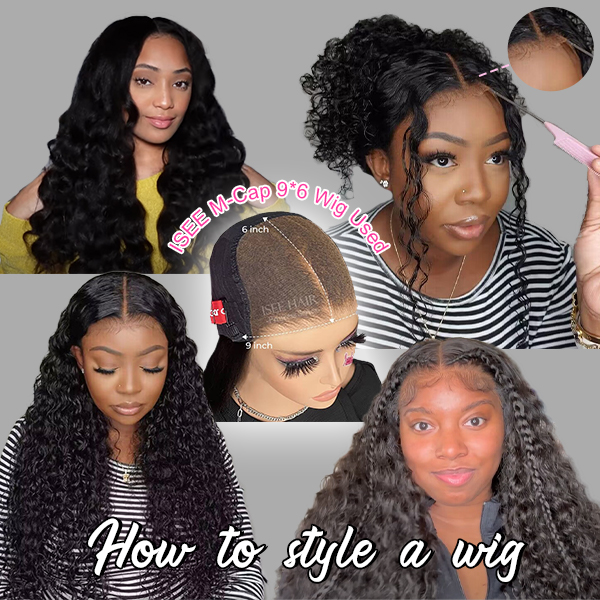
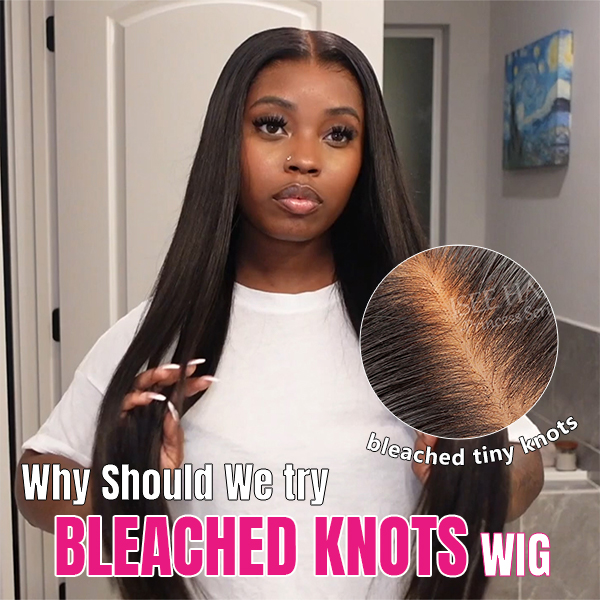
ISEE M-Cap Wear Go Wig-Why You Must Try


