
 {{ wordsItem.word }}


 {{ item.rate }}


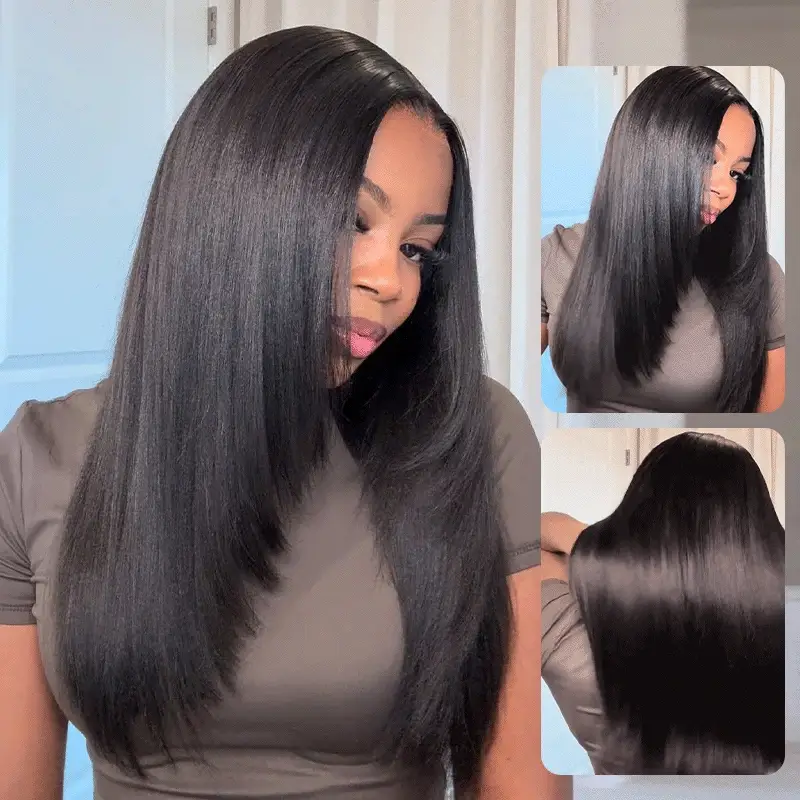
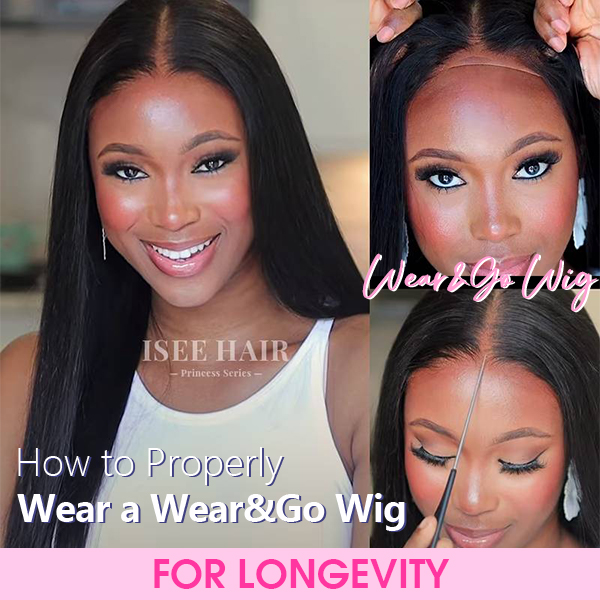
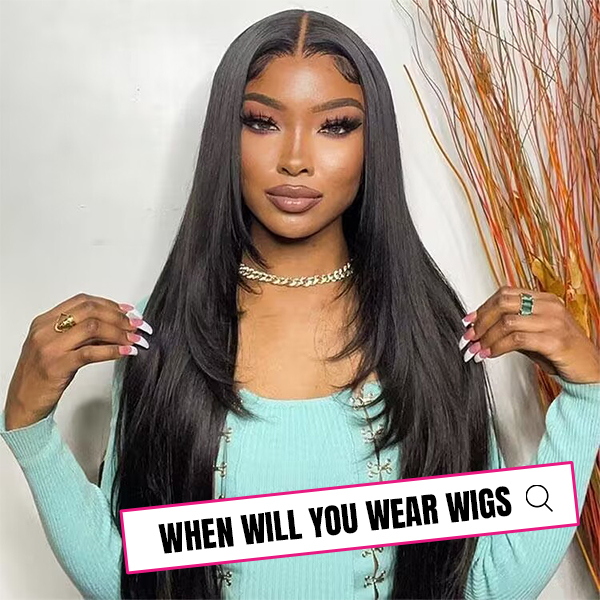
Quick weaves are popular among women because of its ease of achieve and remove. If you are going to purchase hair bundles or extensions for a quick weave hairstyles, don’t miss this article. You will learn about the definition of the quick weave, its pros and cons and how to install a quick weave in today’s blog post.

What Is a Quick Weave?
A quick weave is a hair extension method where tracks, hair wefts, or hair bundles are glued onto a protective cap. This weaving technique involves using bonding glue to attach the extensions to the wig cap, allowing for a faster and more effective way of achieving a new hairstyle or adding length and volume to one's hair.
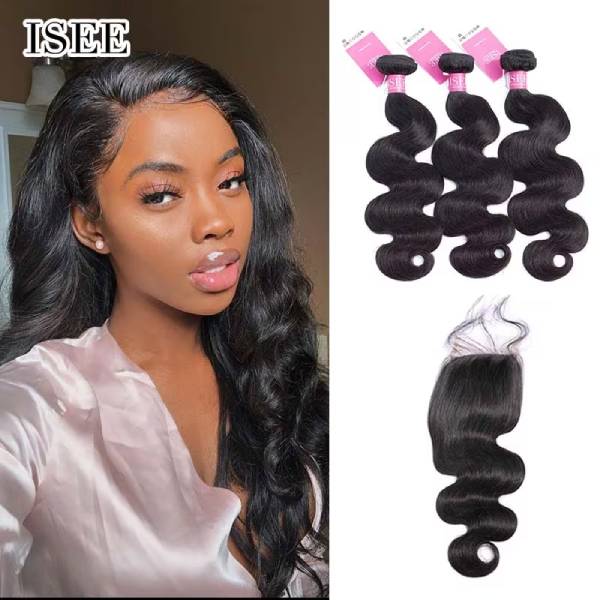
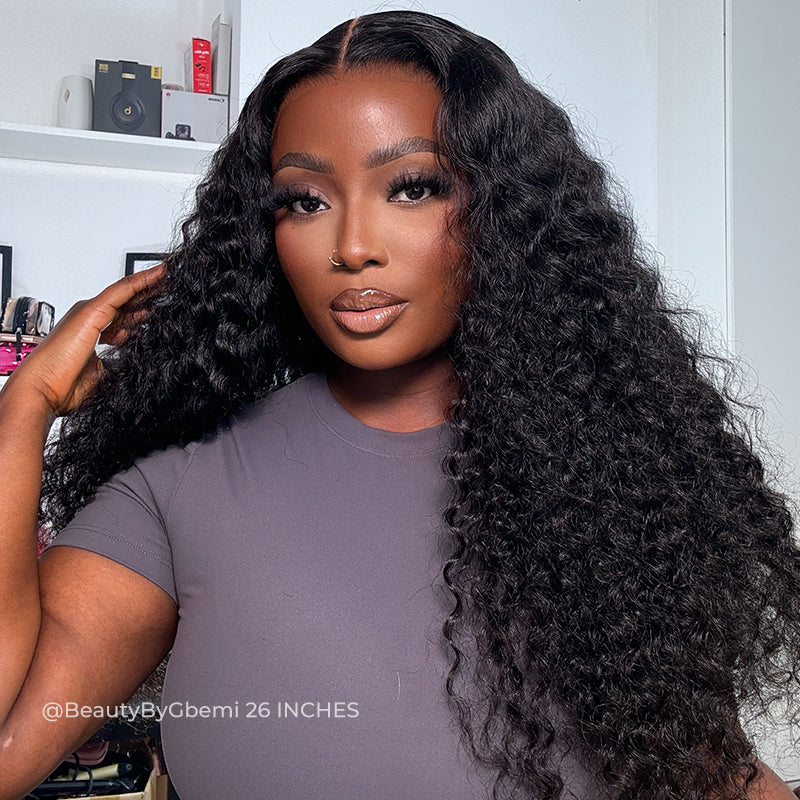
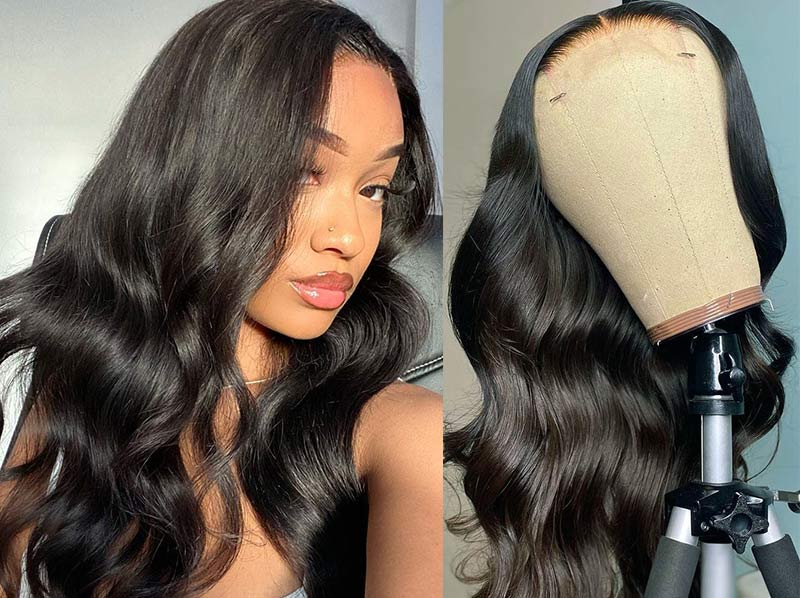
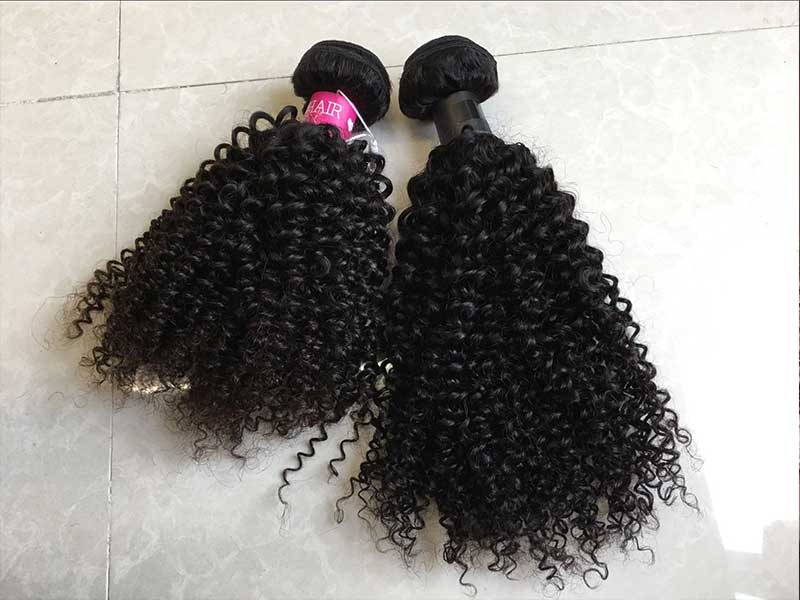
ISEE HAIR Body Wave Bundles 10A Grade 100% Human Virgin Hair
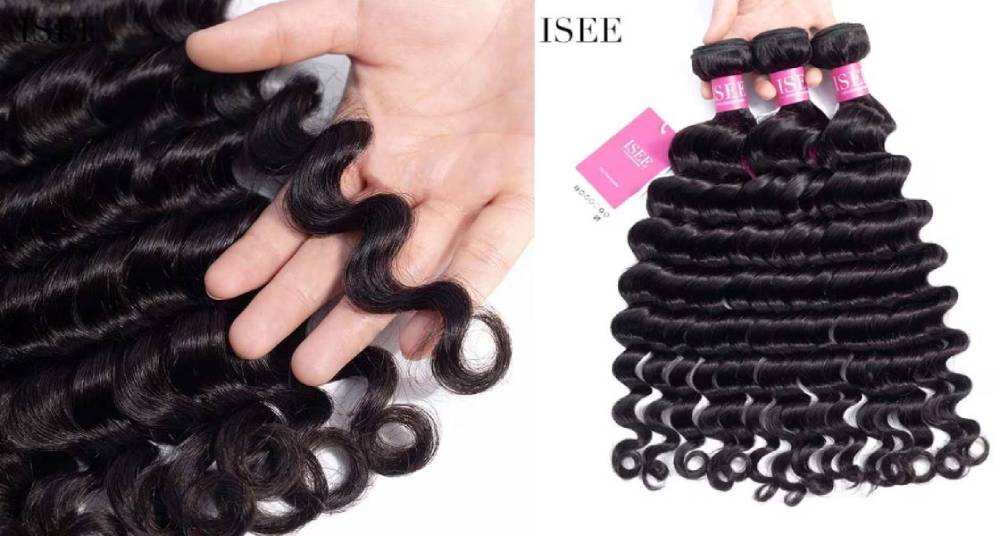
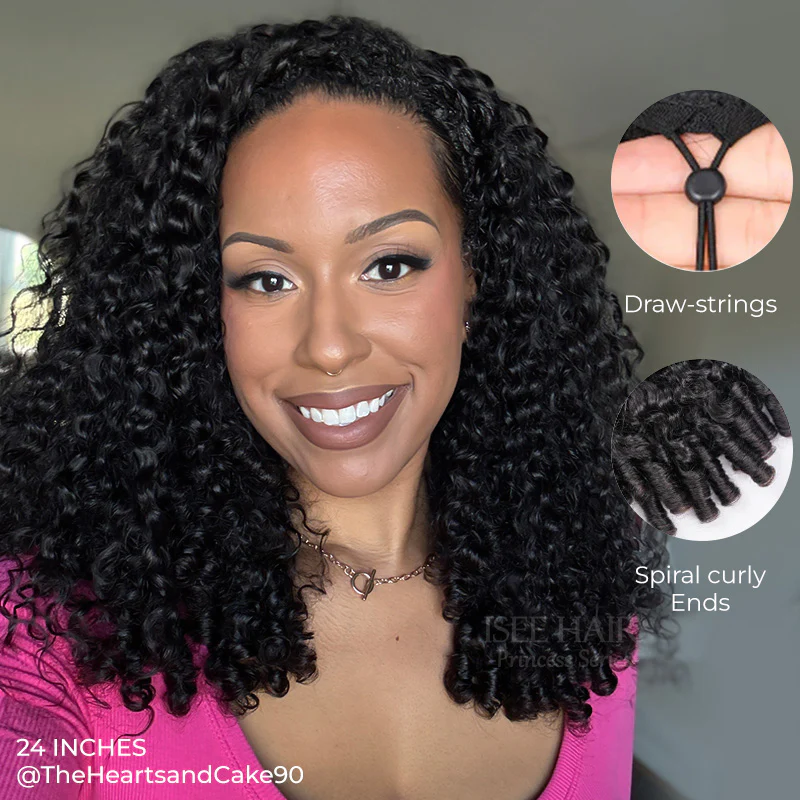
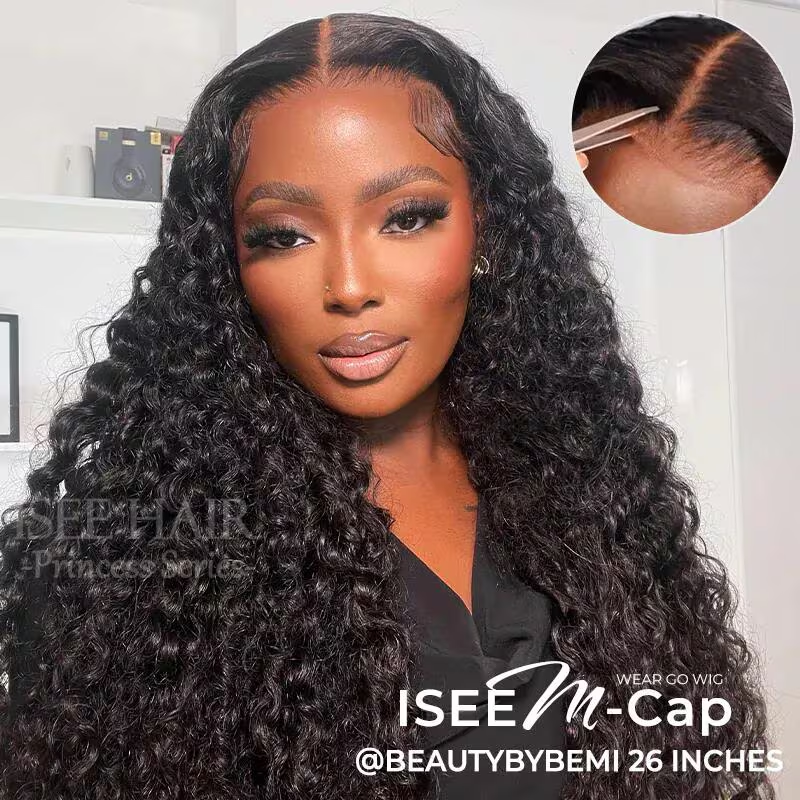
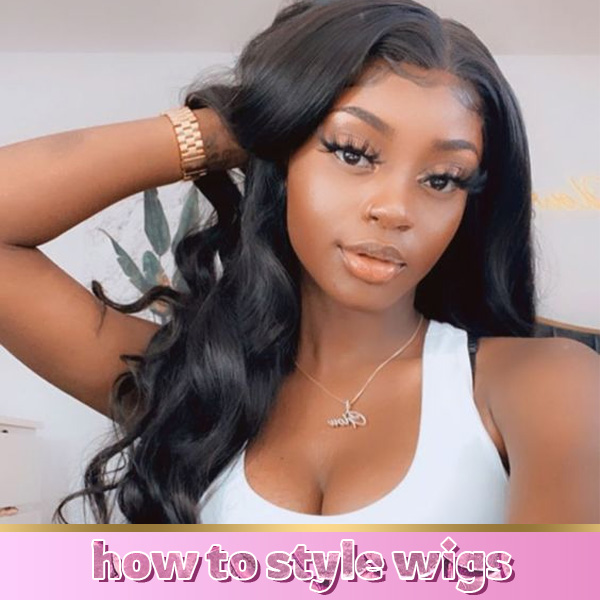
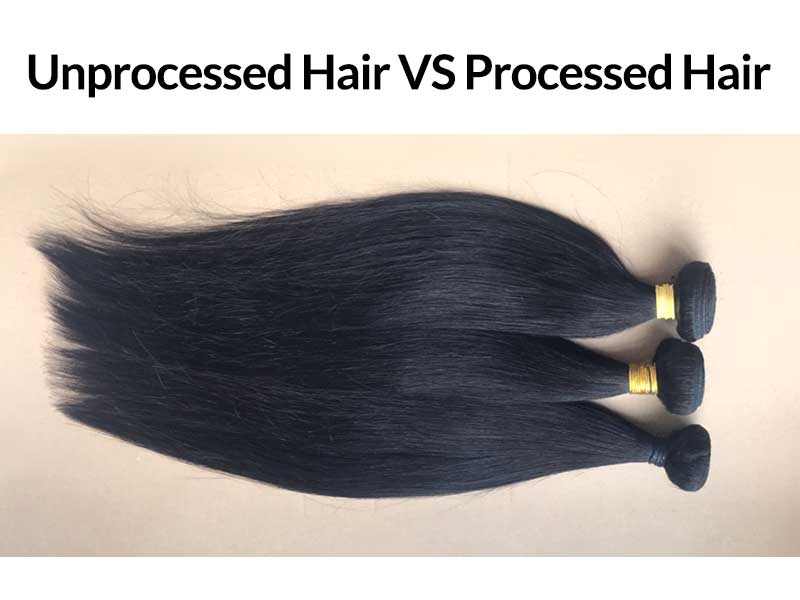
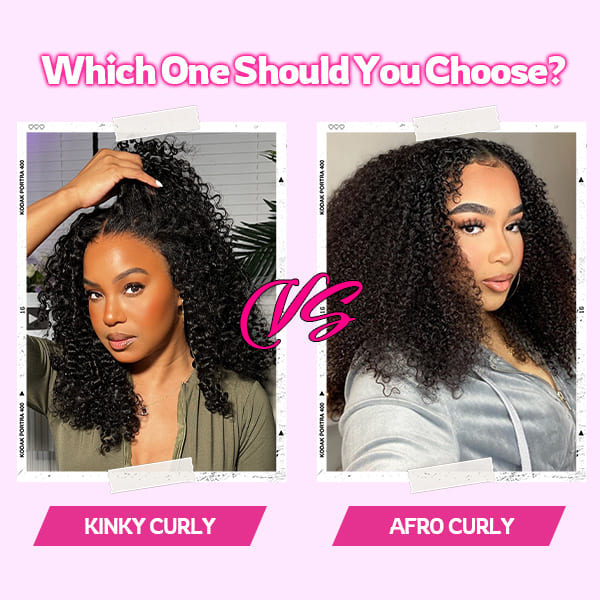
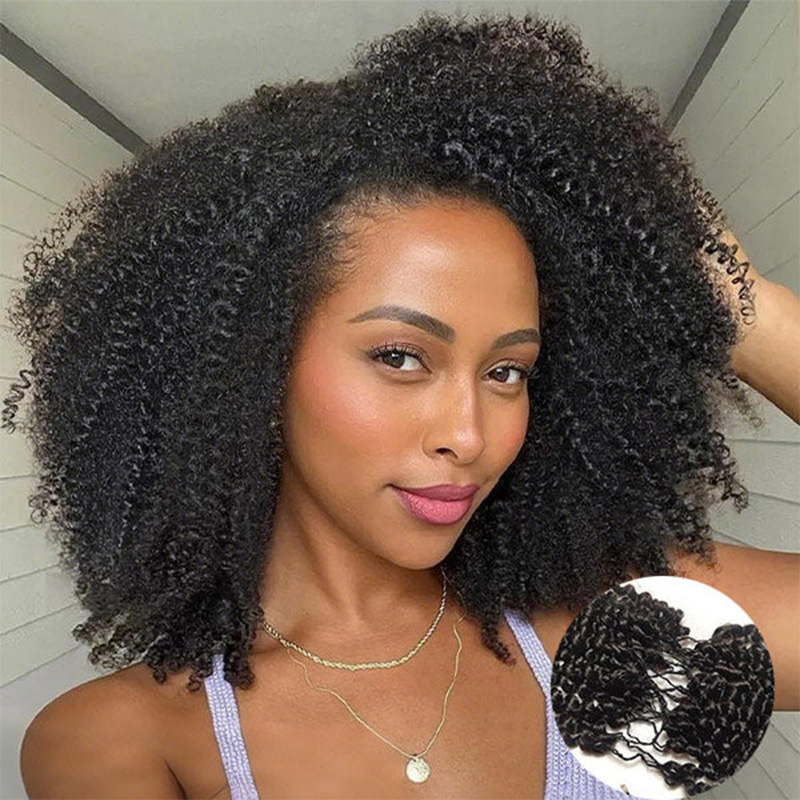
At ISEE online shop, we offer many textures of human hair bundles or extensions, such as straight, kinky curly, body wave and more. These come in different colors and various hair weft lengths, giving you the freedom to unleash your creativity and achieve your desired look.
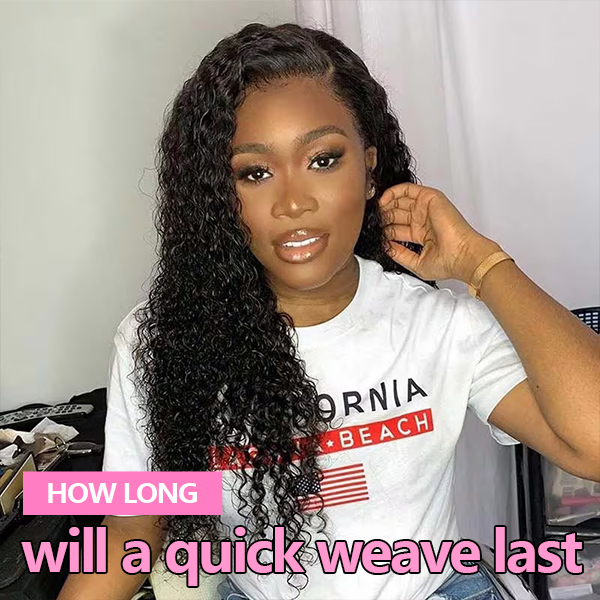
How Long Will a Quick Weave Last?
Most quick weave will last about a month. In fact, we recommend not letting a quick weave last longer than a month, although some believe that with proper application and careful maintenance it will extend its life. It's important to note that leaving a quick weave in for too long might lead to potential damage to the natural hair and scalp.
Pros And Cons Of a Quick Weave
Pros:
Affordable
Quick weaves tend to be more budget-friendly compared to some other hair extension methods, such as traditional sew-in weave. The glue needed to install hair extensions is cheap, even if you go to a barber store to achieve a quick weave hairstyle, it won't be very expensive, and it will be even cheaper if you install it yourself at home.
Less Maintenance
If you have busy daily routine, a quick weave may let you satisfied. It really won’t need too much attention or care on a daily basis, all I can think of is putting your quick weave up at night with a silk cap when sleeping, but it seems to be necessary for all wigs.
Less Tension On The Hair
Comparing a traditional sew-in weave to a quick weave, the former requires pre-cornrowing the hair and directly sewing the hair extensions onto these cornrows. In contrast, a quick weave involves gluing the hair extensions onto a wig cap. The added hair extensions’ weight don't directly pull or exert force on your natural hair and scalp, thereby reducing the tension and pressure on both the natural hair and scalp.
As hair bundles and extensions are directly glued on the wig cap, the glue does not come into direct contact with your natural hair and scalp, and damage to the hair and scalp is weakened.
Faster And Easier
Installing a quick weave is a rapid process, typically taking around one to two hours, which is notably quicker compared to installing a sew-in weave or a lace frontal wig. Moreover, you can easily perform a quick weave installation at home by yourself.
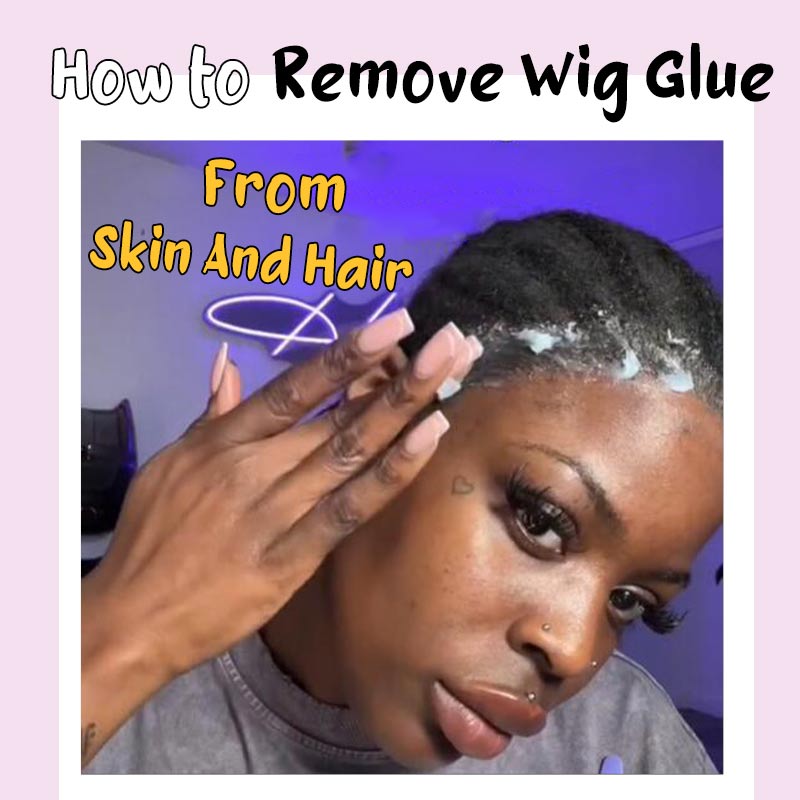
Easy To Remove
Unlike more permanent sew-in weave, we need to visit a pro. Removing a quick weave is relatively simple. We can use a specialized product designed to dissolve the bonding glue used in the quick weave by ourselves at home. Any oil-based product and warm water can be used to remove a quick weave if you don’t want to invest extra remover products.
Cons:
Shorter Lifespan
The lifespan of quick weaves is shorter than sew-in weaves, a sew-in weave is stronger and more secure than a quick weave, which means a quick weave may need frequent replacement.
Potential Damage
Because the installation process requires glue, there is potential damage to the hair and scalp. Improper application or removal can damage natural hair or cause scalp irritation due to the use of bonding glue.
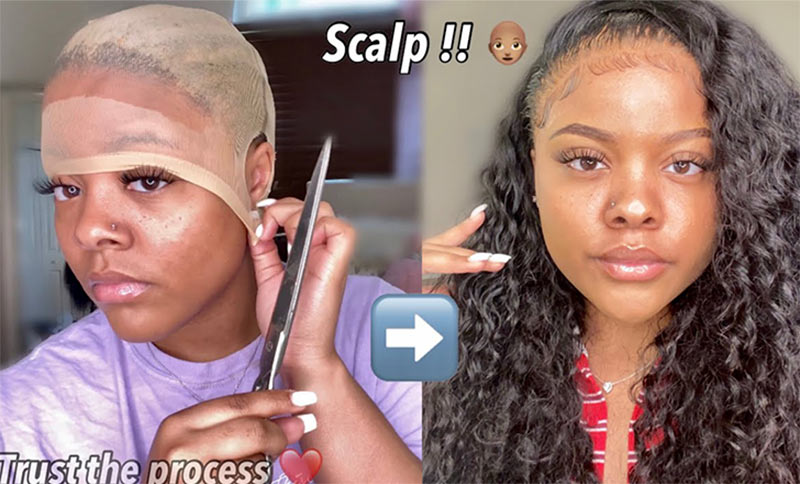
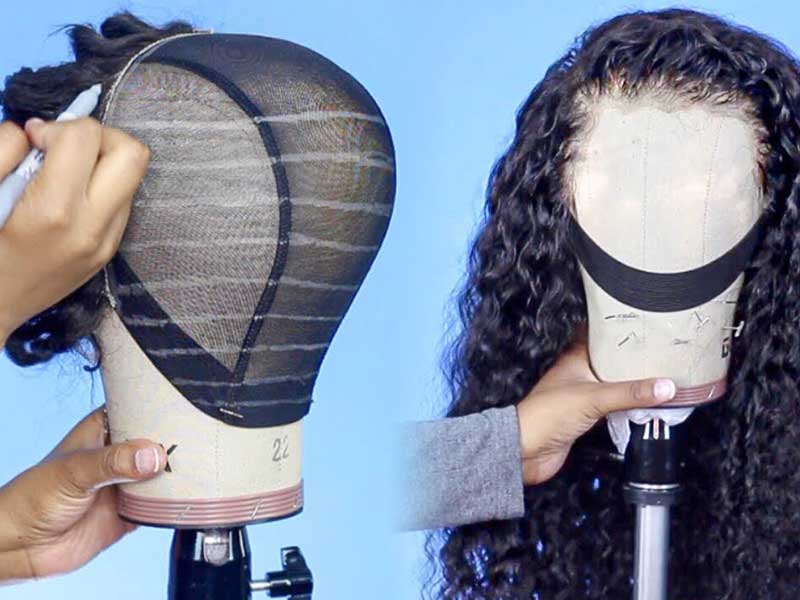
How To Install a Quick Weave?
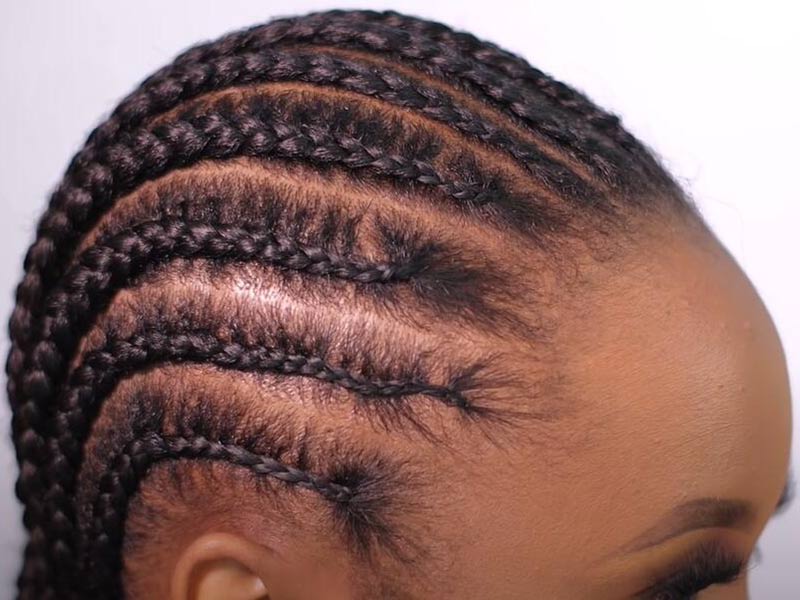
Step one: Whether putting on a wig or a quick weave, the first step is to hide your hair under a wig cap. We recommend preparing your natural hair into cornrows ahead of time.
Note: Don't forget to leave a portion of hair at the hairline unbraided into cornrows!
Step two: After prepared and flatten your hair, it’s time to wear wig cap. For other wig installations, we usually wear one wig cap, but for a
quick weave, doubled the wig caps are usually recommended, due to help absorb most of the glue.
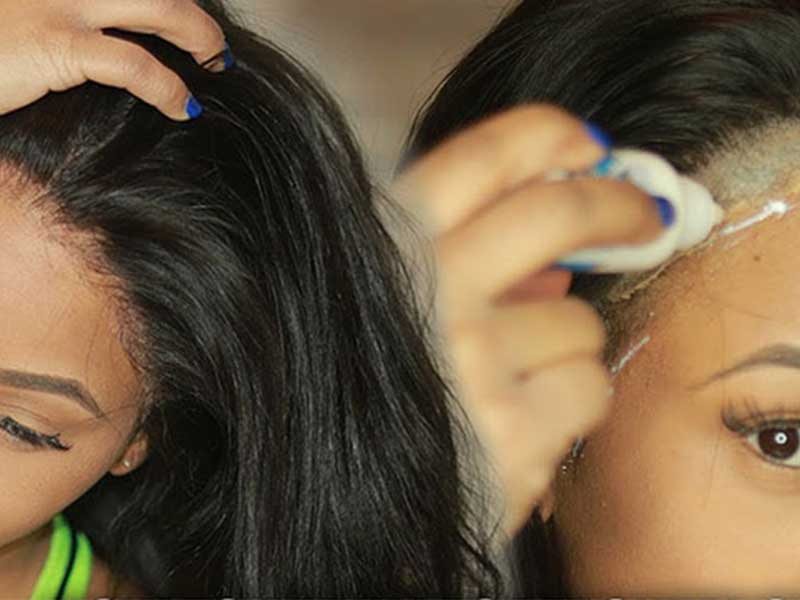
Step three: Take out the extensions that match your desire style and length. Apply a thin layer of bonding glue to the tracks or wefts of the extensions. Be cautious not to use too much glue.
Step four: Carefully place the extensions onto the the wig cap, pressing firmly to secure them in place. Be mindful of the placement to ensure a natural-looking style.
Step five: once all the hair extensions are glued on the wig cap and close to the left out hair area, cut this portion of the wig cap so that the left out hair is exposed and covers the extensions. You can get natural hairline!!
Step six: Imagine your desire hairstyle and style the quick weave as desired.
To Sum Up
Finally, it is worth emphasizing that you should not leave the quick weave on your head for too long, not more than a month. And when the hair extensions become loose and human hair strands become shedding, you should consider removing your quick weave.
Is there anything else you want to know about quick weave? Feel free to comment below.
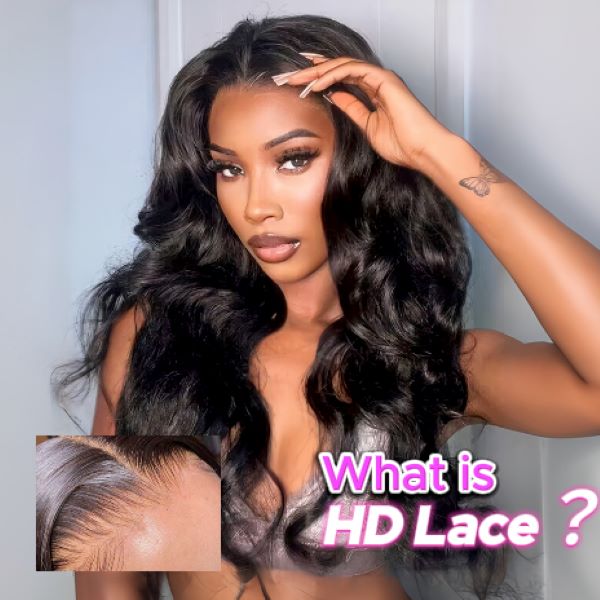
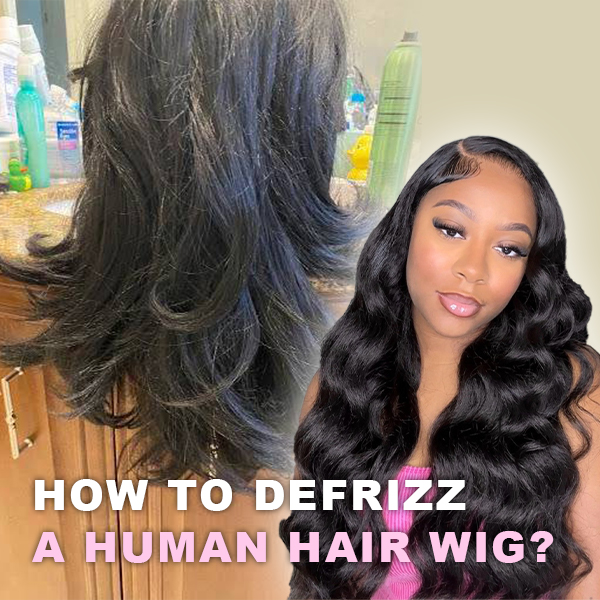
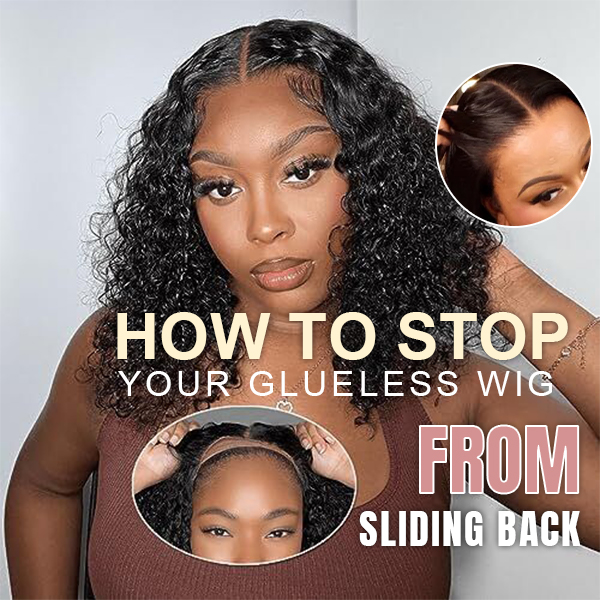
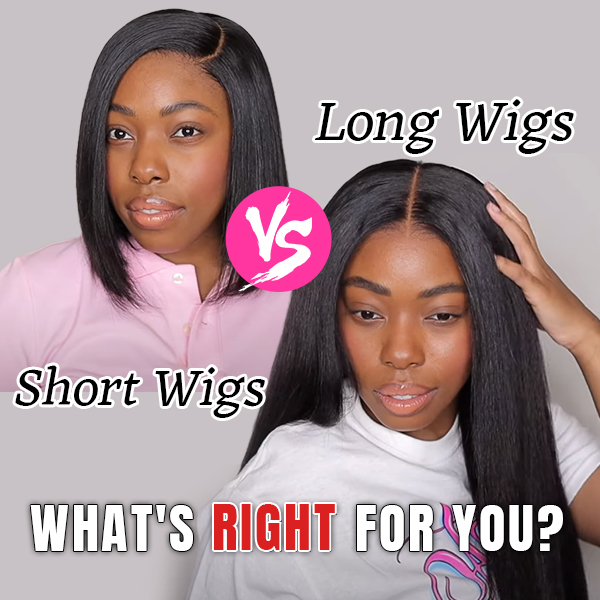
You might want to check these posts:
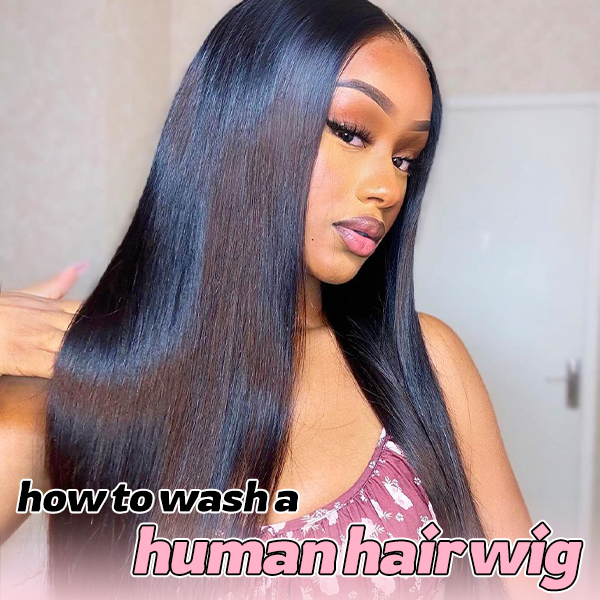
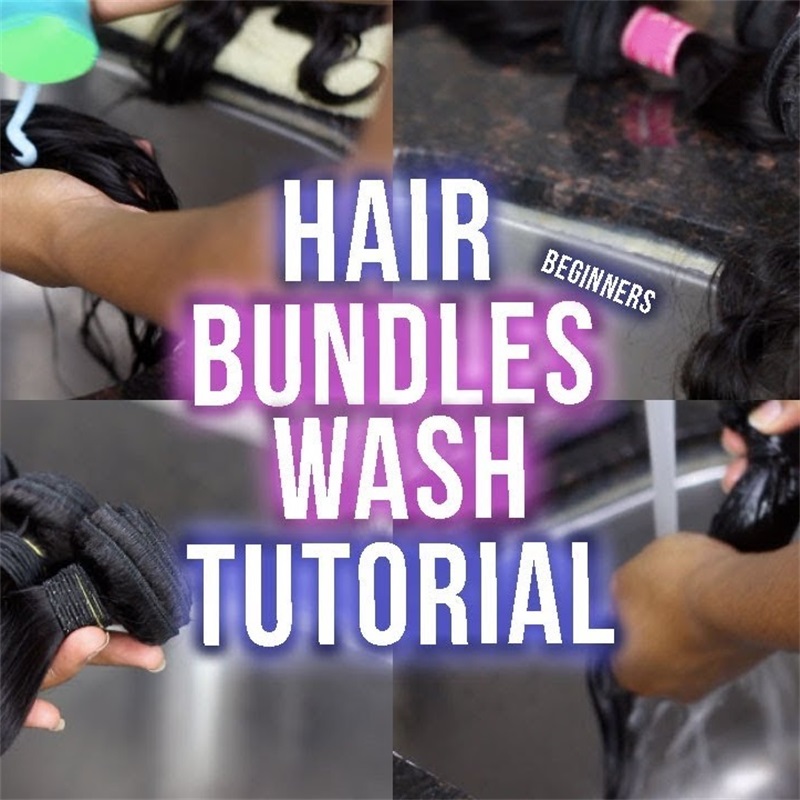
How To Wash Human Hair Weave For Beginners
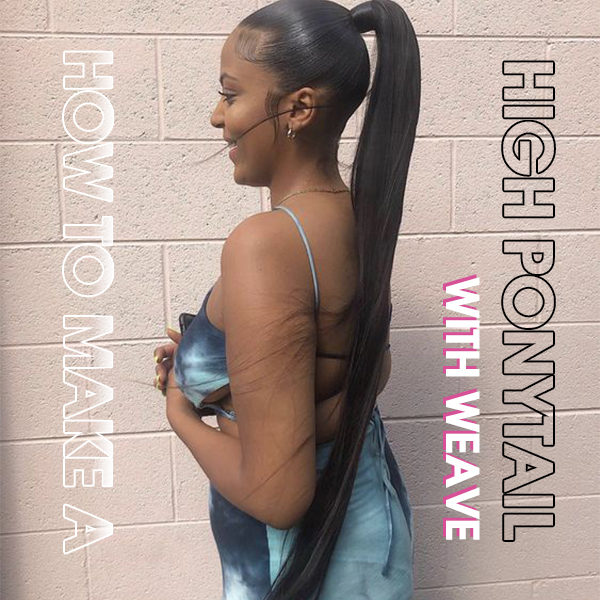
How To Make a High Ponytail With Weave


