


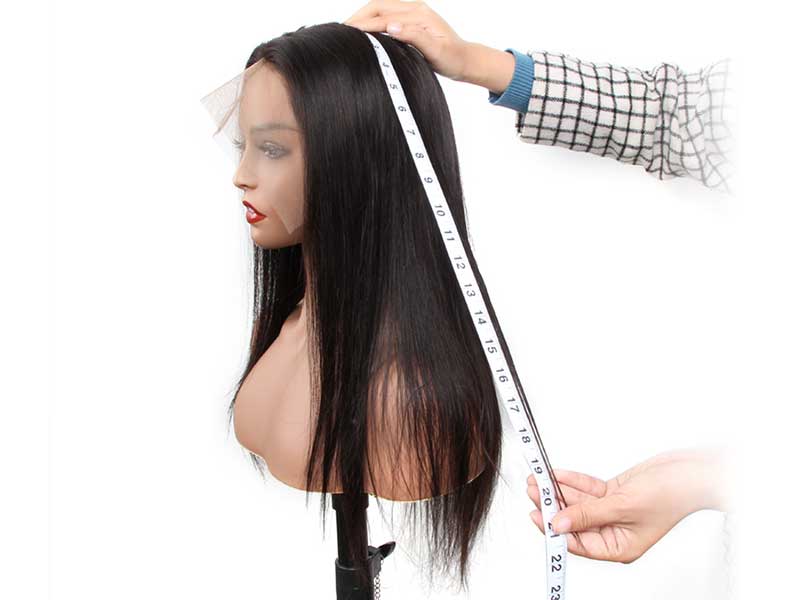
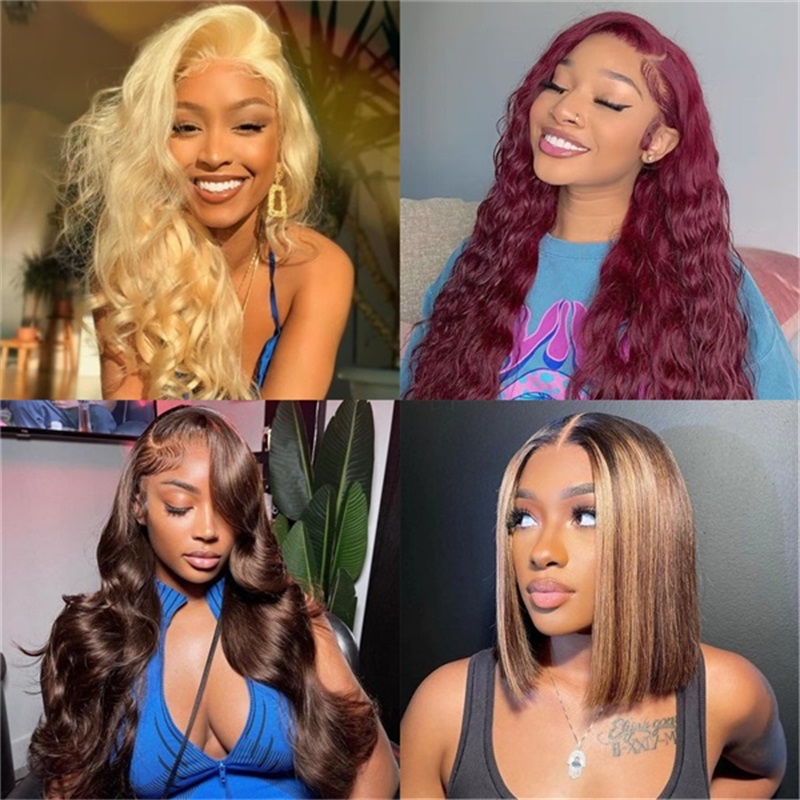
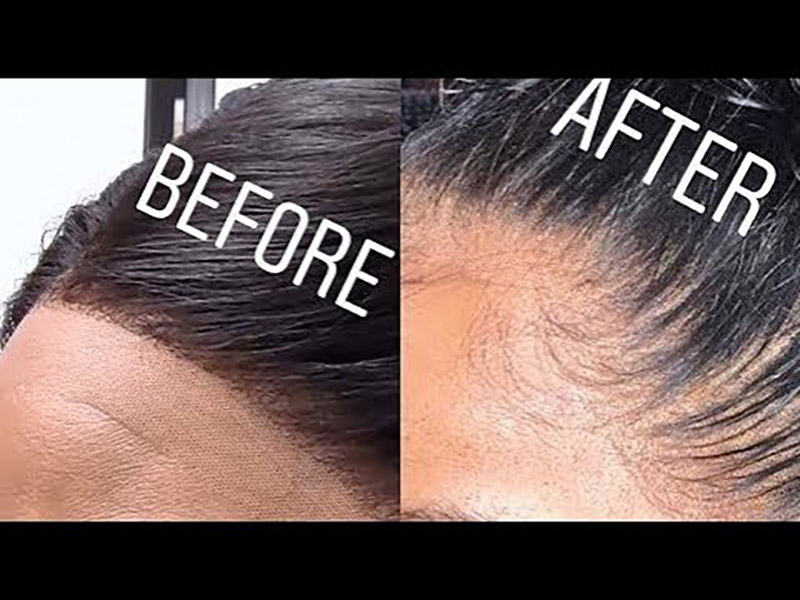
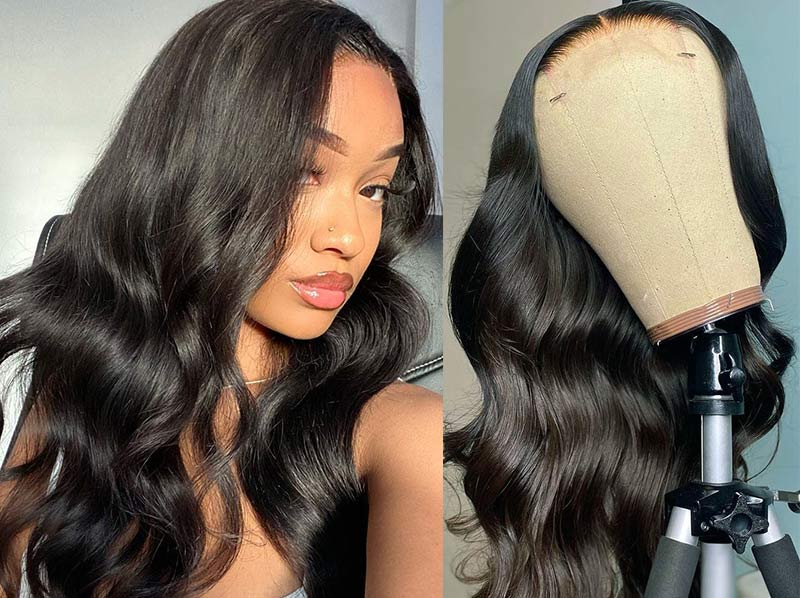
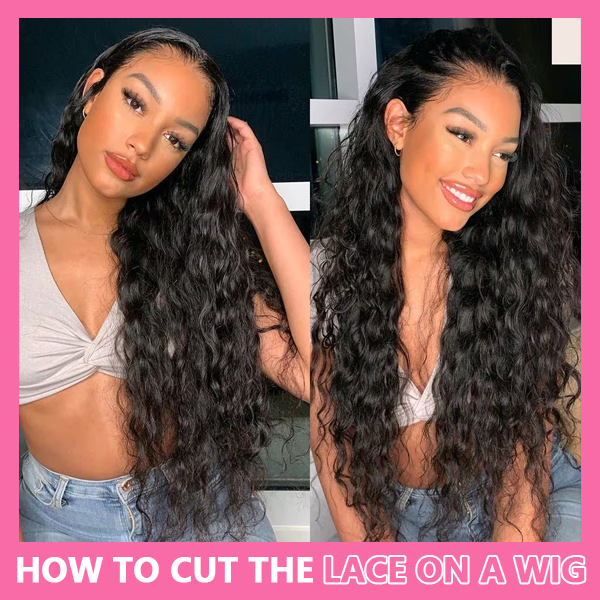
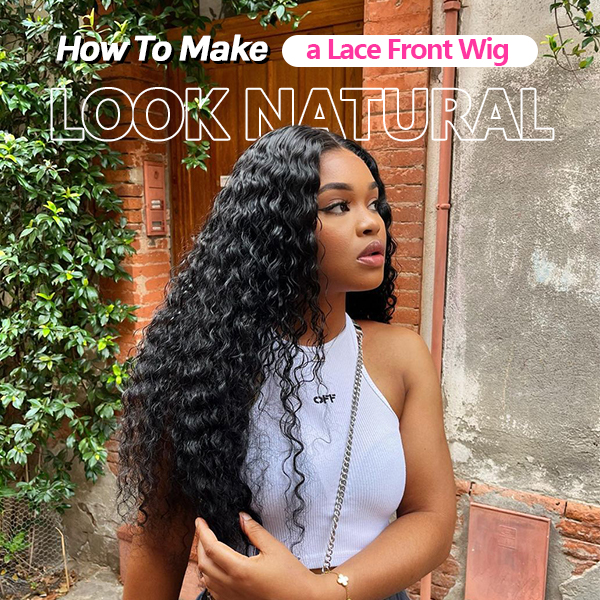
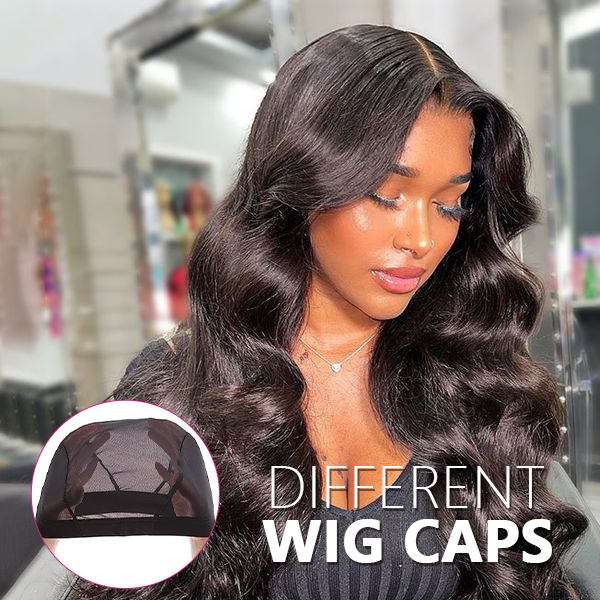
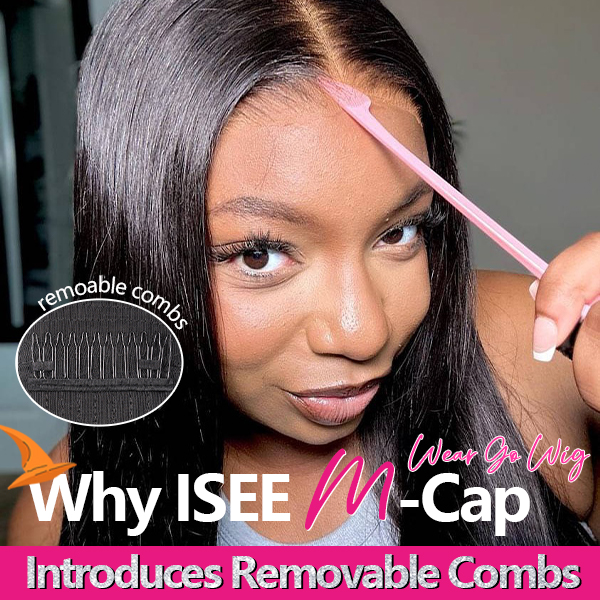
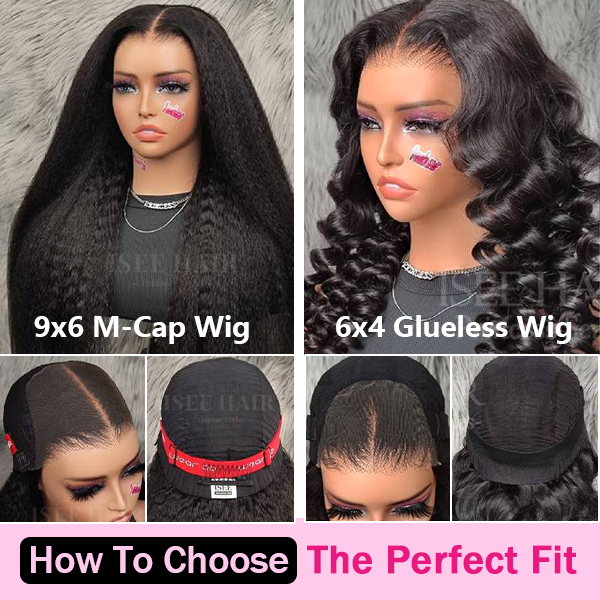
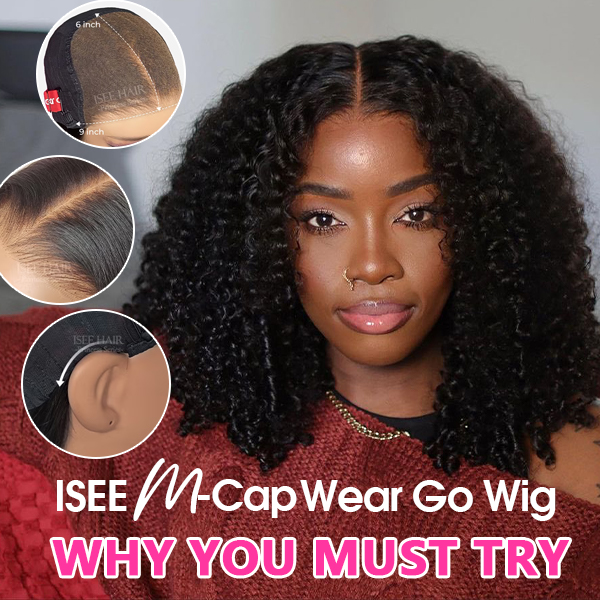
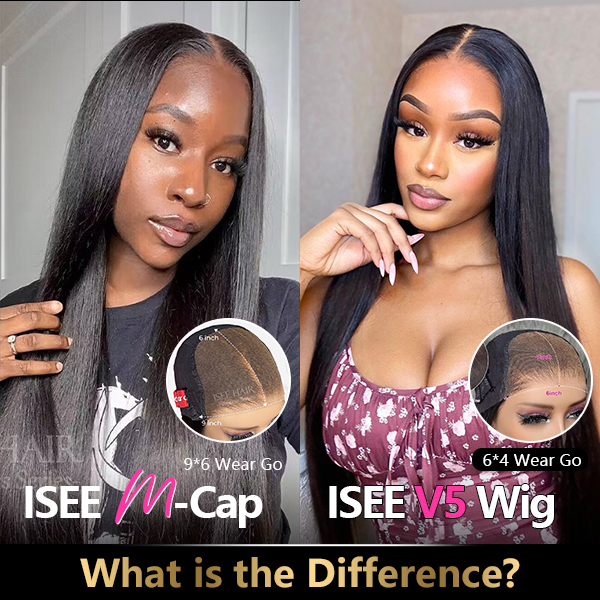
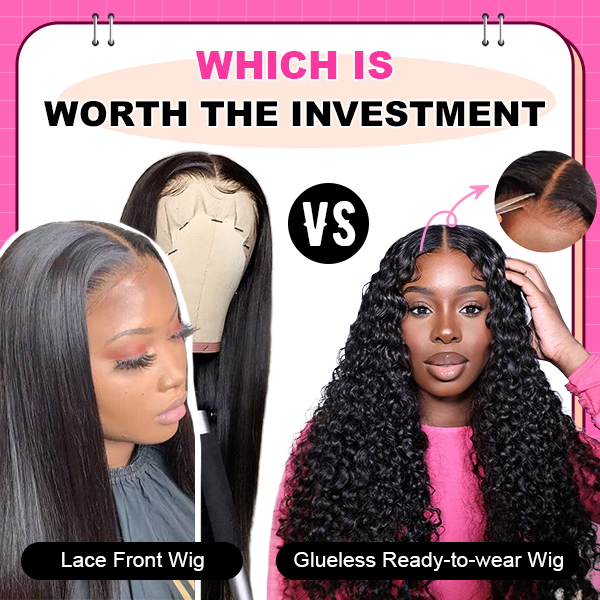
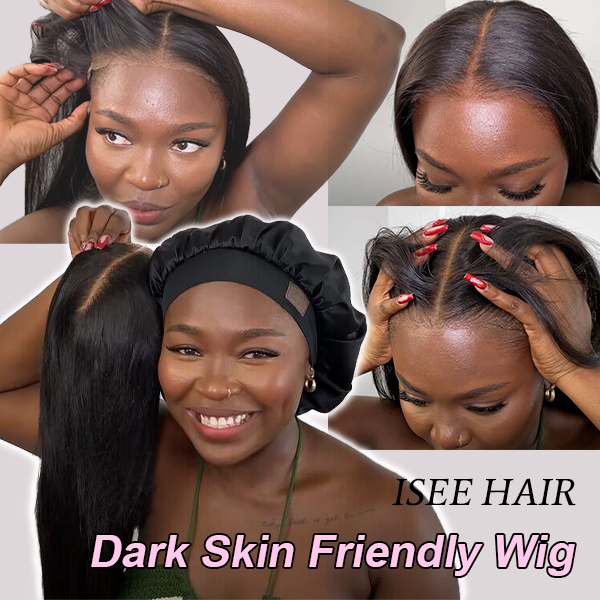
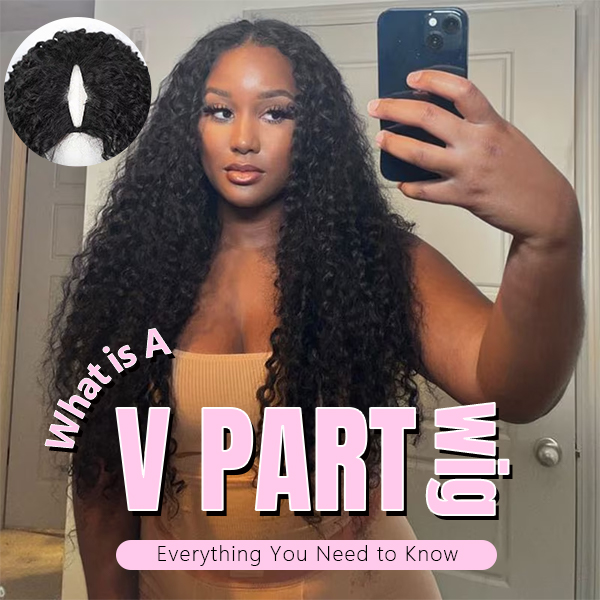
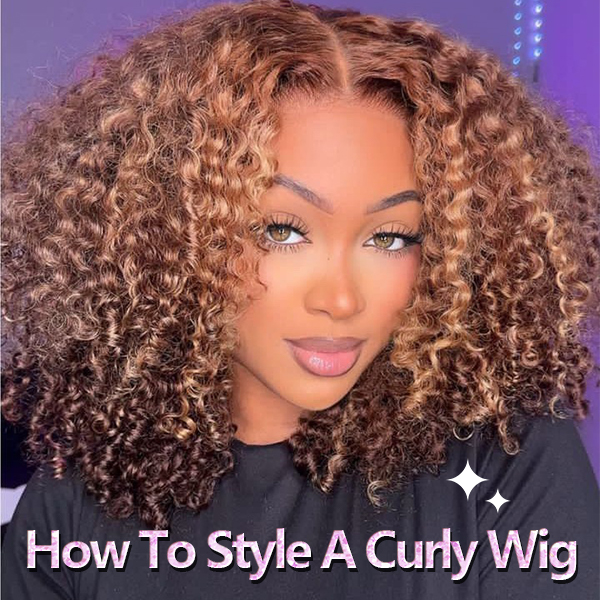
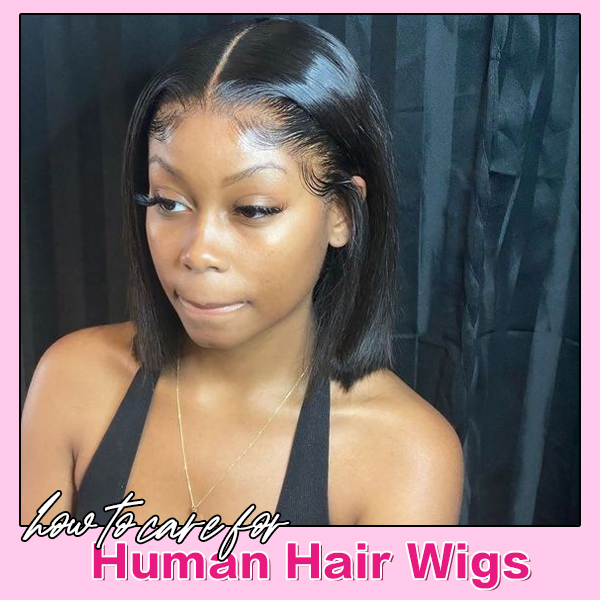
ISEE M-Cap 9*6 wig has a front lace area that is 9 inches wide and 6 inches deep, featuring a larger lace area for more styling and parting options and versatility. What kind of hairstyles can be achieved with the ISEE M-Cap 9*6 wig, and how to do these hairstyles by yourself? Today's article will primarily introduce these contents.
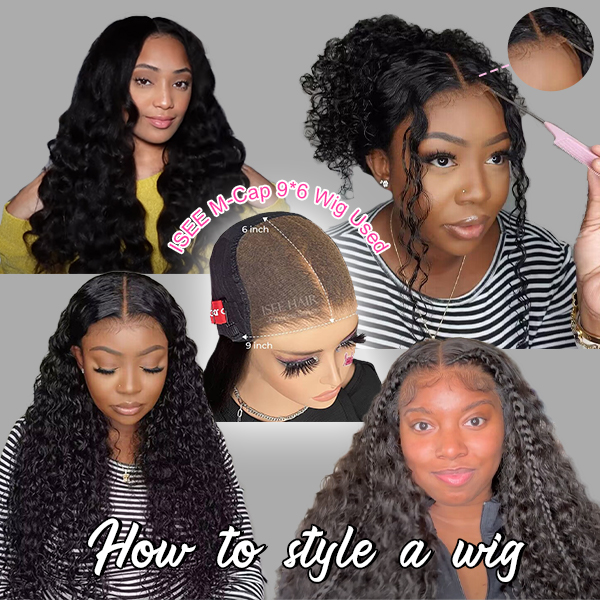
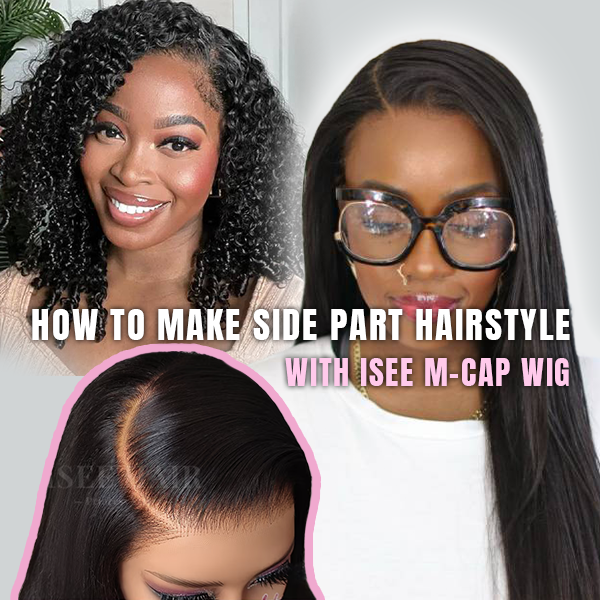
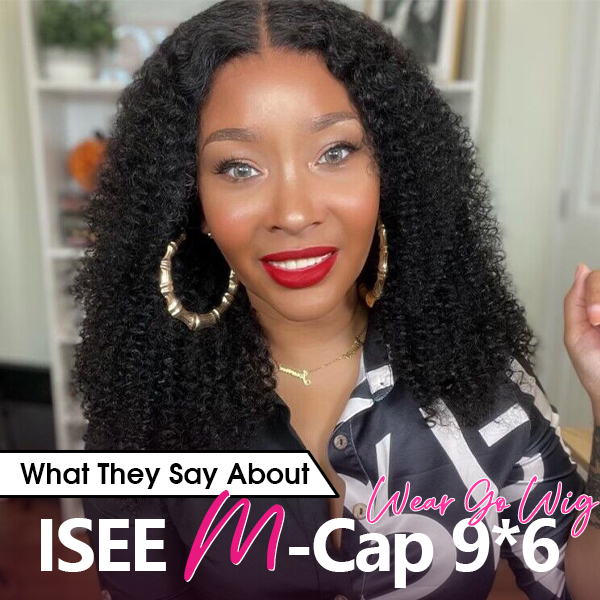
Hairstyle Ideas-ISEE M-Cap 9*6 Wig Used
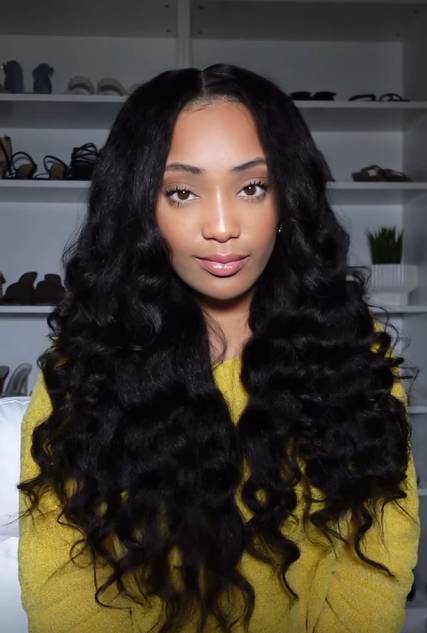
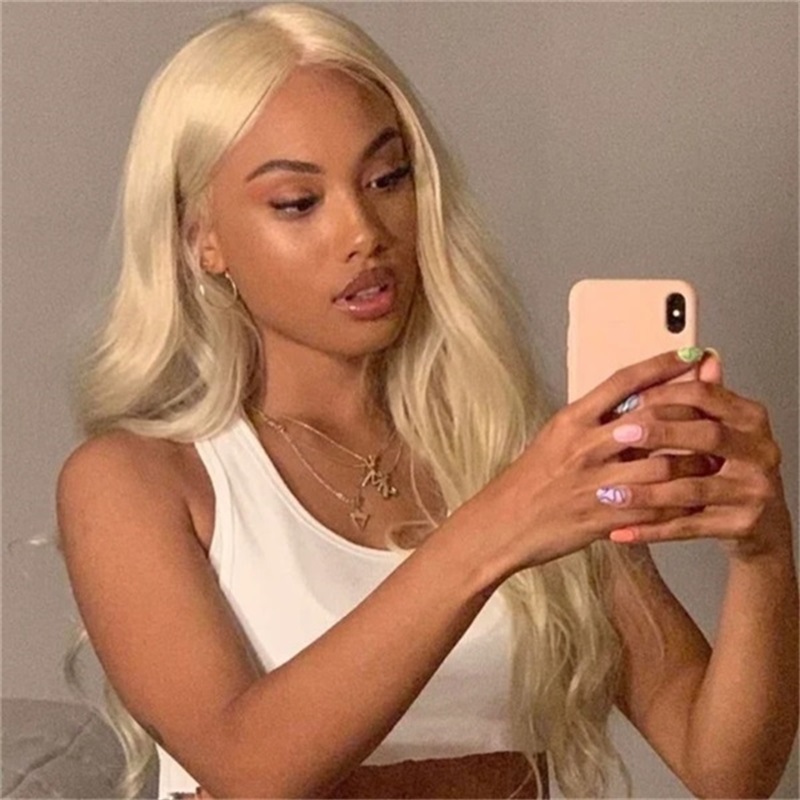
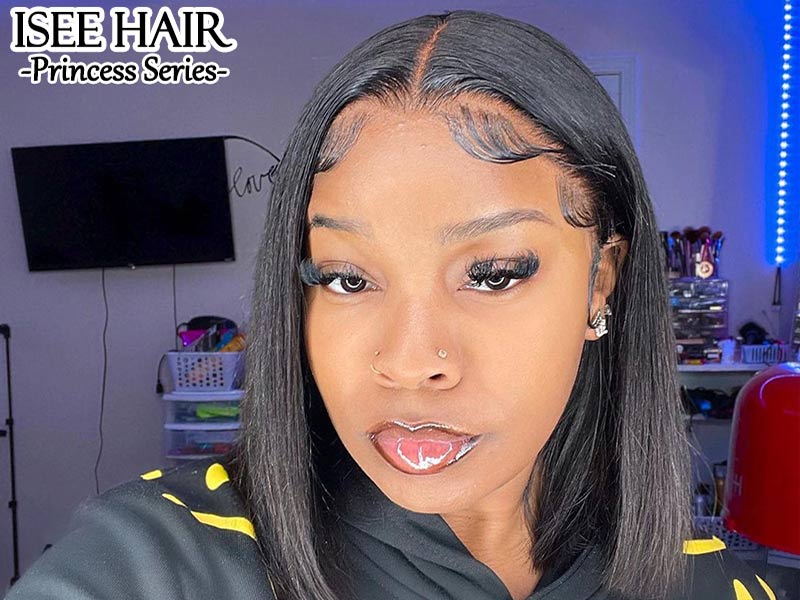
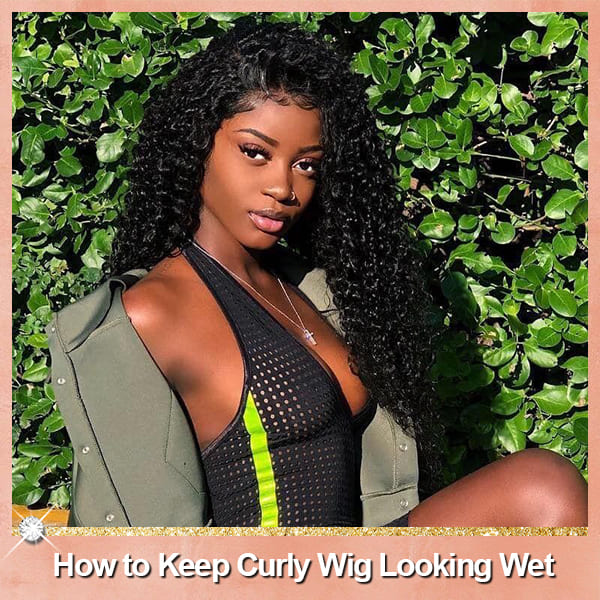
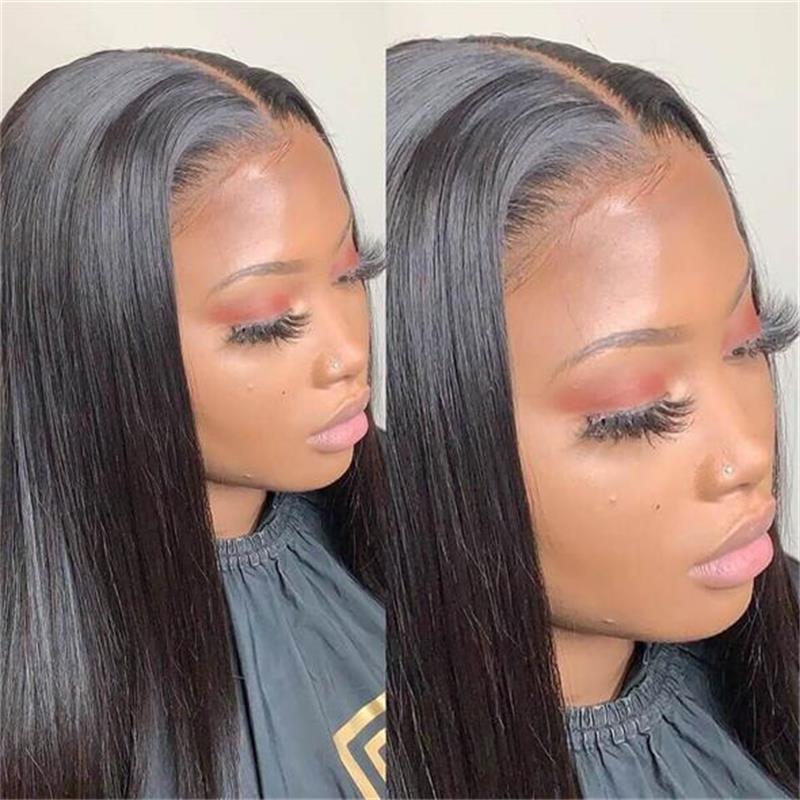
How To Achieve This Wet Look?
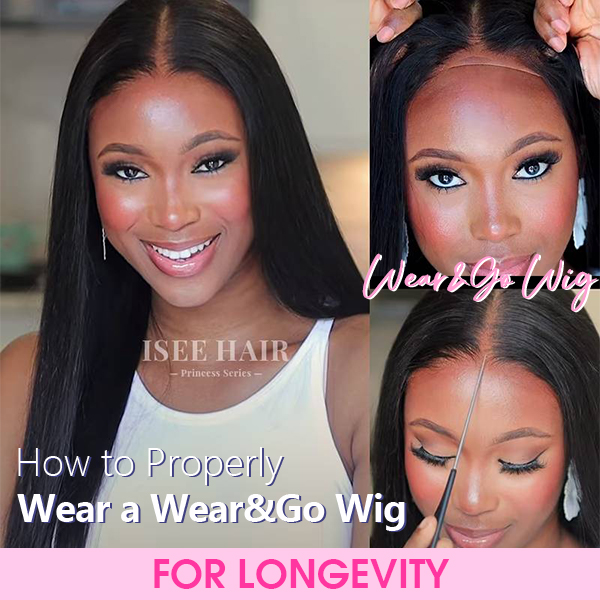
After throw this M-Cap wear go wig on your head, at the top and on both sides of the parting, use some edge control, hair wax, or your hot comb to flatten and smooth the front hair down, making sure it is super flat to achieve a polished look.
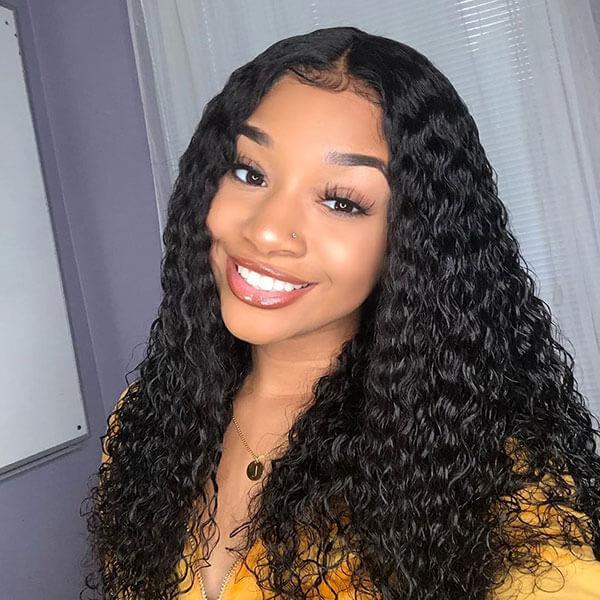
Then complete finger through your newly wearing wig, especially for a curly and wave wig. You need to separate those curls. At this point, you have achieved a voluminous but lack of wet look.
Following evenly apply mousse throughout the entire hair, focusing especially on the tips. Apply an extra layer to the ends, and your hair will appear moisturized and wet.
Let's go ahead and continue designing beautiful and natural-looking hairstyles.
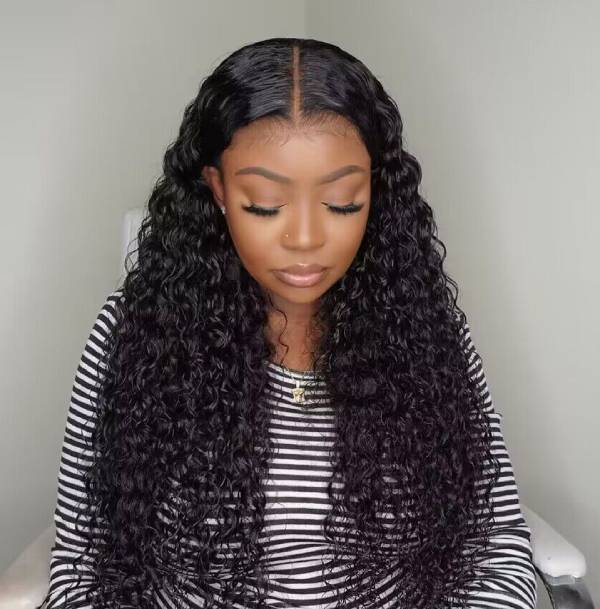
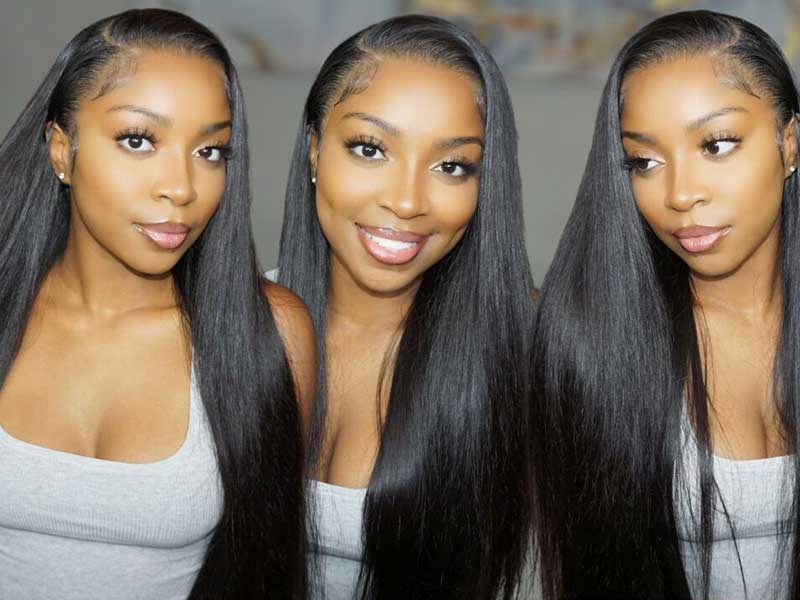
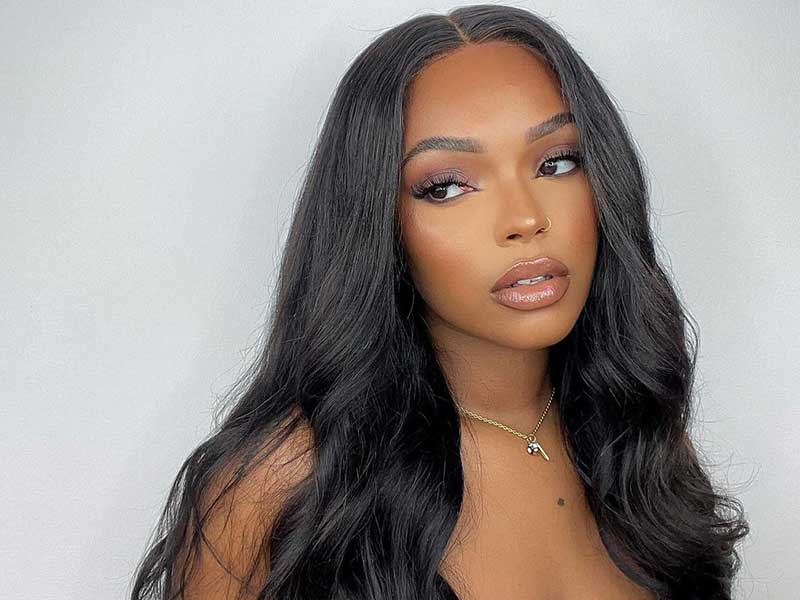
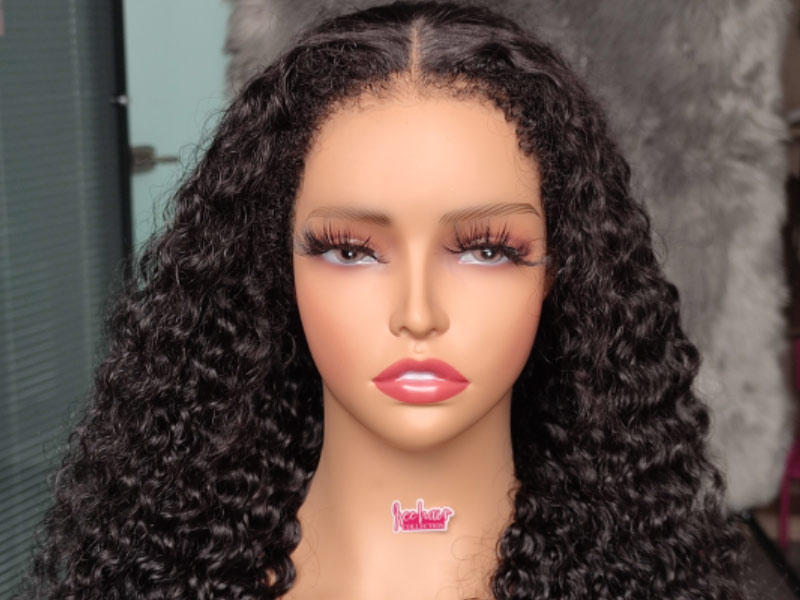
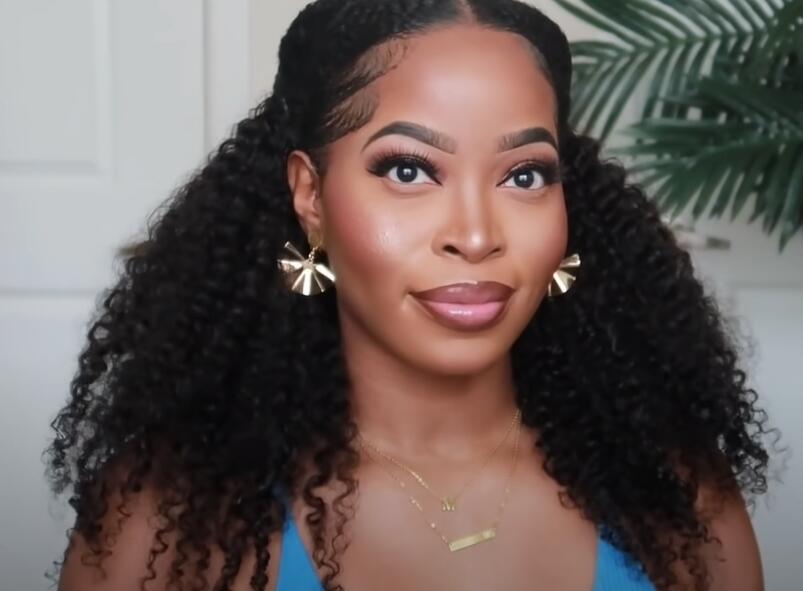
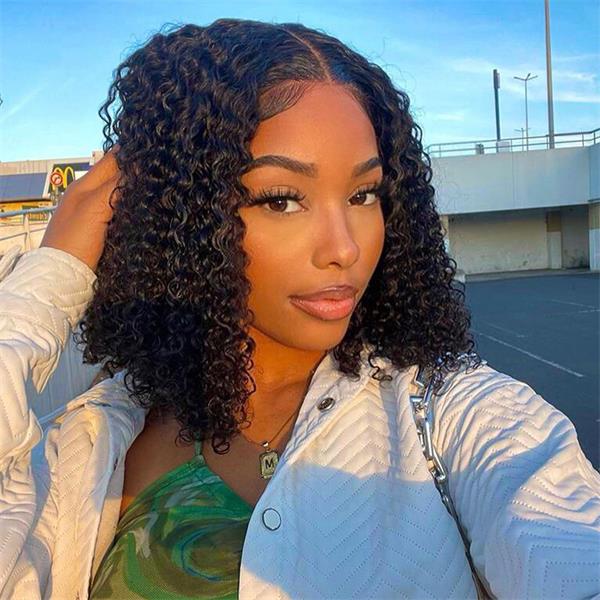
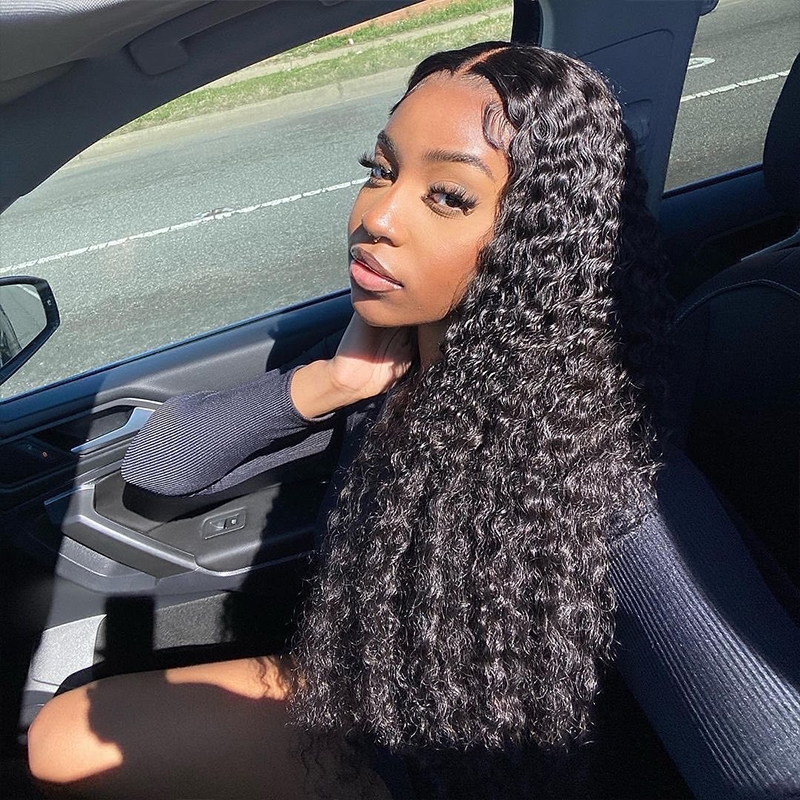
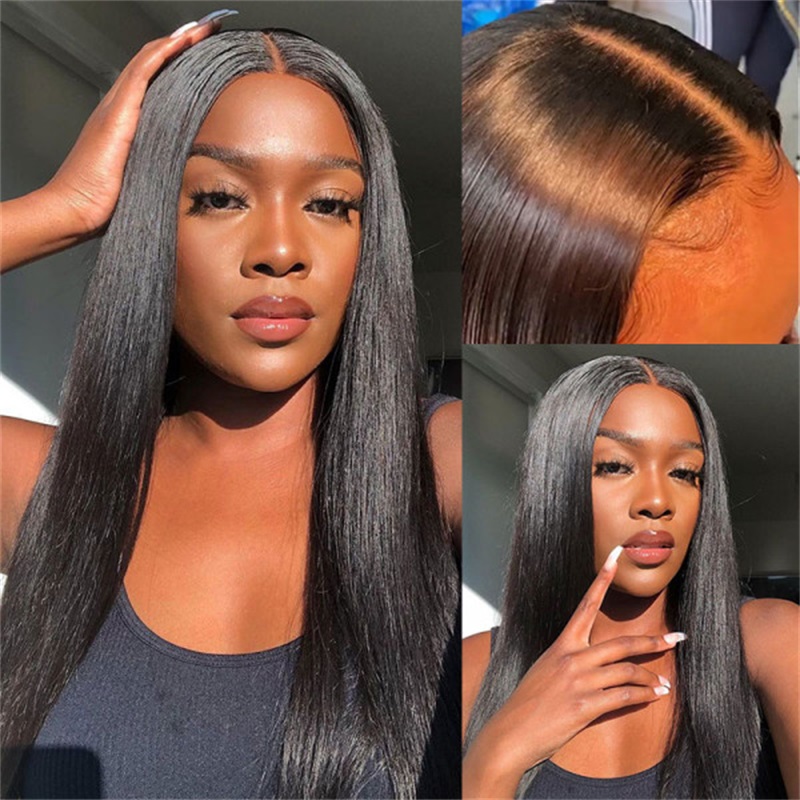
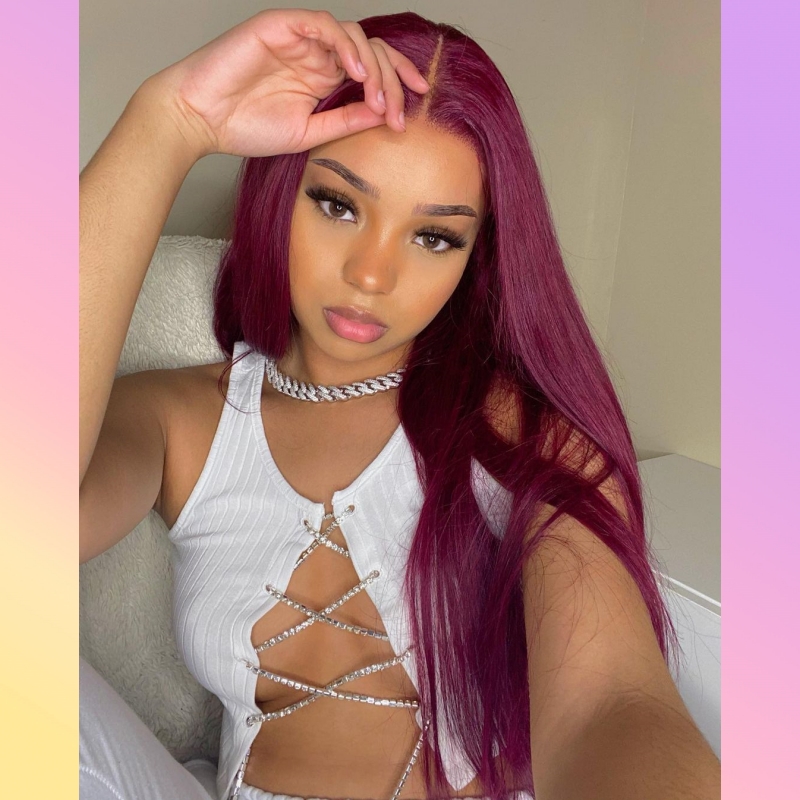
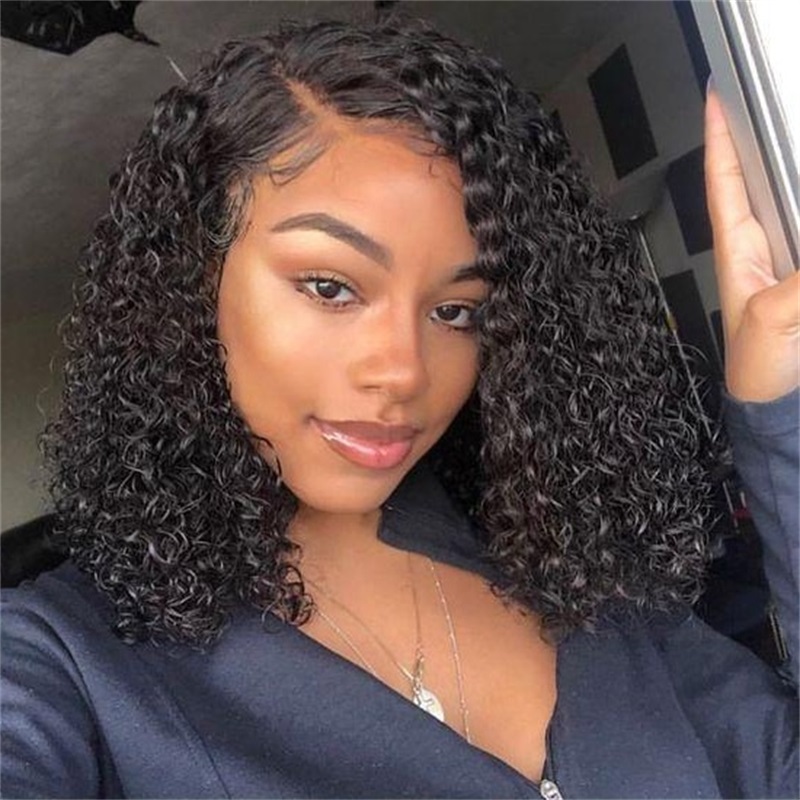
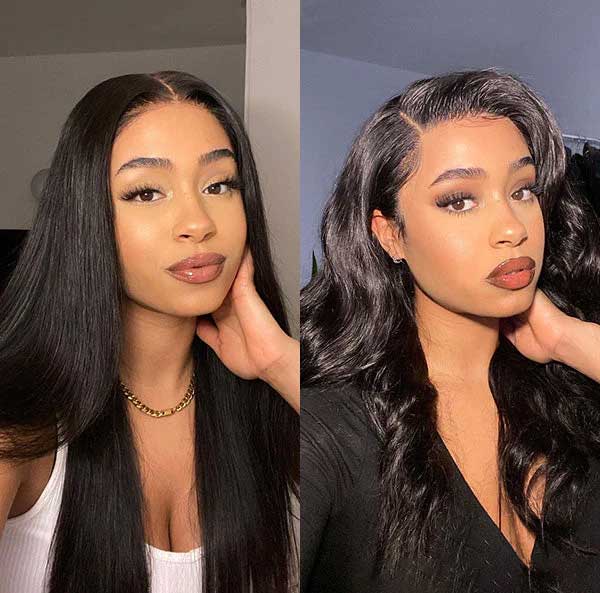
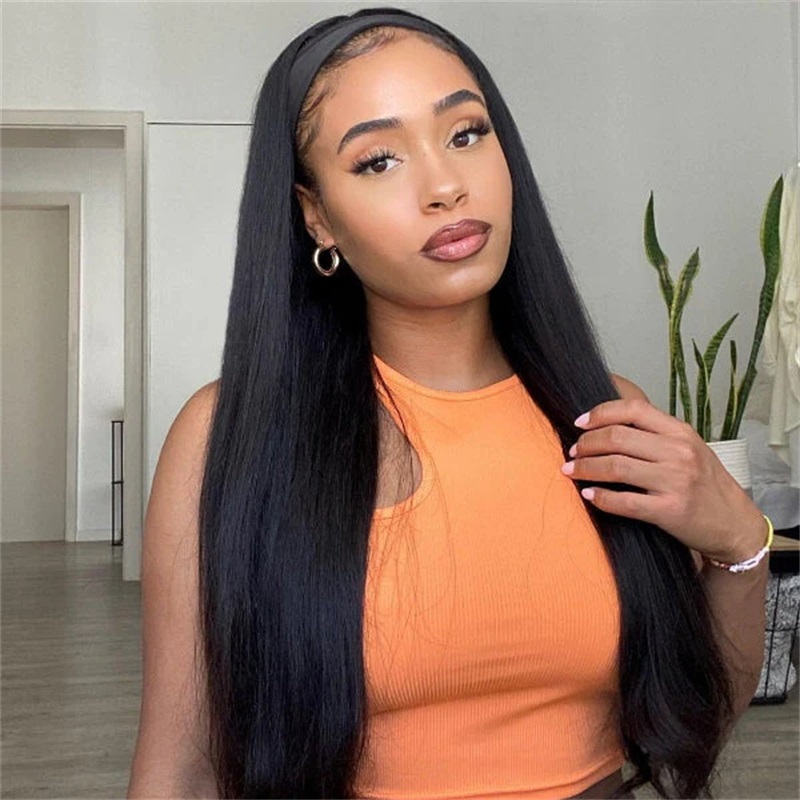
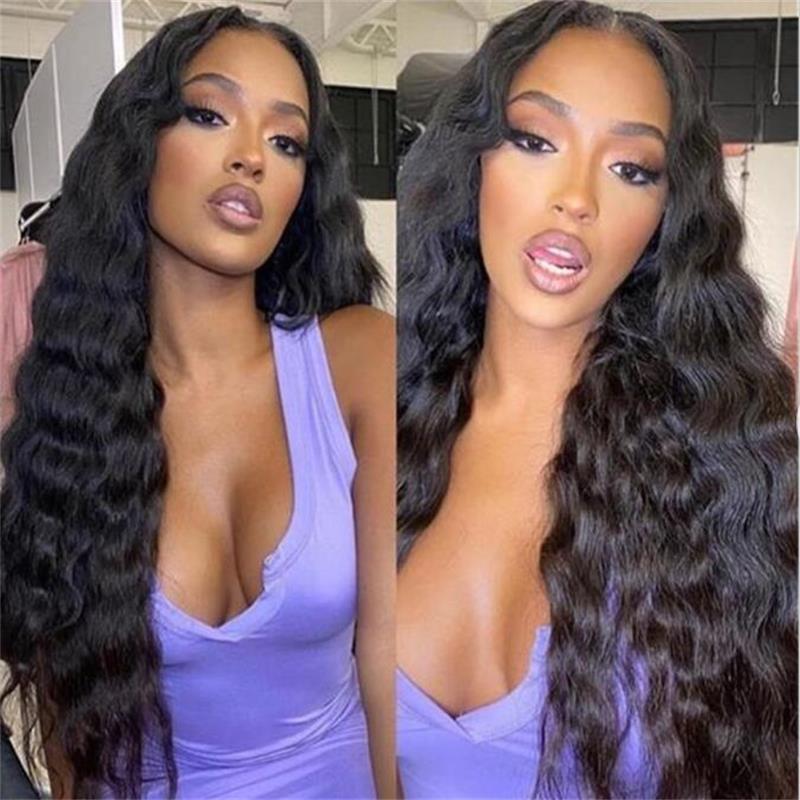
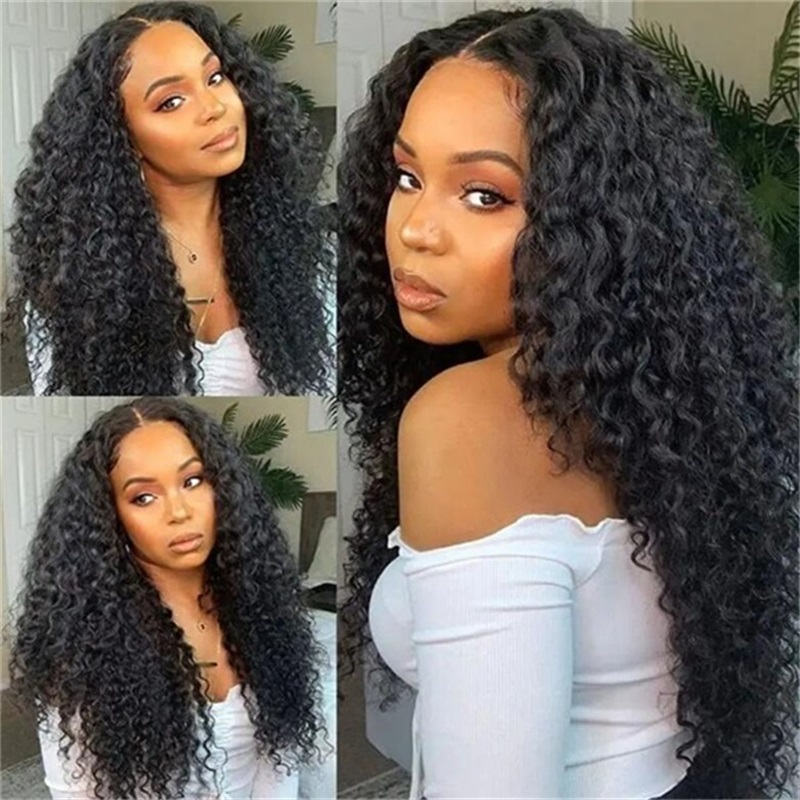
Loose Or Down Hairstyles
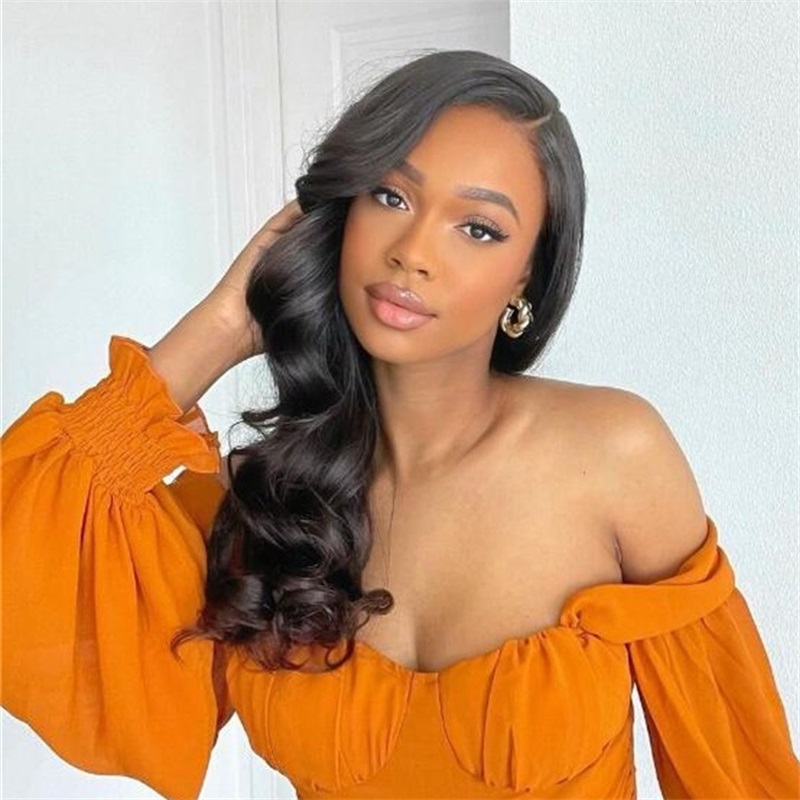
This hairstyle is the simplest, it is a neat appearance while remaining a touch of natural casualness, your overal look is a relaxed and easygoing feel. Given that ISEE M-Cap wear go wig features an enhanced C-shaped design around the ears, allowing the option to pull the hair near the ears behind them and let it flow down, further enhancing the effortless and carefree vibe.
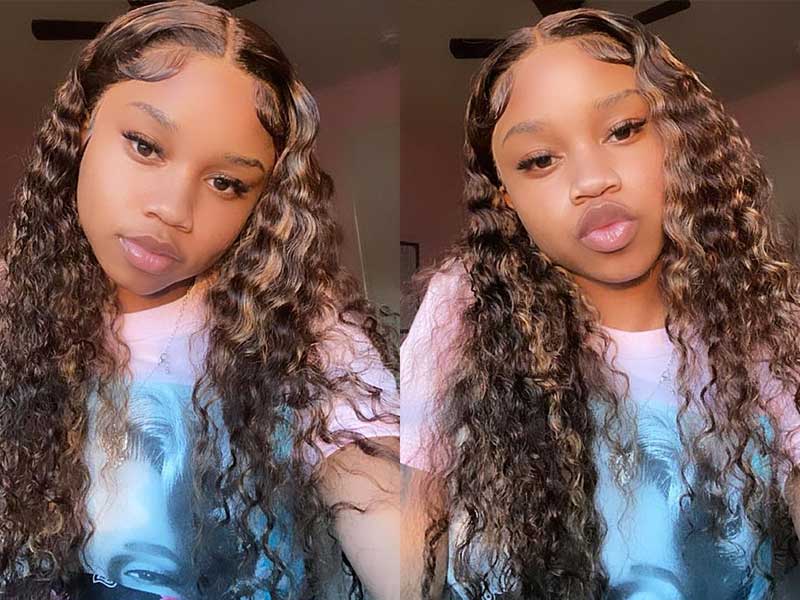
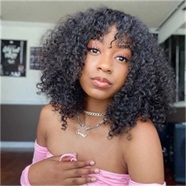
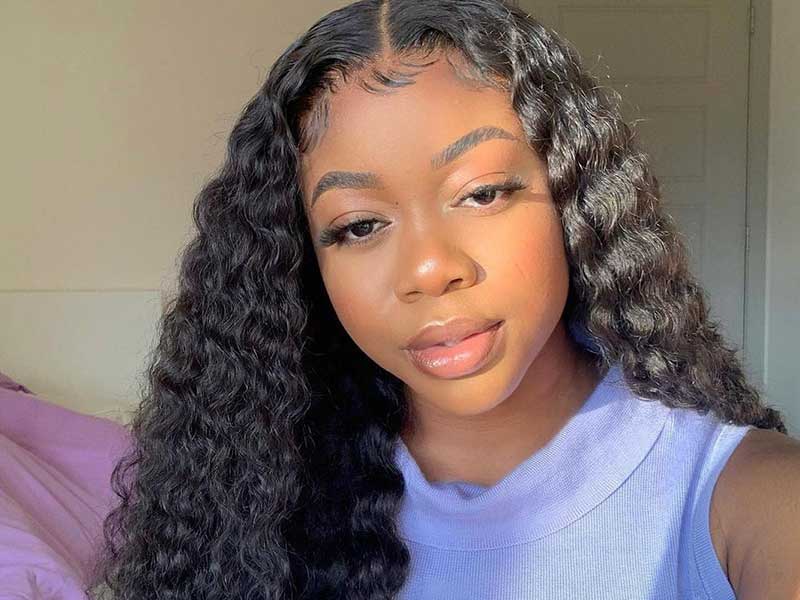
Whether it's a straight wig, a wavy wig, or a curly wig, you can achieve this hairstyle effortless.
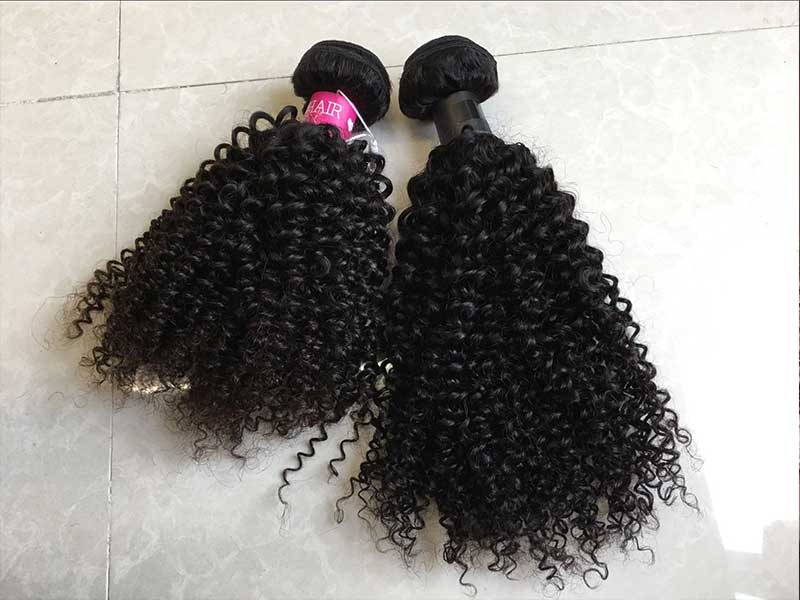
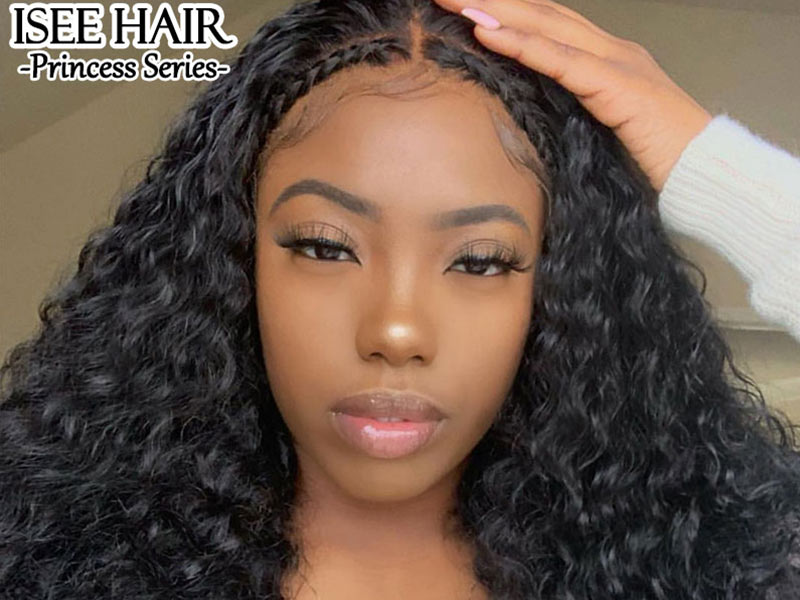
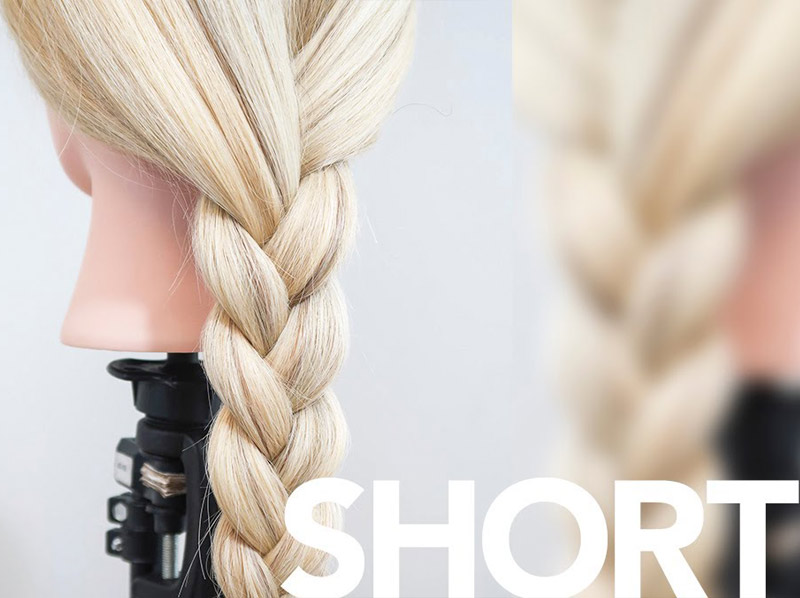
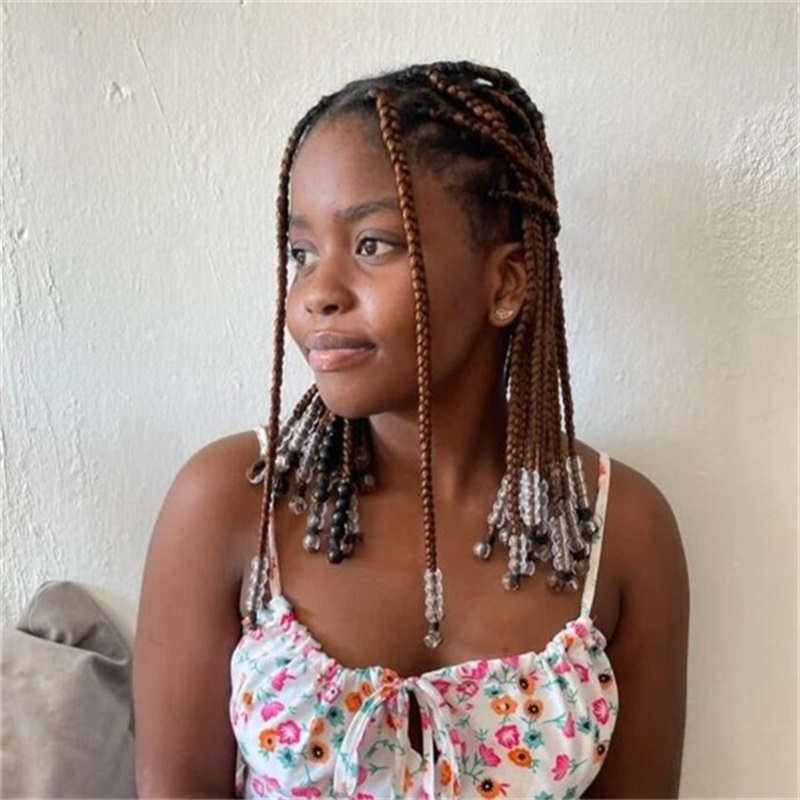
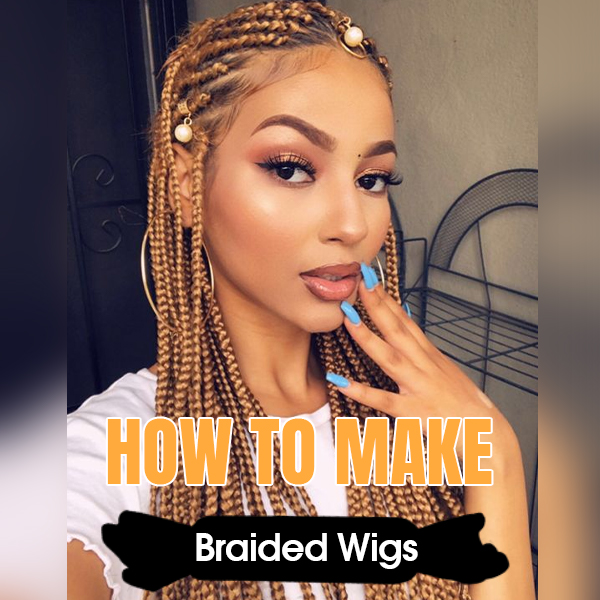
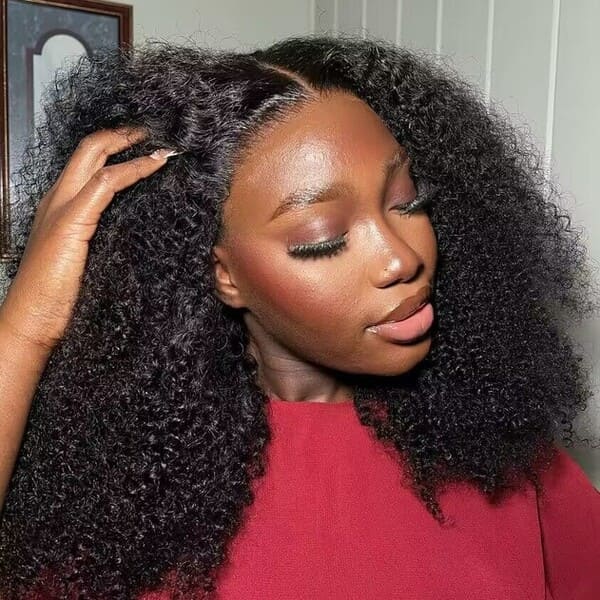
Another option is to braid two braids at the front and let them hang down. It's also simple and stylish. However, it would be more suitable if you have curly or wave human hair wig.
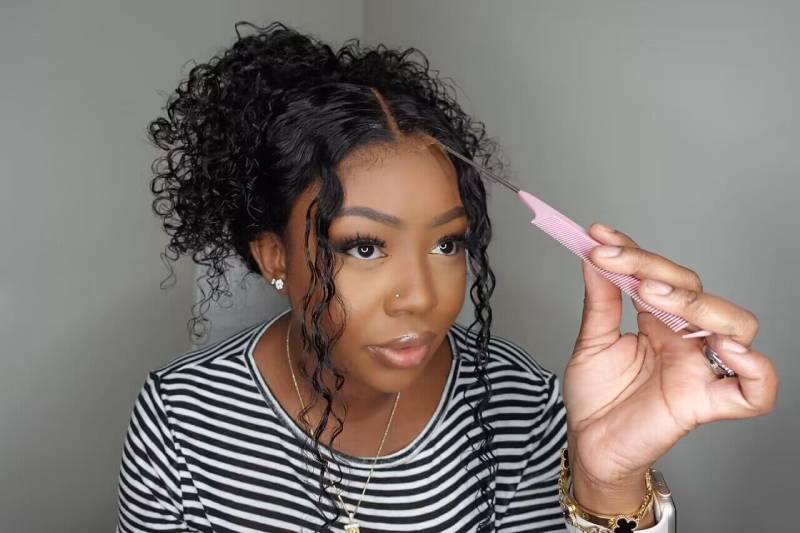
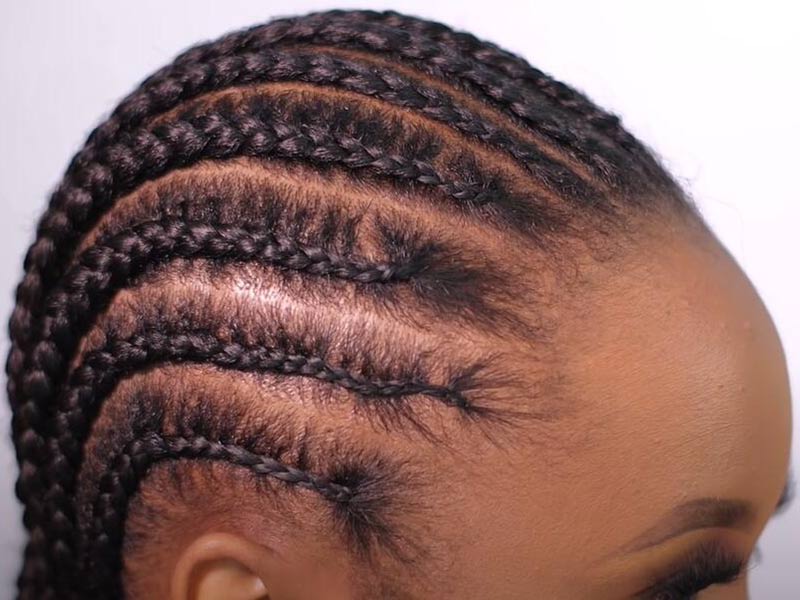
Step 1: Firstly, comb out a thin layer of hair on the front side of the hairline to create baby hair. Having baby hair is more natural.
Step 2: Afterward,take a small section of hair at the top center of the head where you are going to braid the strands. Divide the hair into three equal sections.
Step 3: Begin braiding. Cross the right section over the center section, then cross the left section over the center section. Start with the normal braiding method.
Step 4: Continue braiding, start incorporating thin additional hair from the sides into each section before crossing it over the center. For example, when crossing the right section over the center, gather some hair from the right side and add it to the right section before crossing it over.
Step 5: Braid downward, keep adding hair from both sides. The key is to maintain tight and keep the braid close to the scalp, because it can offer a neat look.
Step 6: Once you reach the end of the braid, secure it with a hair tie or an elastic band what you have in hand.
If you prefer a looser, more relaxed look, gently tug on the sides of the braid to loosen it up.
We also have a video for reference.
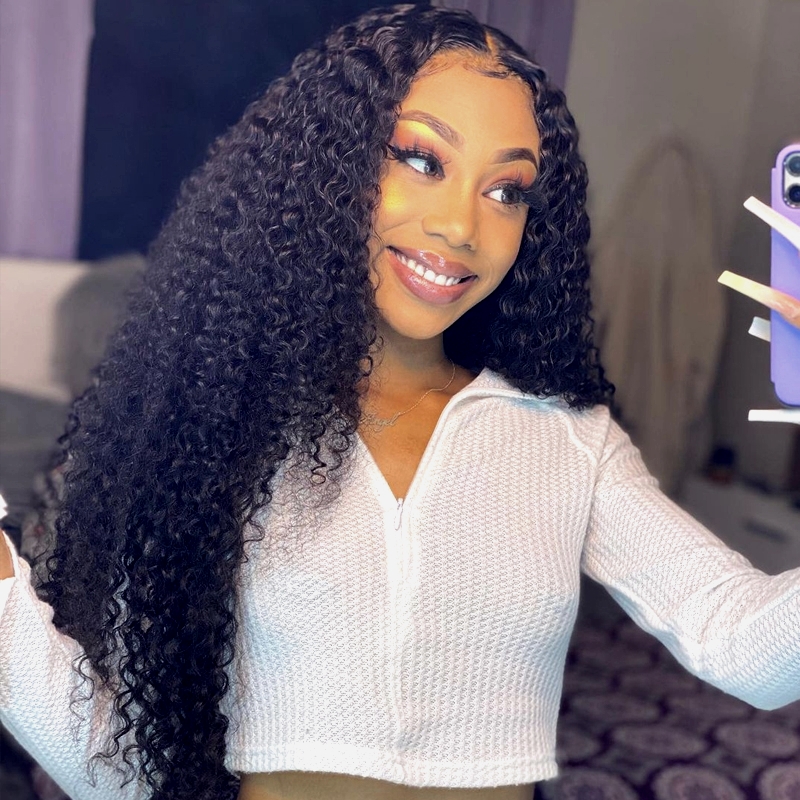
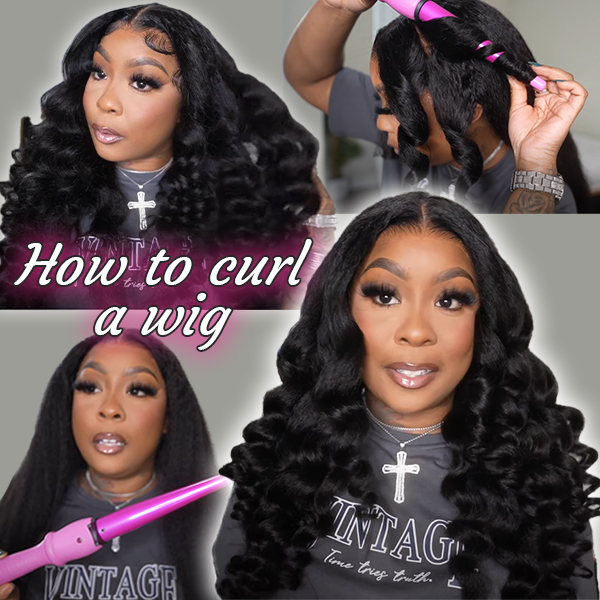
You can also try curling a kinky straight wig. There we use a wand curling tool for styling. It is relatively easy to handle compared to other heat styling tools, simple and beginner-friendly for transitioning straight hair to curl hairstyle.
You’re planning to take one small section of hair and just wrapping it around the wand; hold for a while; do that all throughout the hair. Be patient, and imagine yourself curling the entire lace front wig for that bomb curly hairstyle.
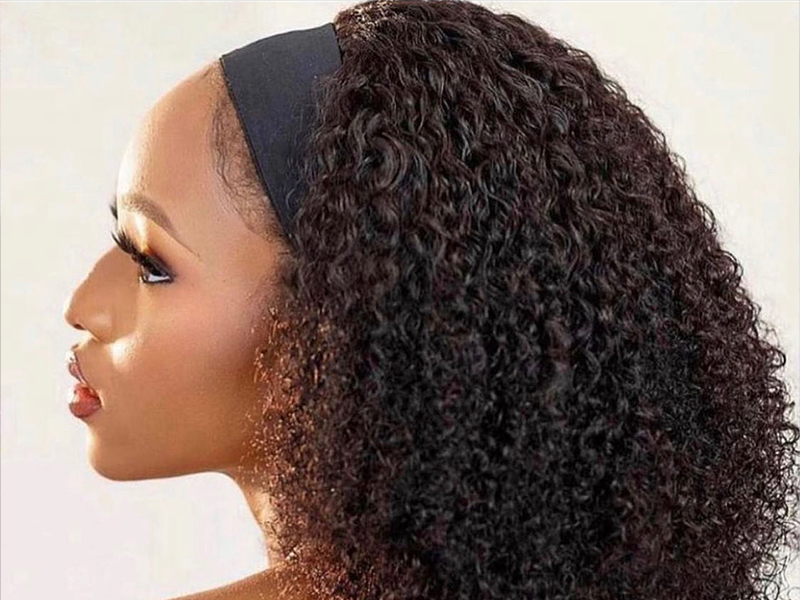
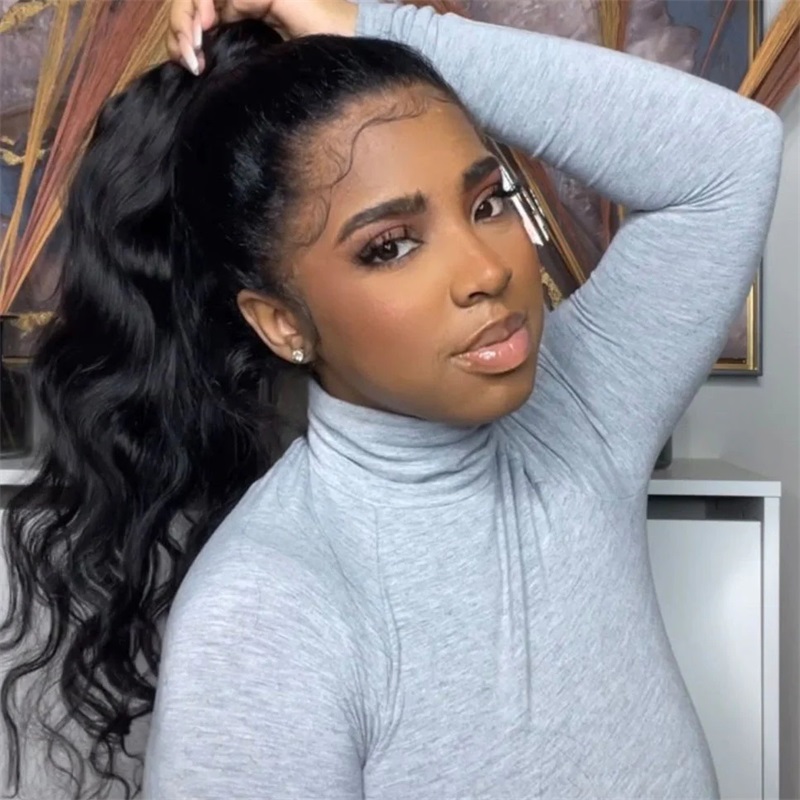
Tied Up Or Pulled Back Hairstyles
Building upon the previously down hair style, take a small section of hair on each side of the parting at the very front of the hairline to create simple bangs. Then, use clips to secure the remaining hair at the back of the head.
This hairstyle is versatile. Decide on the style you want, whether it's a ponytail, bun, braided updo, or any other tied-up hairstyle.
Adjust the tightness of the hair close up to your scalp, according to your preference, you can make it looser or tighter, ensuring that the hairstyle feels comfortable and secure.
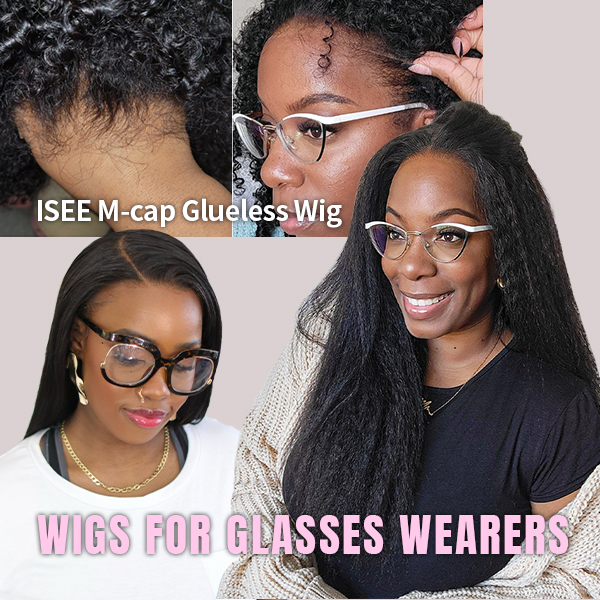
You can further enhance this hairstyle by adding a pair of glasses as a stylish accessory. It will add a unique and charming touch. You don't have to worry about the glasses arms may cause discomfort around the ears; our wig cap features a pre-cut ear shape, ensuring it won't bend or squeeze the ears.
To Sum Up
ISEE M-Cap 9*6 wear go wig can achieve far more hairstyles than just these; there are many undiscovered styles waiting for you to explore.
You might want to check these posts:
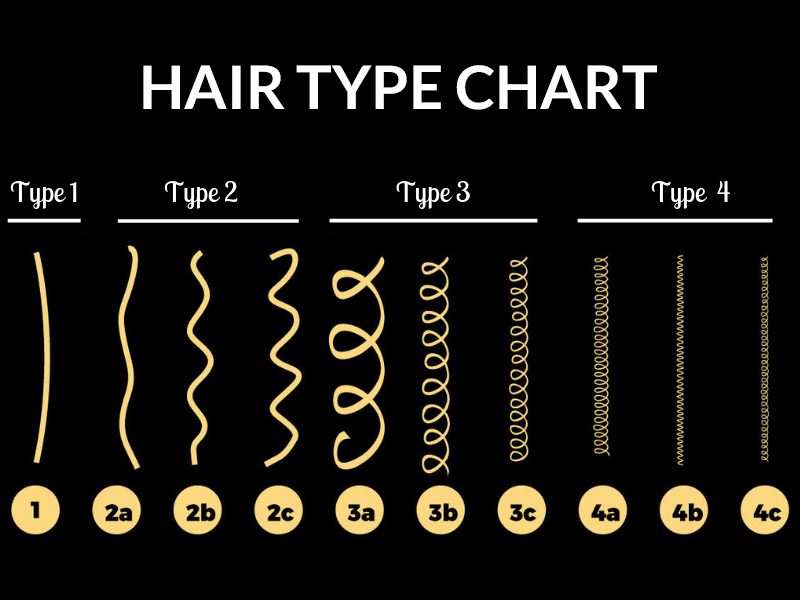
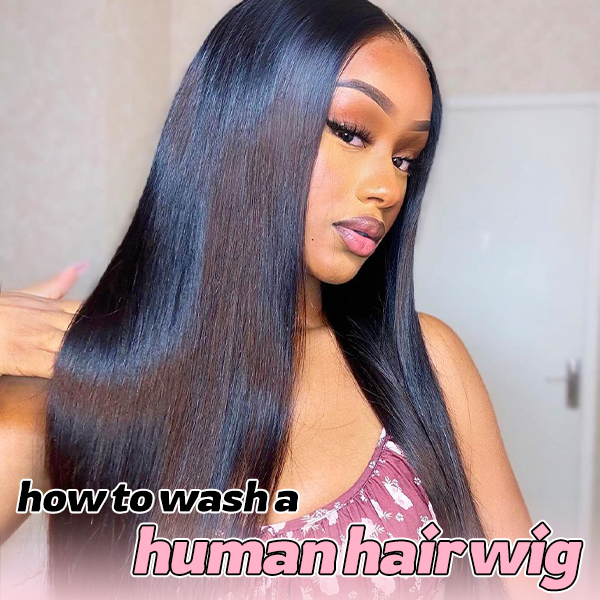
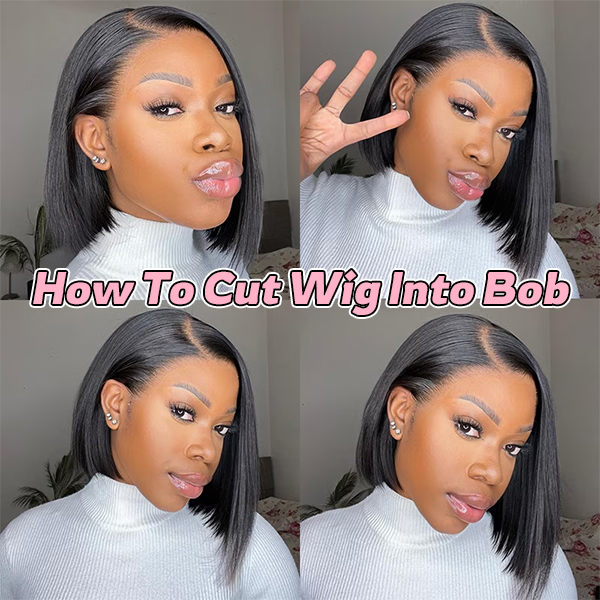
Wig Textures Guide: Isee M-Cap New Wig Textures Explained
Game-Changer Wear Go Wig Inventor & Pioneer - Isee Hair


